> ## Documentation Index
> Fetch the complete documentation index at: https://docs.wordware.ai/llms.txt
> Use this file to discover all available pages before exploring further.
# Chatbot
> Make a chatbot in under 5 minutes
 With Wordware, tasks that would take software engineers hours or days can be done in minutes. In this recipe, we'll
show you how to make a chatbot in under 5 minutes, with only 5 steps, no coding required.
## Steps
Start by creating a new Prompt. You can do this by clicking the "New Prompt" button on the editor.
With Wordware, tasks that would take software engineers hours or days can be done in minutes. In this recipe, we'll
show you how to make a chatbot in under 5 minutes, with only 5 steps, no coding required.
## Steps
Start by creating a new Prompt. You can do this by clicking the "New Prompt" button on the editor.
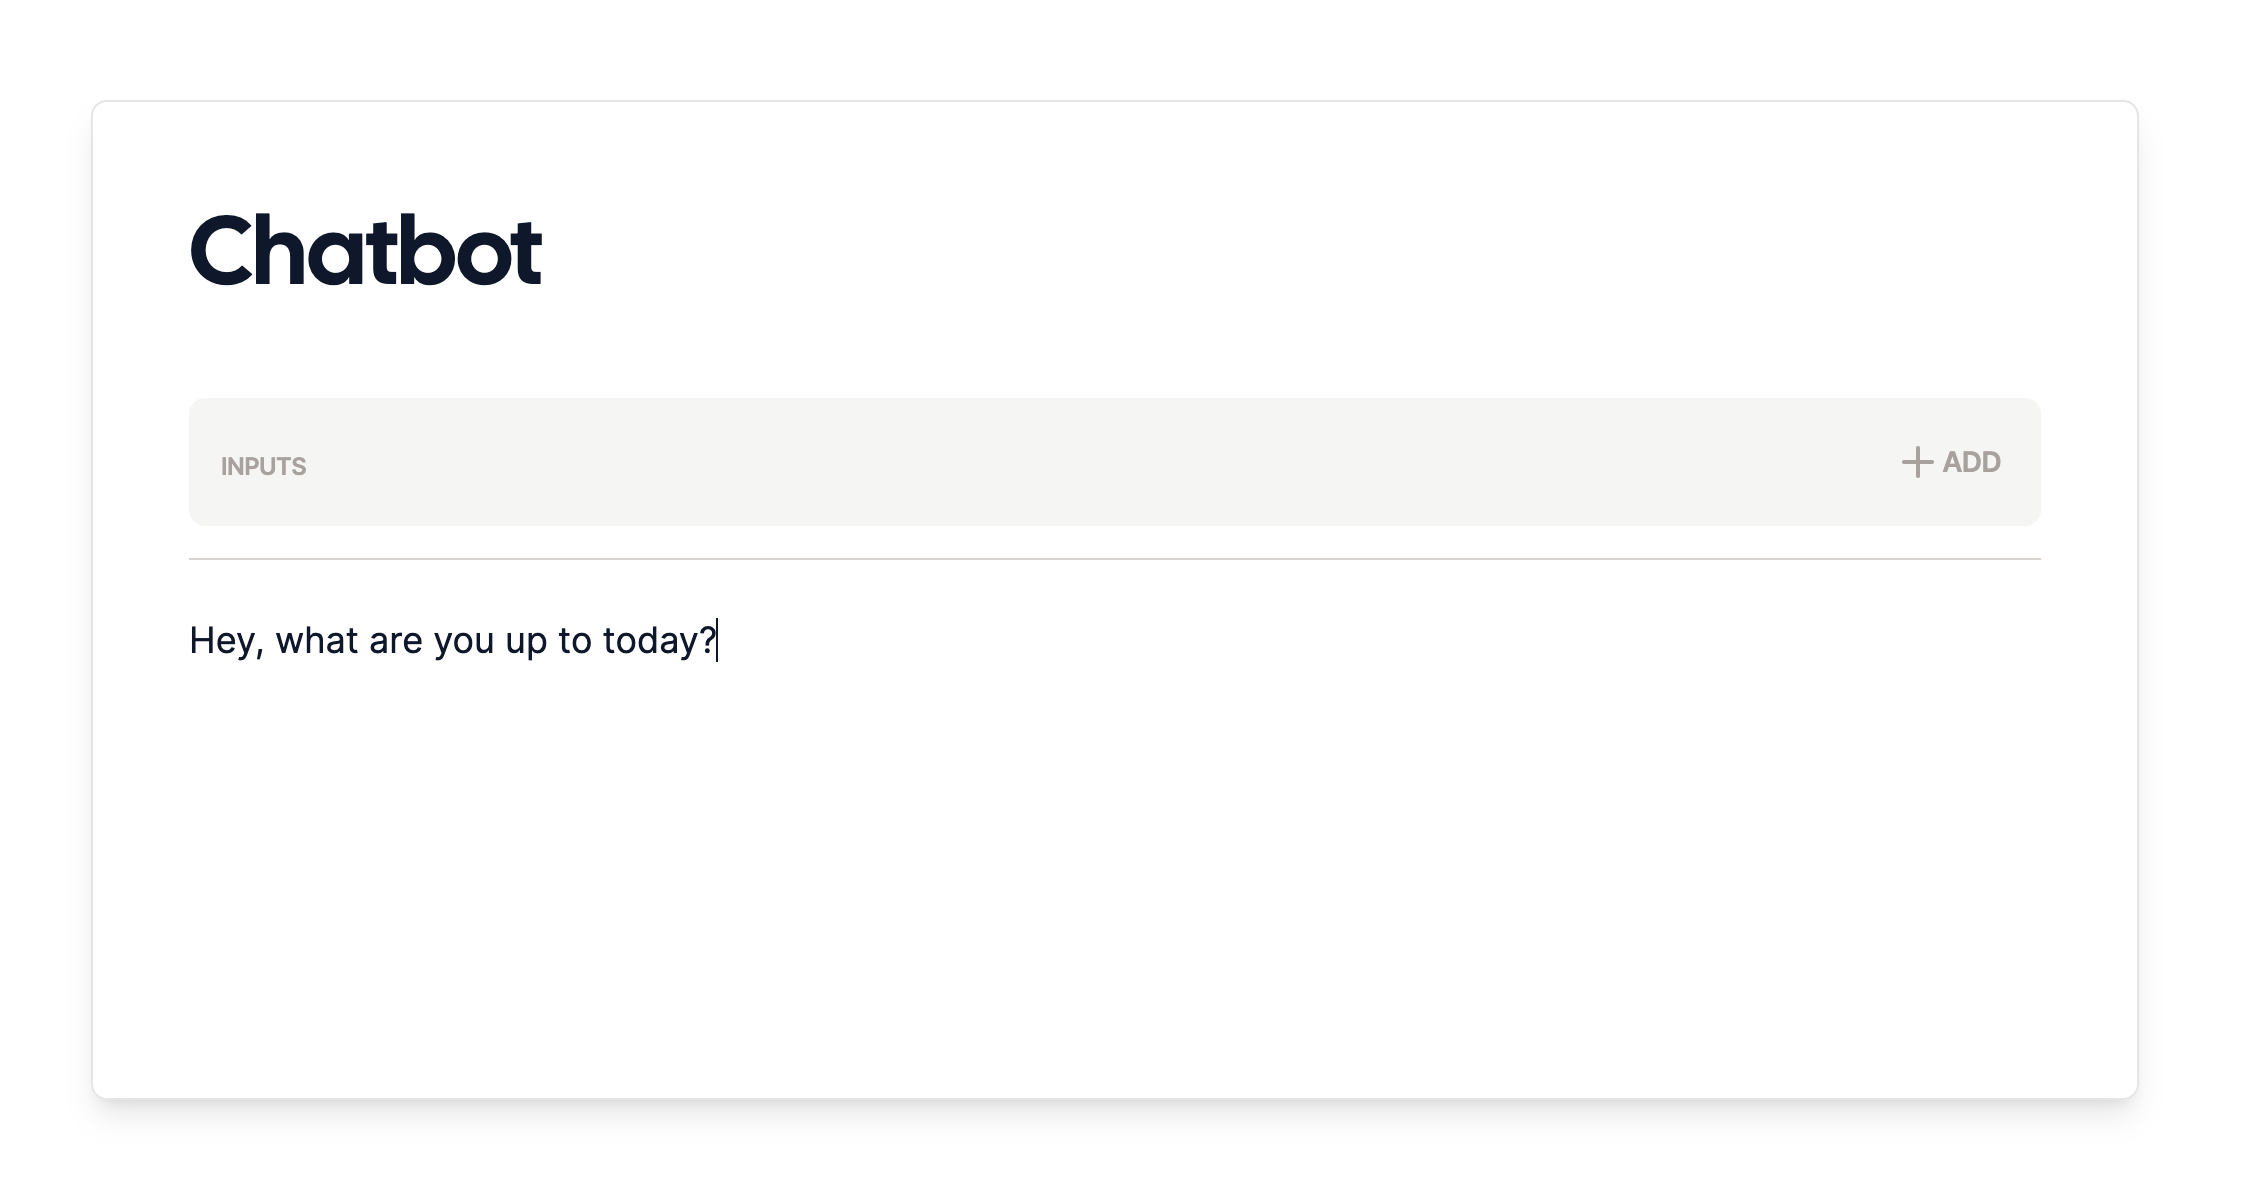
 Give the chatbot an initial message to get the ball rolling. Just type whatever you want the AI to see!
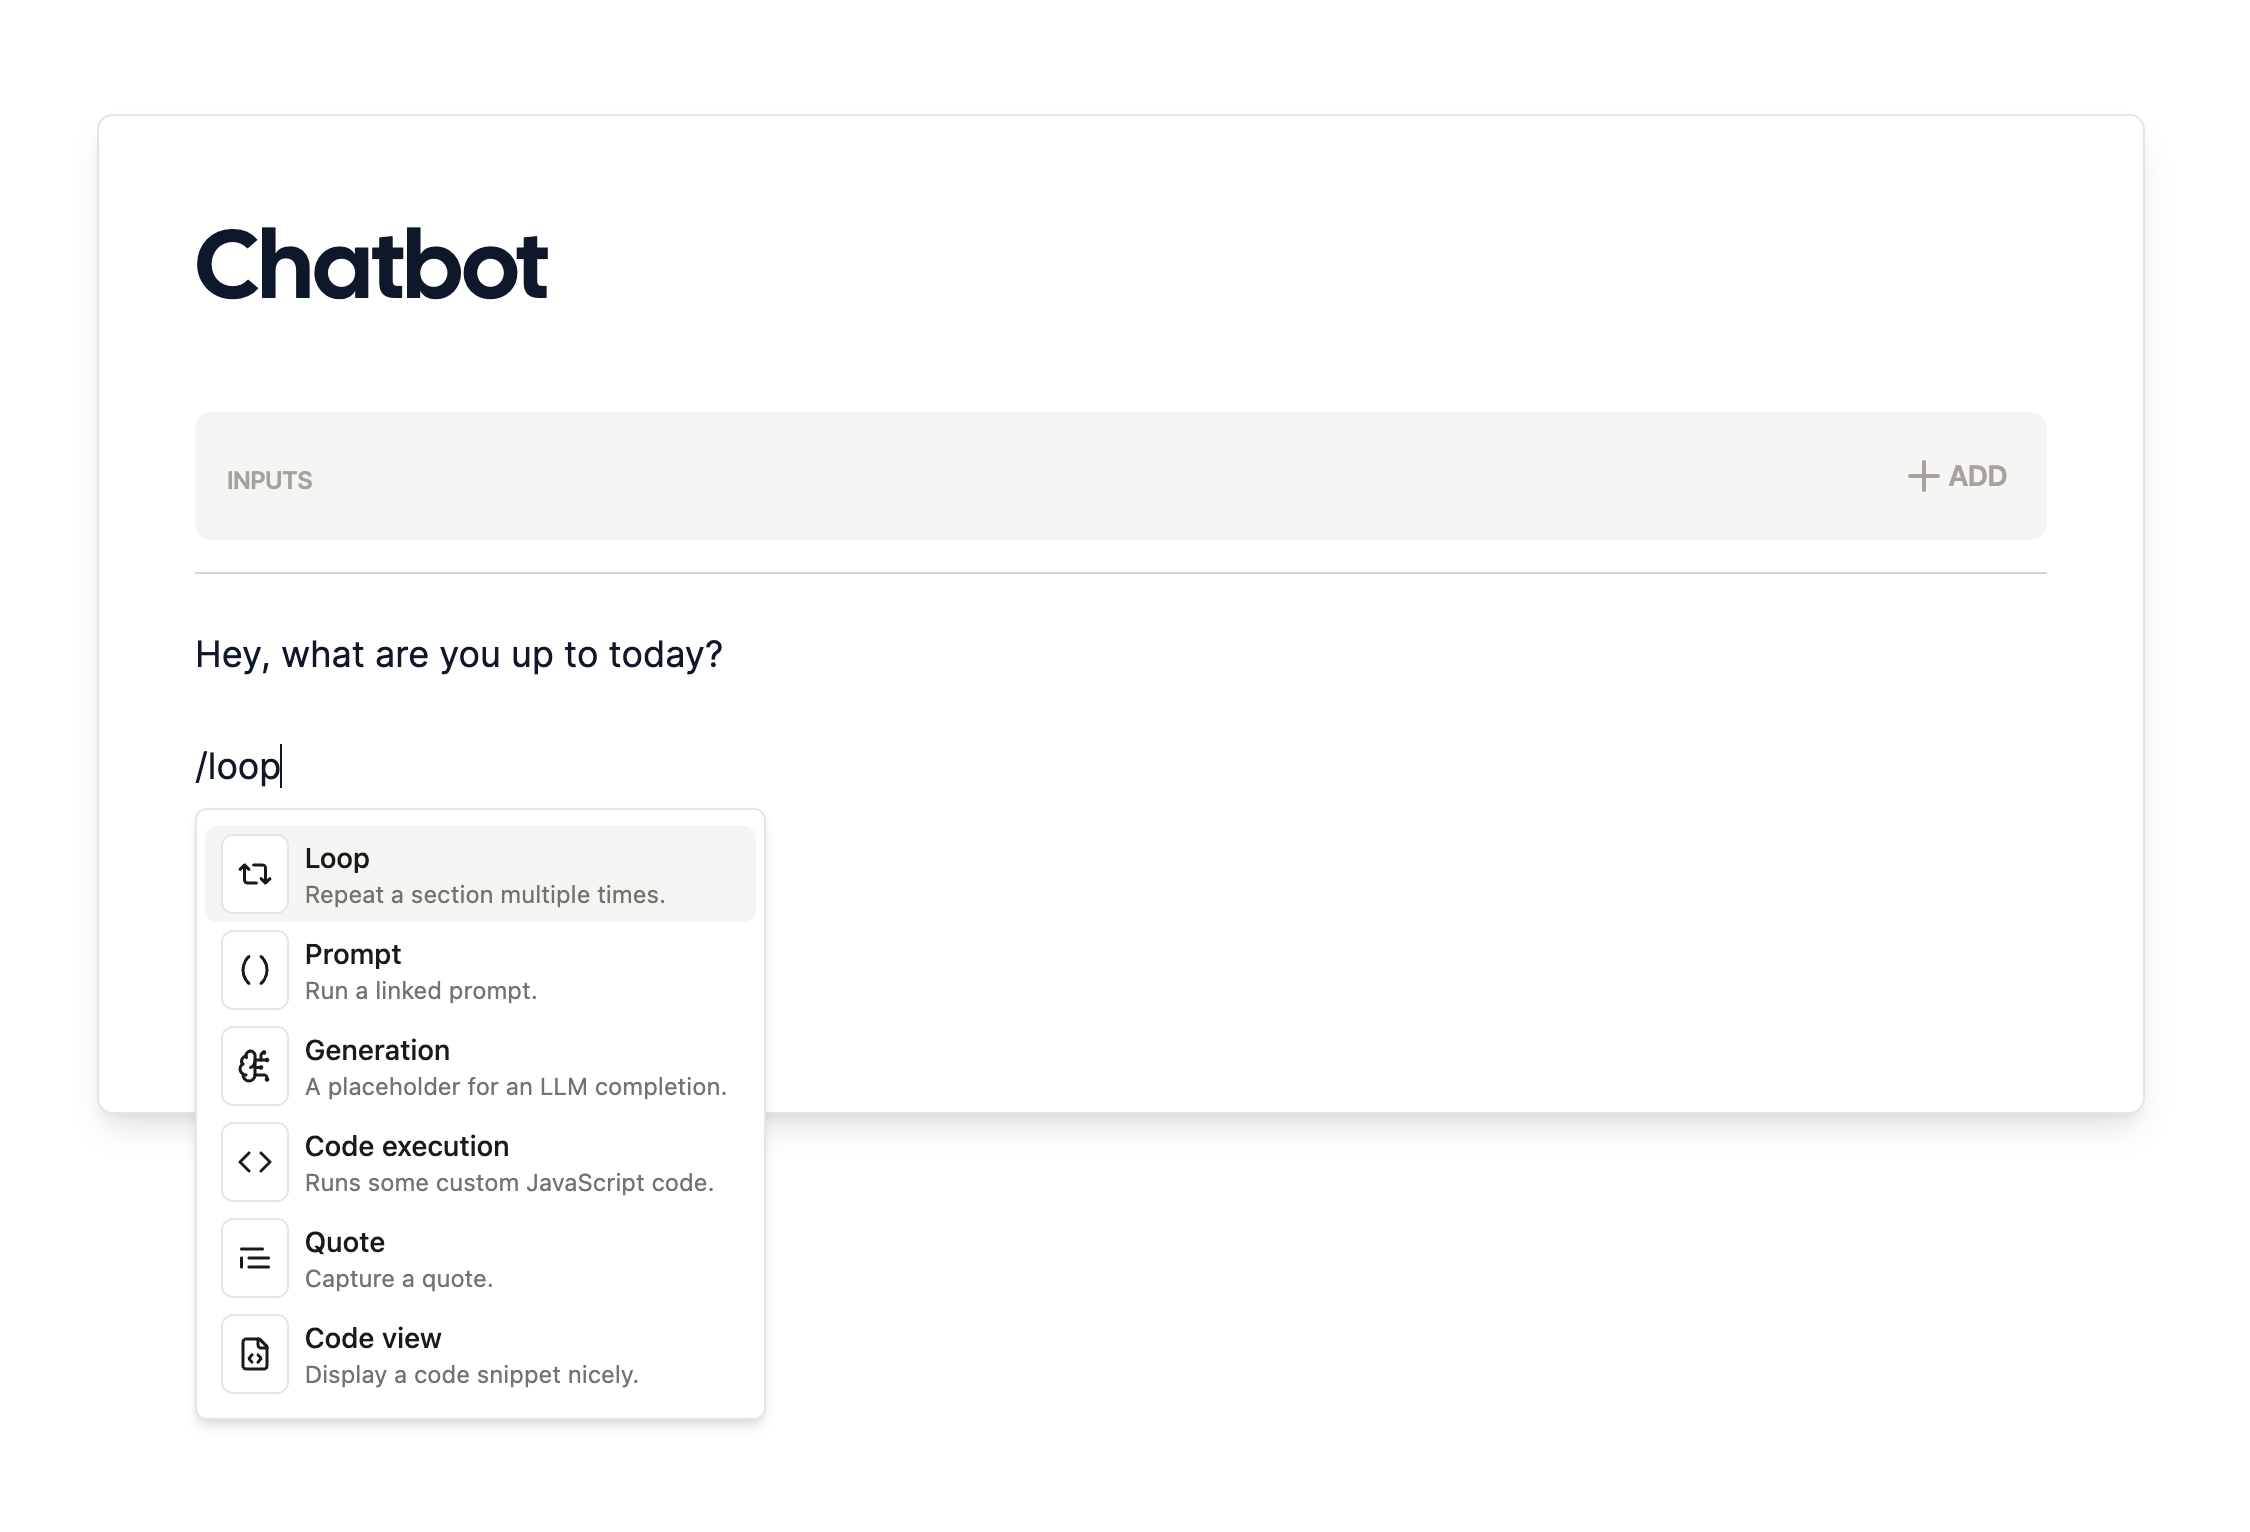
 To keep the conversation going, add a [loop](/nodes/loop) node. This will allow the conversation steps we'll add
next to repeat.
To keep the conversation going, add a [loop](/nodes/loop) node. This will allow the conversation steps we'll add
next to repeat.
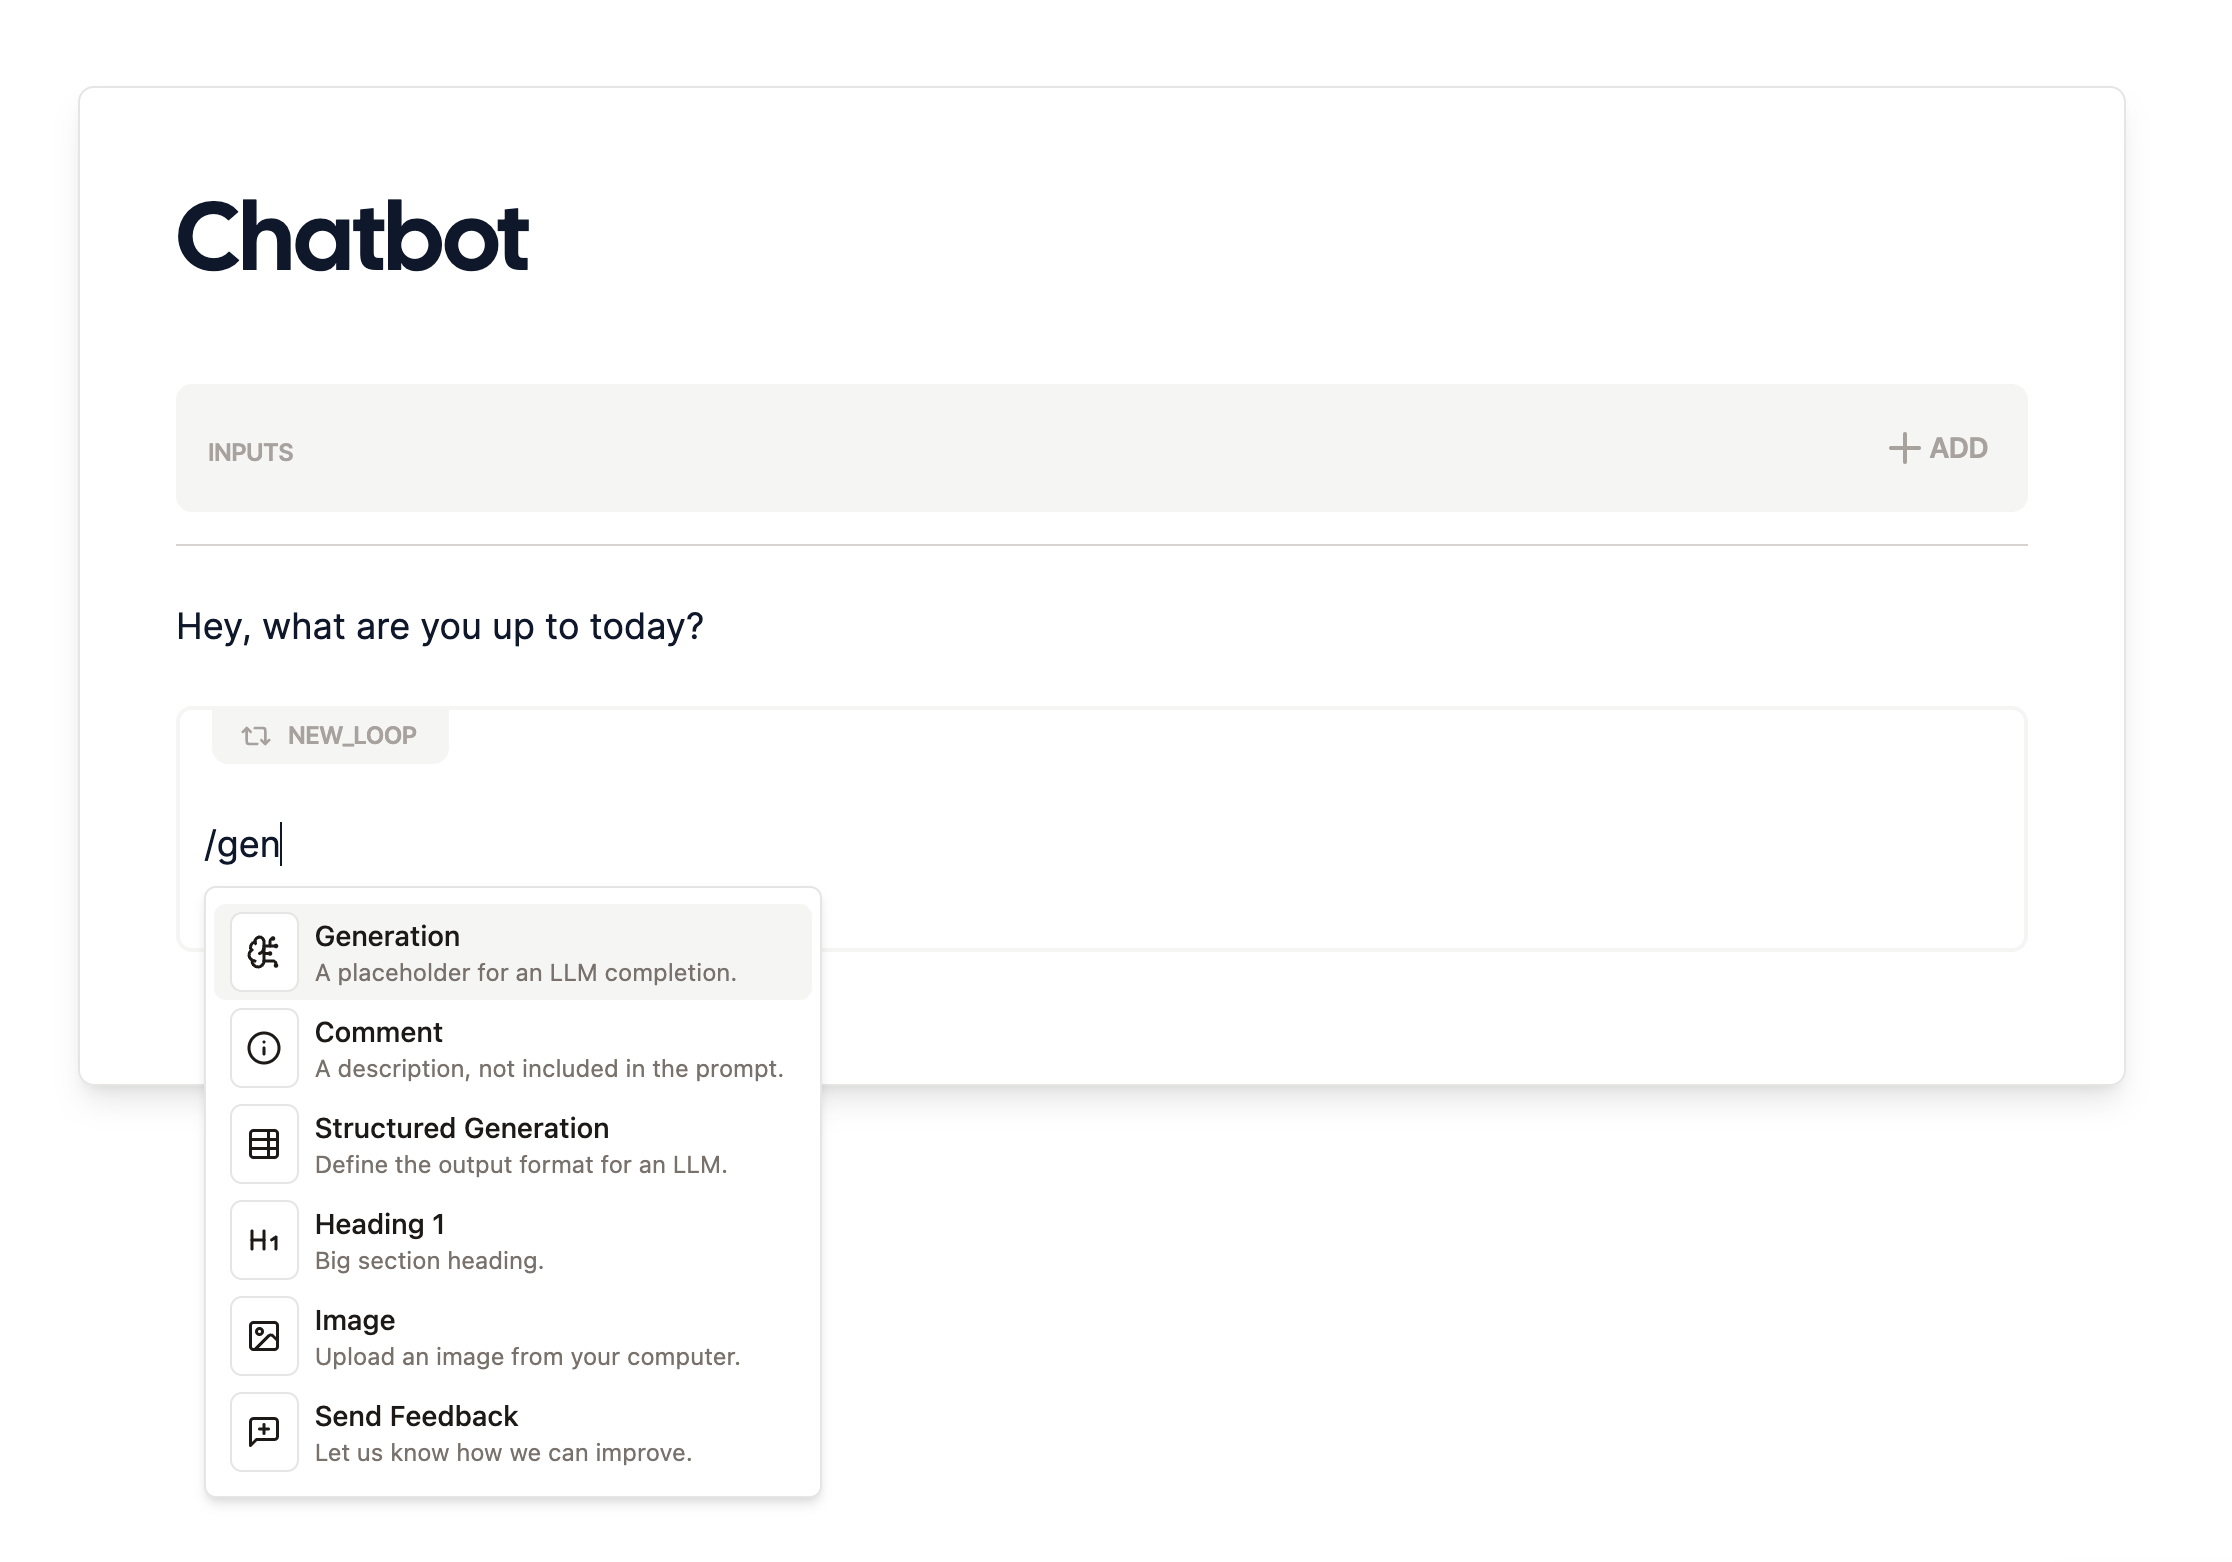
 Add a [generation](/nodes/generation) node *inside the loop* to generate the AI's response. You can use the default
settings or customize them to your liking.
Add a [generation](/nodes/generation) node *inside the loop* to generate the AI's response. You can use the default
settings or customize them to your liking.
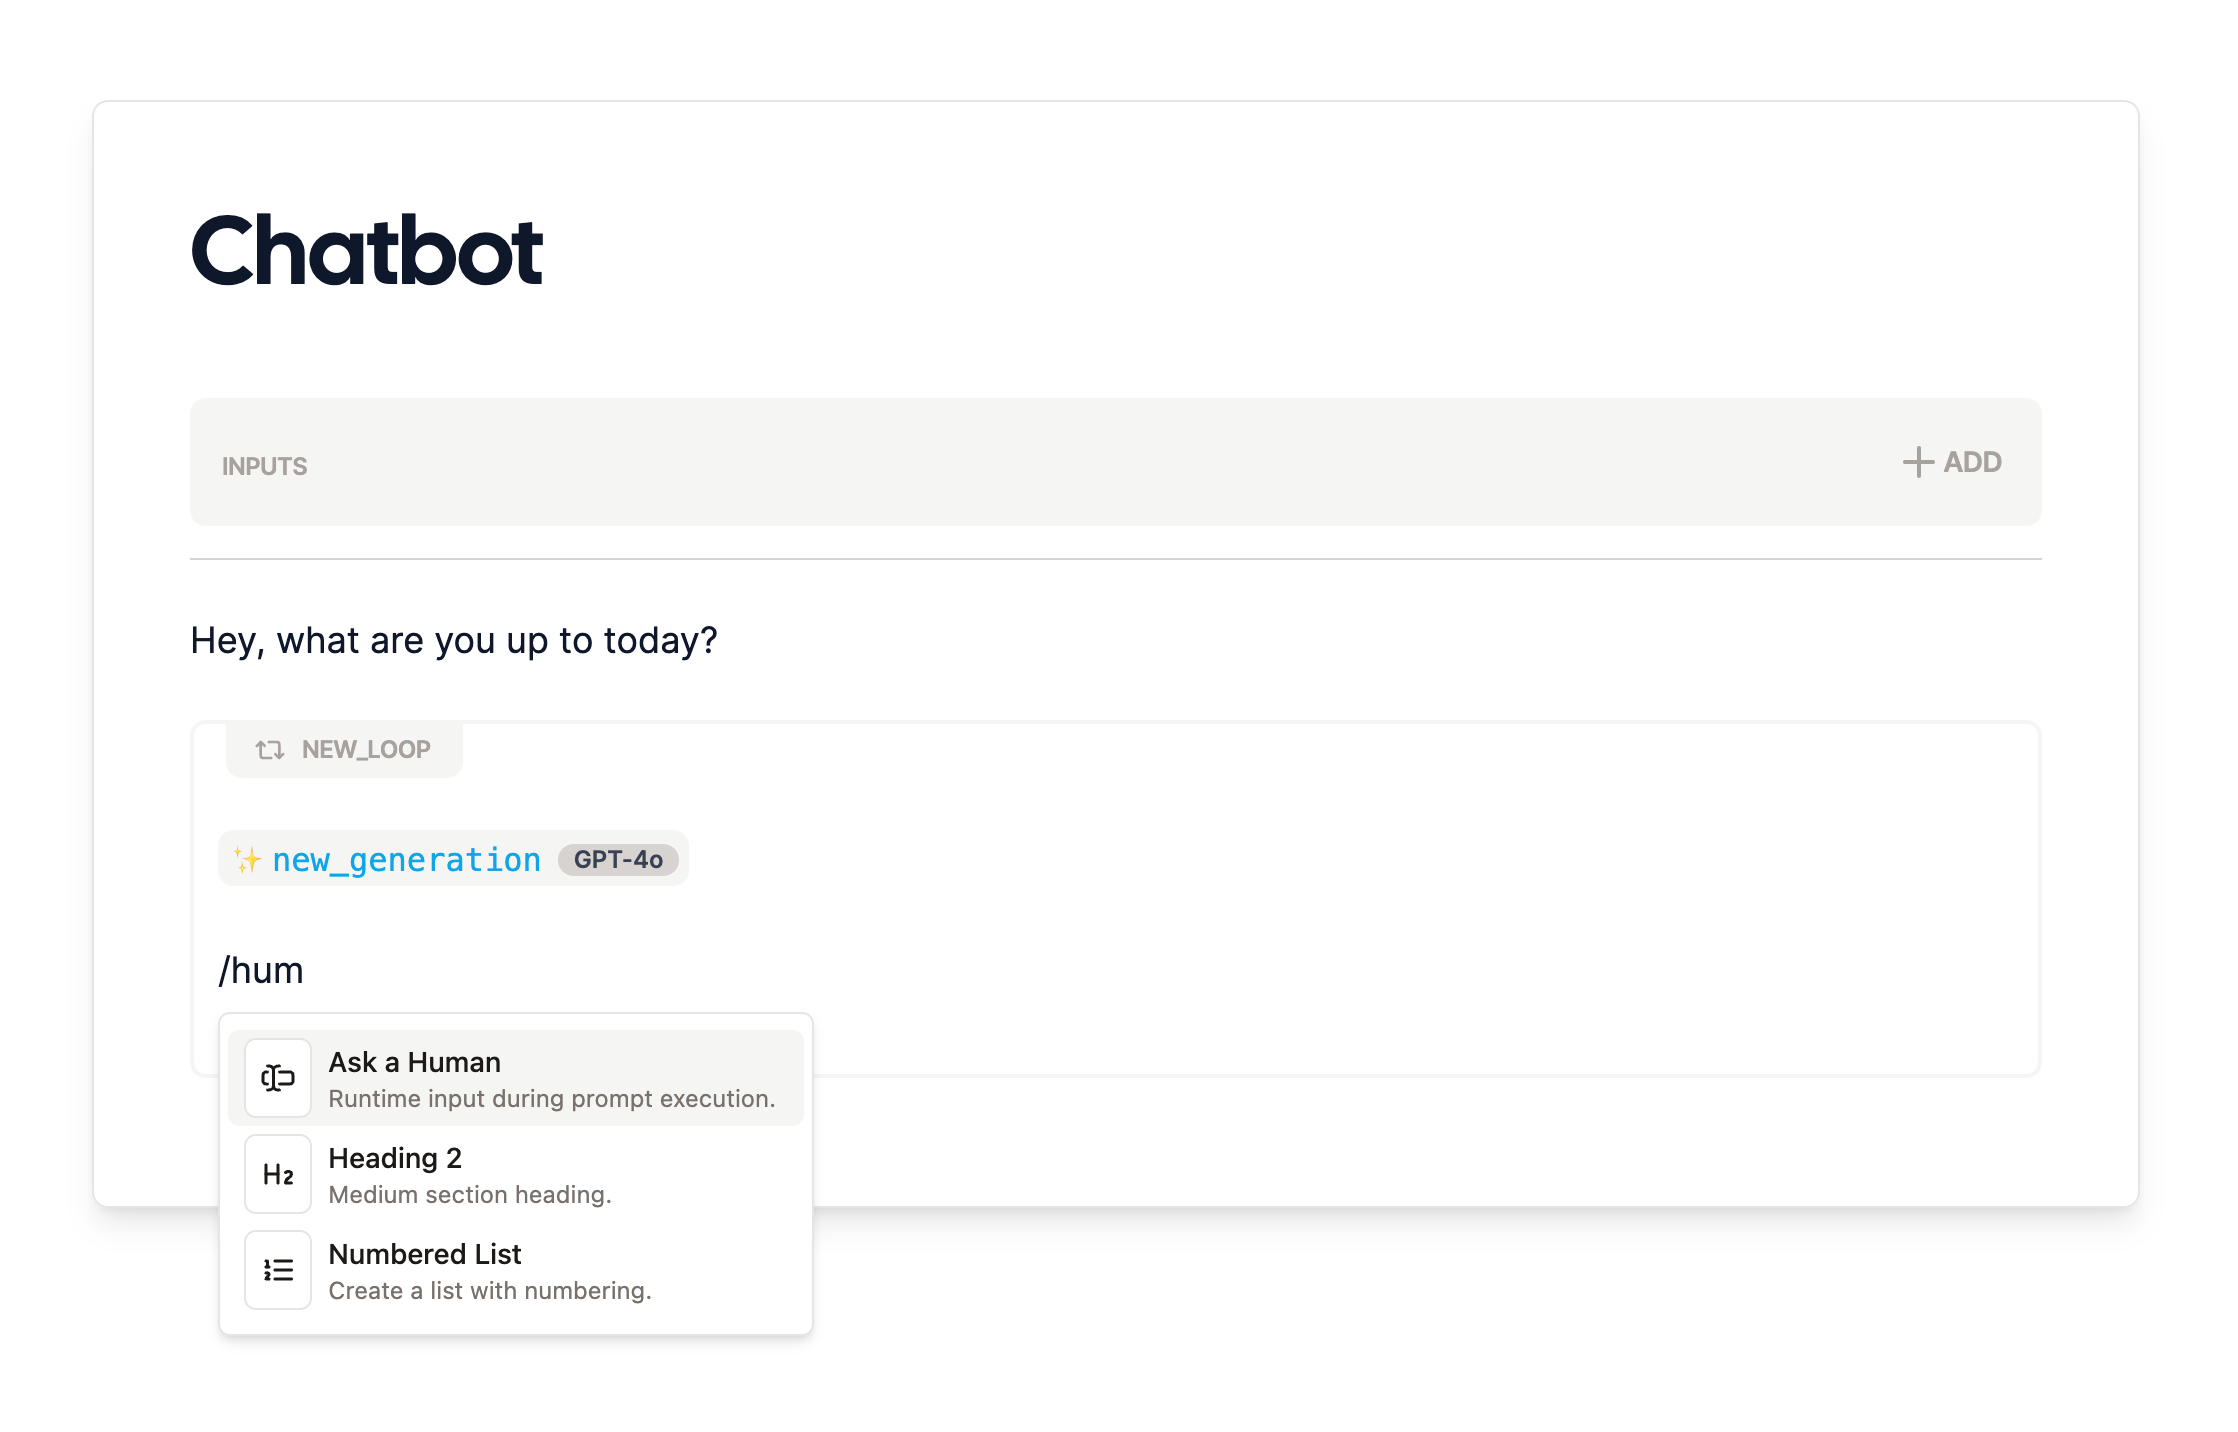
 Finally, to let the user respond to the AI in real time, add a [human ask](/nodes/human) node after the generation
to get the user's response (this is probably you!). This will allow the AI to respond to the user's input.
Finally, to let the user respond to the AI in real time, add a [human ask](/nodes/human) node after the generation
to get the user's response (this is probably you!). This will allow the AI to respond to the user's input.
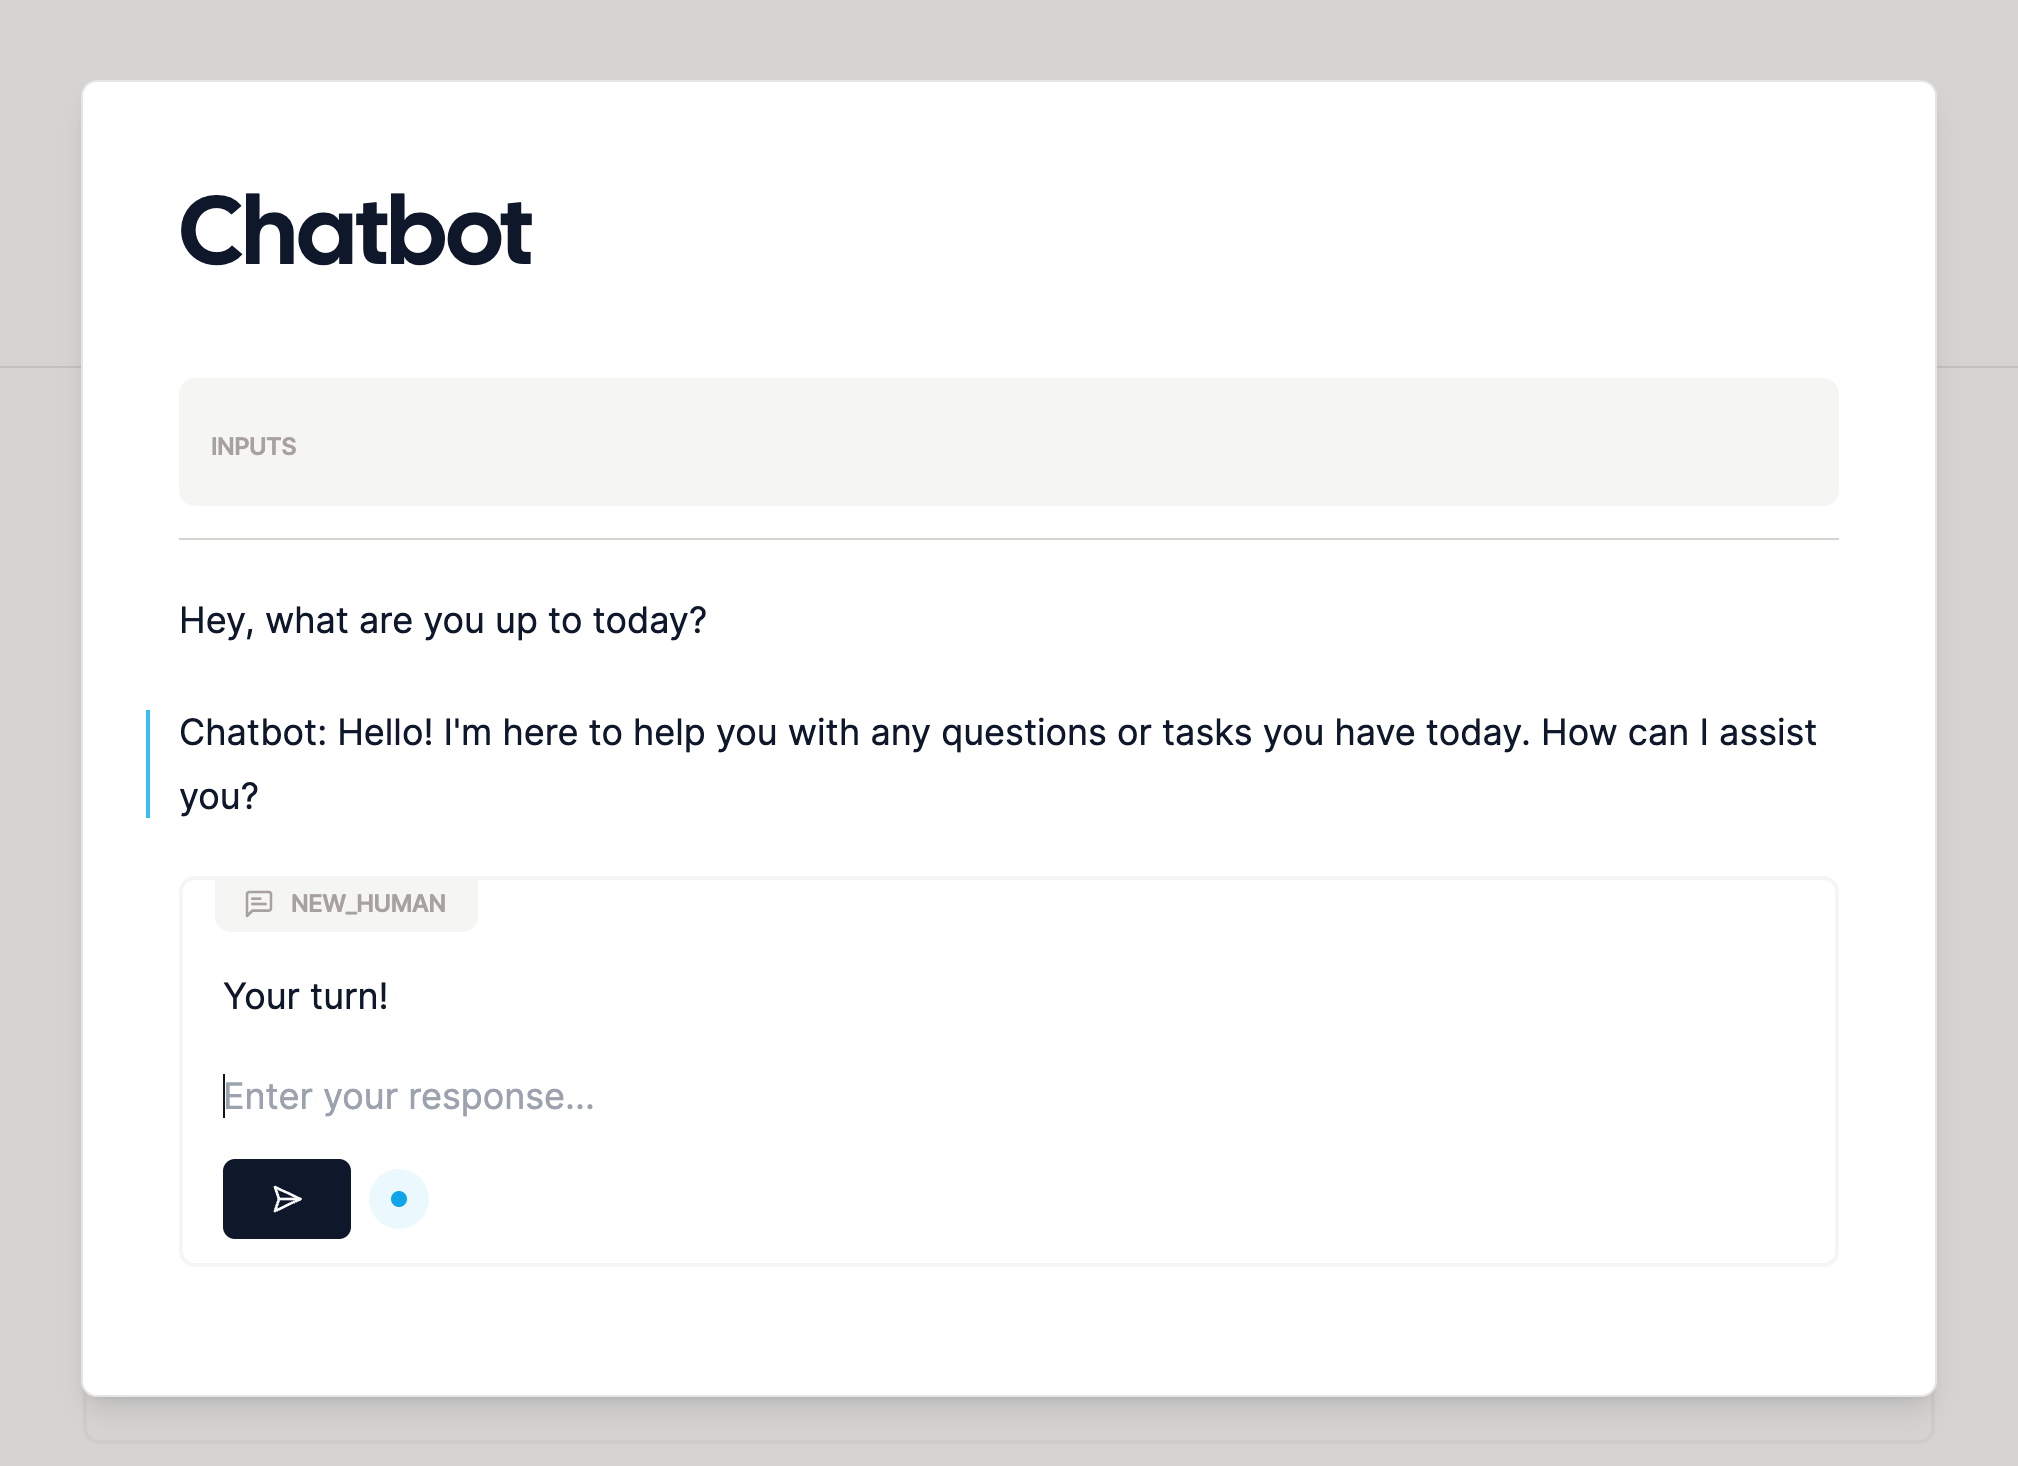
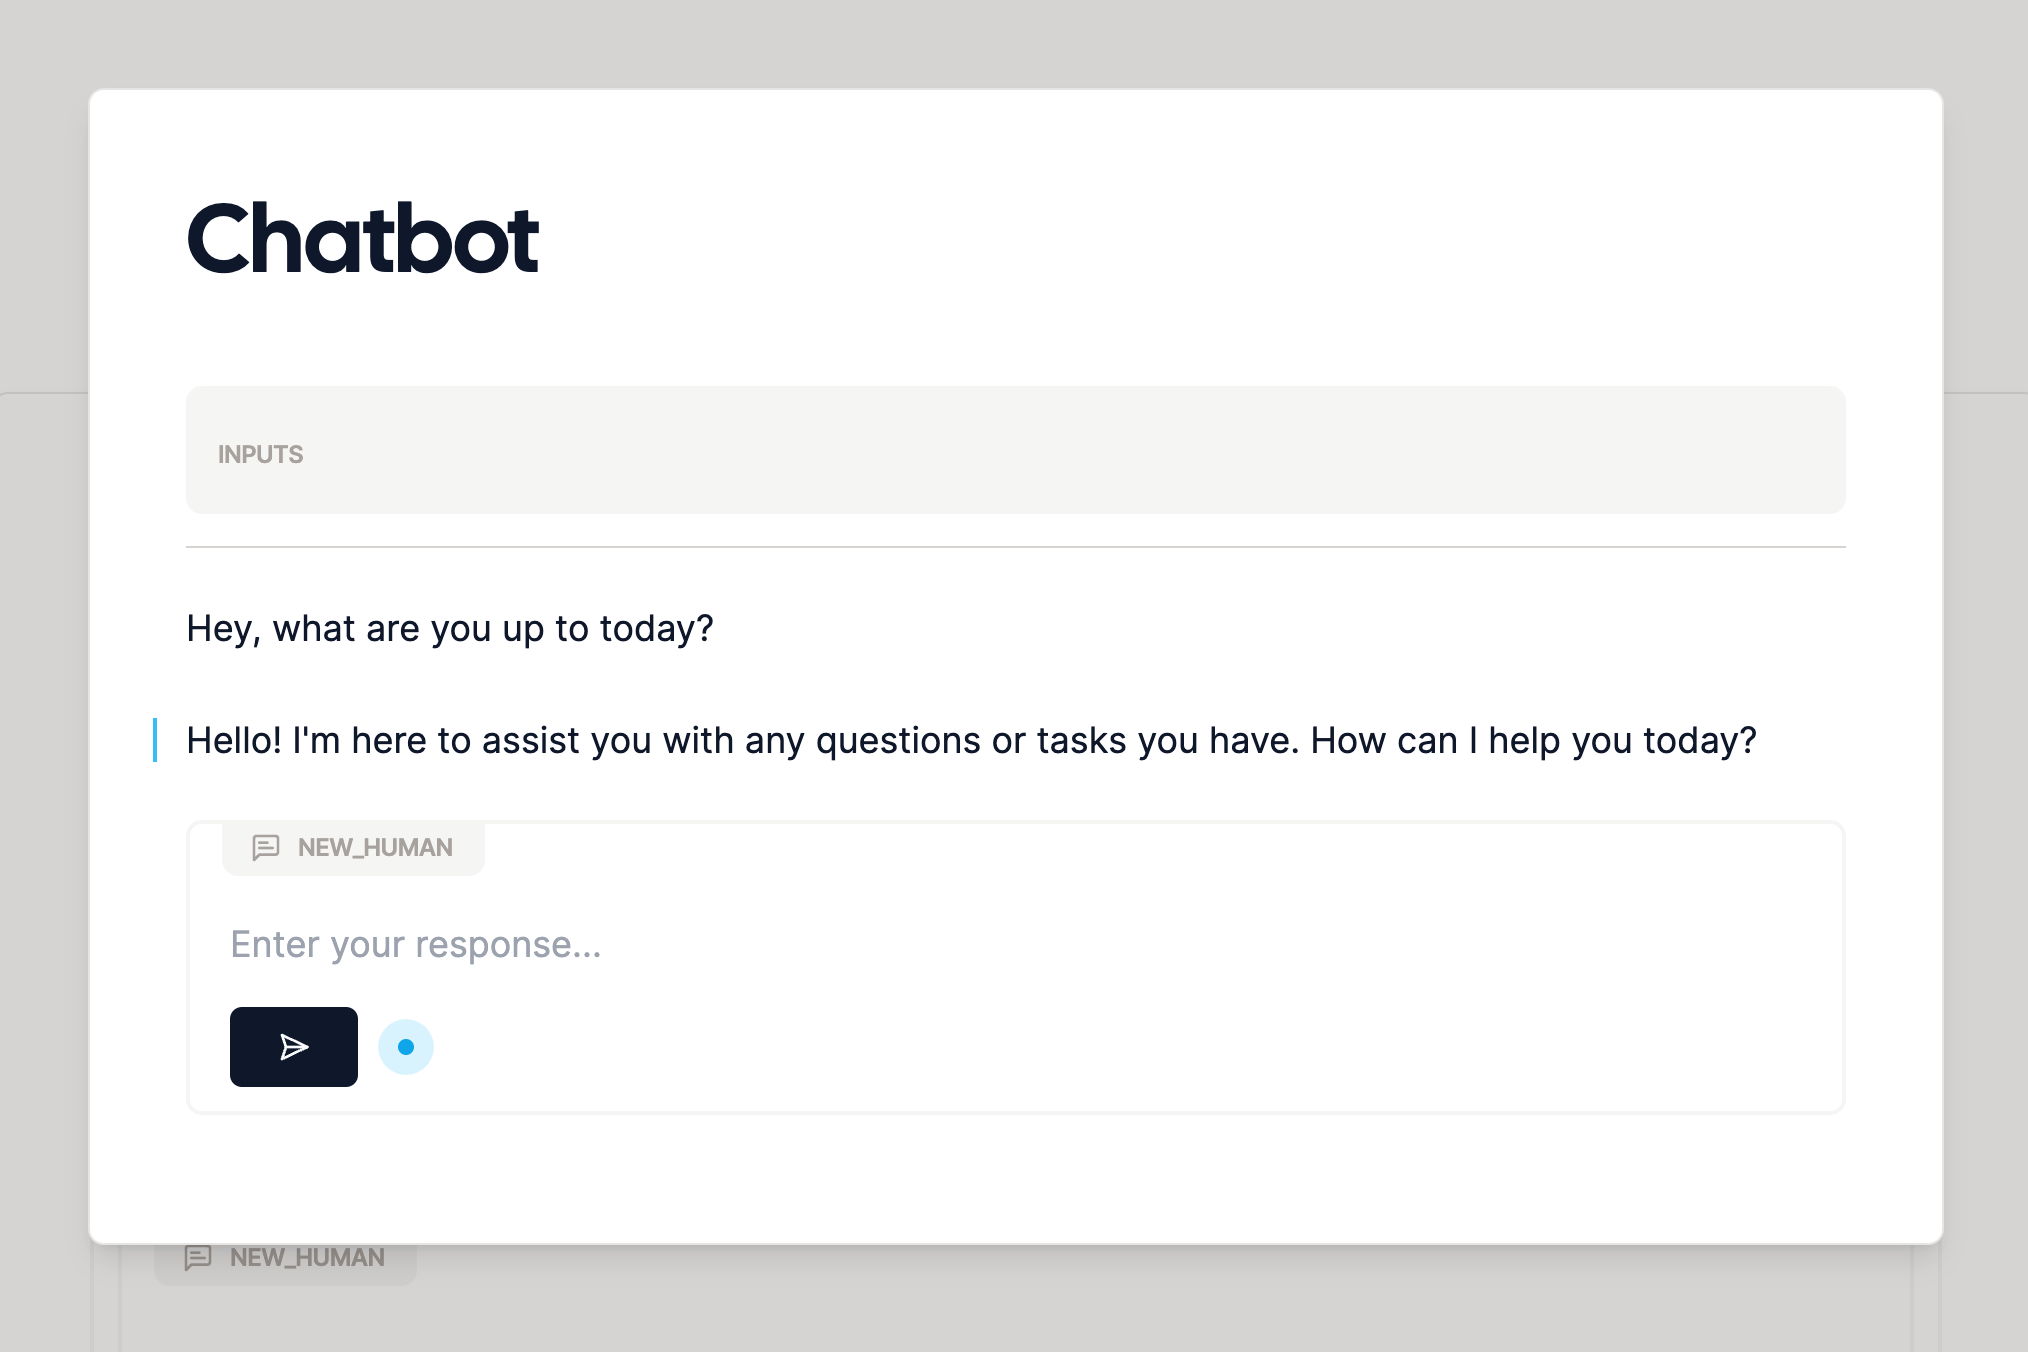
 At this point, you've got a working chatbot! Hit the "Run" button to see it in action.
 ## Taking it to the Next Level
You might notice the chatbot only responds 3 times! To make it more conversational, we'll have to tweak the default
loop settings. Click the loop node to open the sidebar, and notice the `Count` setting, currently set to 3 by default.
We could increase this count to get a larger number of repetitions, but real conversations tend to be a bit more
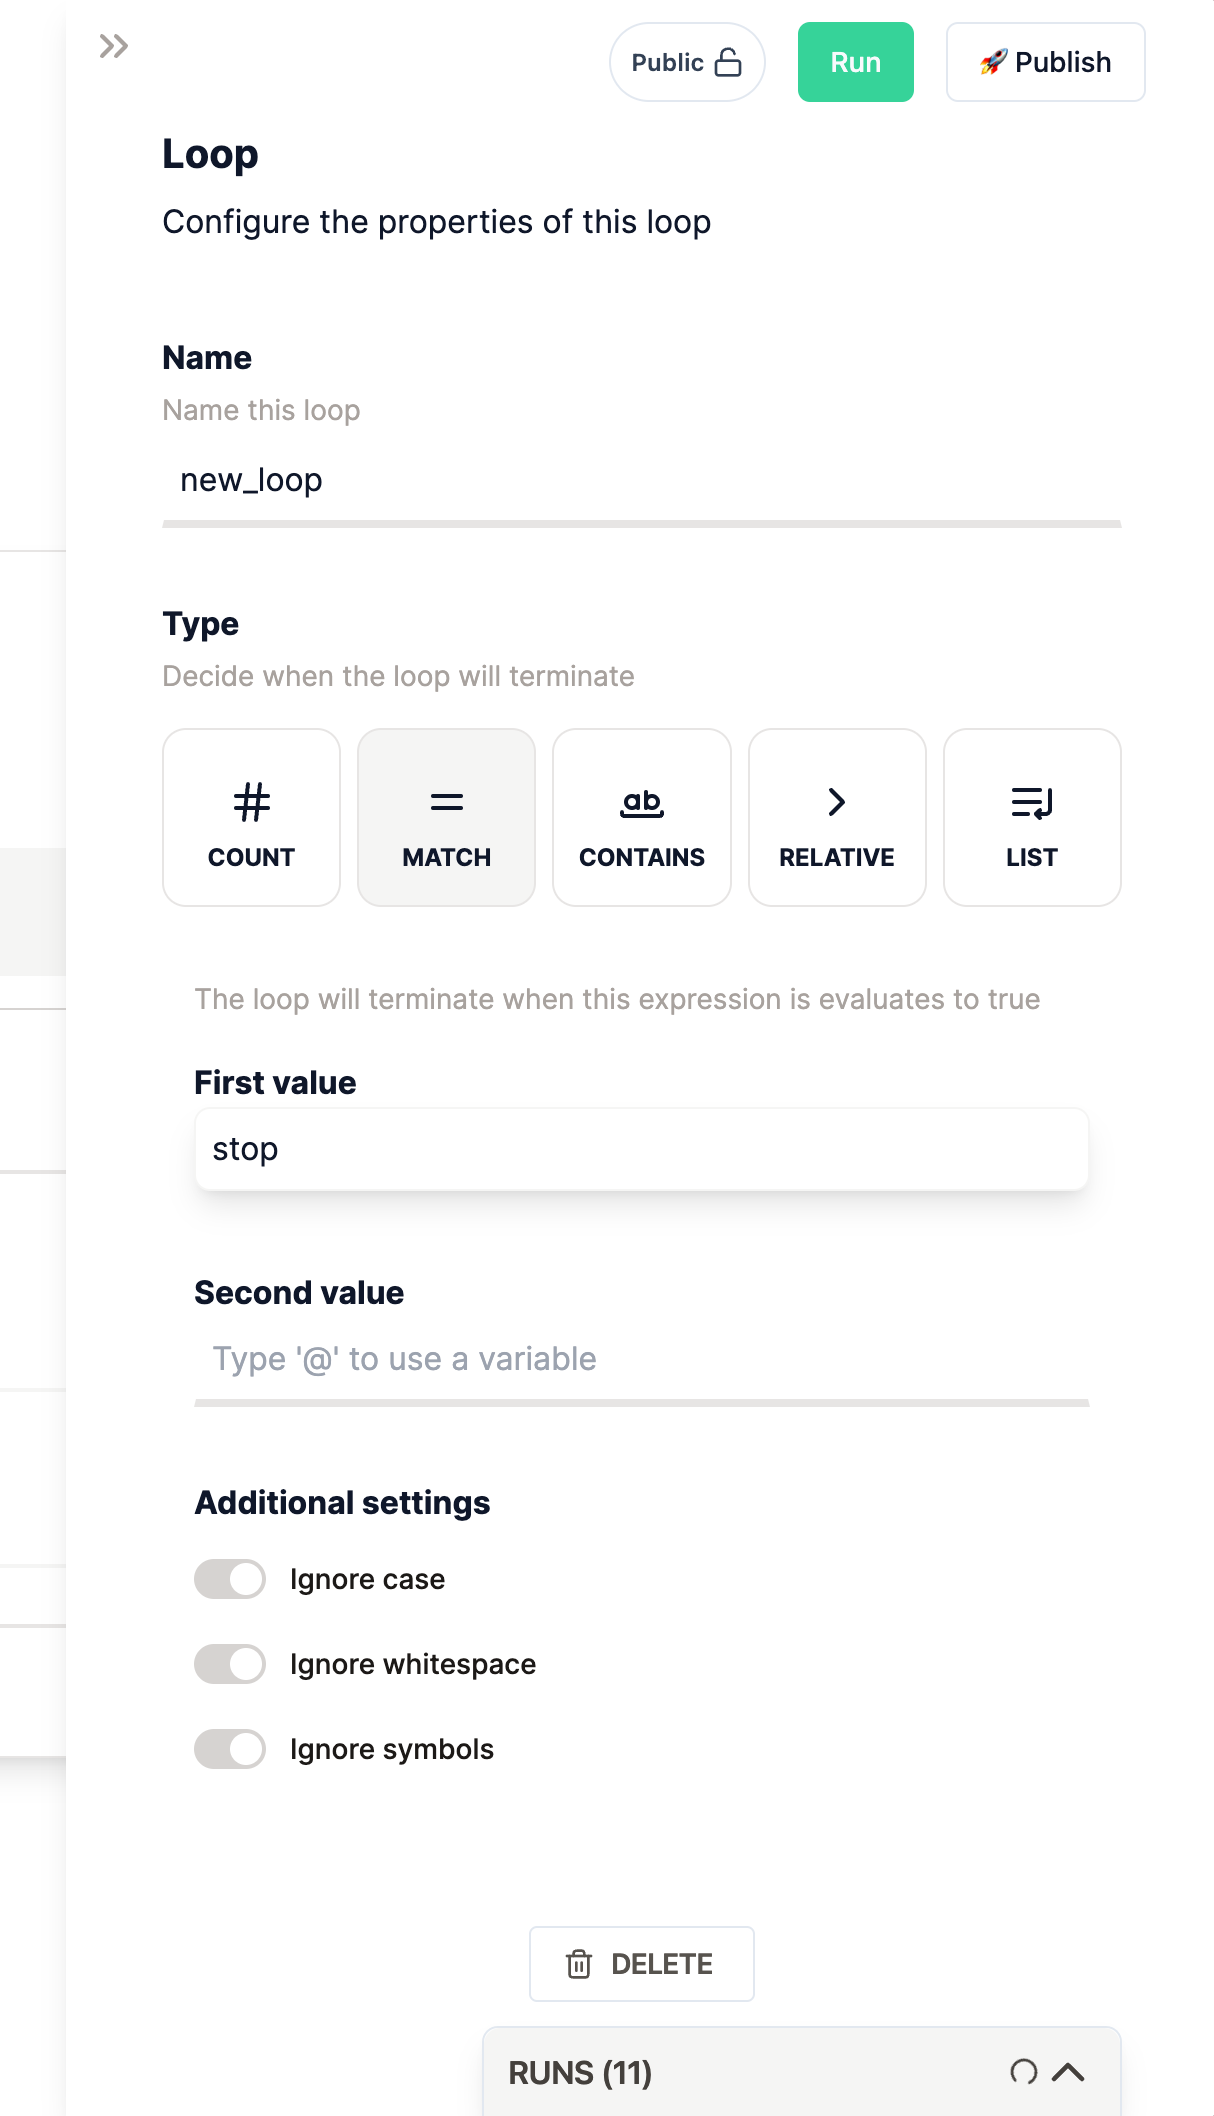
dynamic. Let's add a stop message instead, like a safeword for the chatbot to end the conversation.
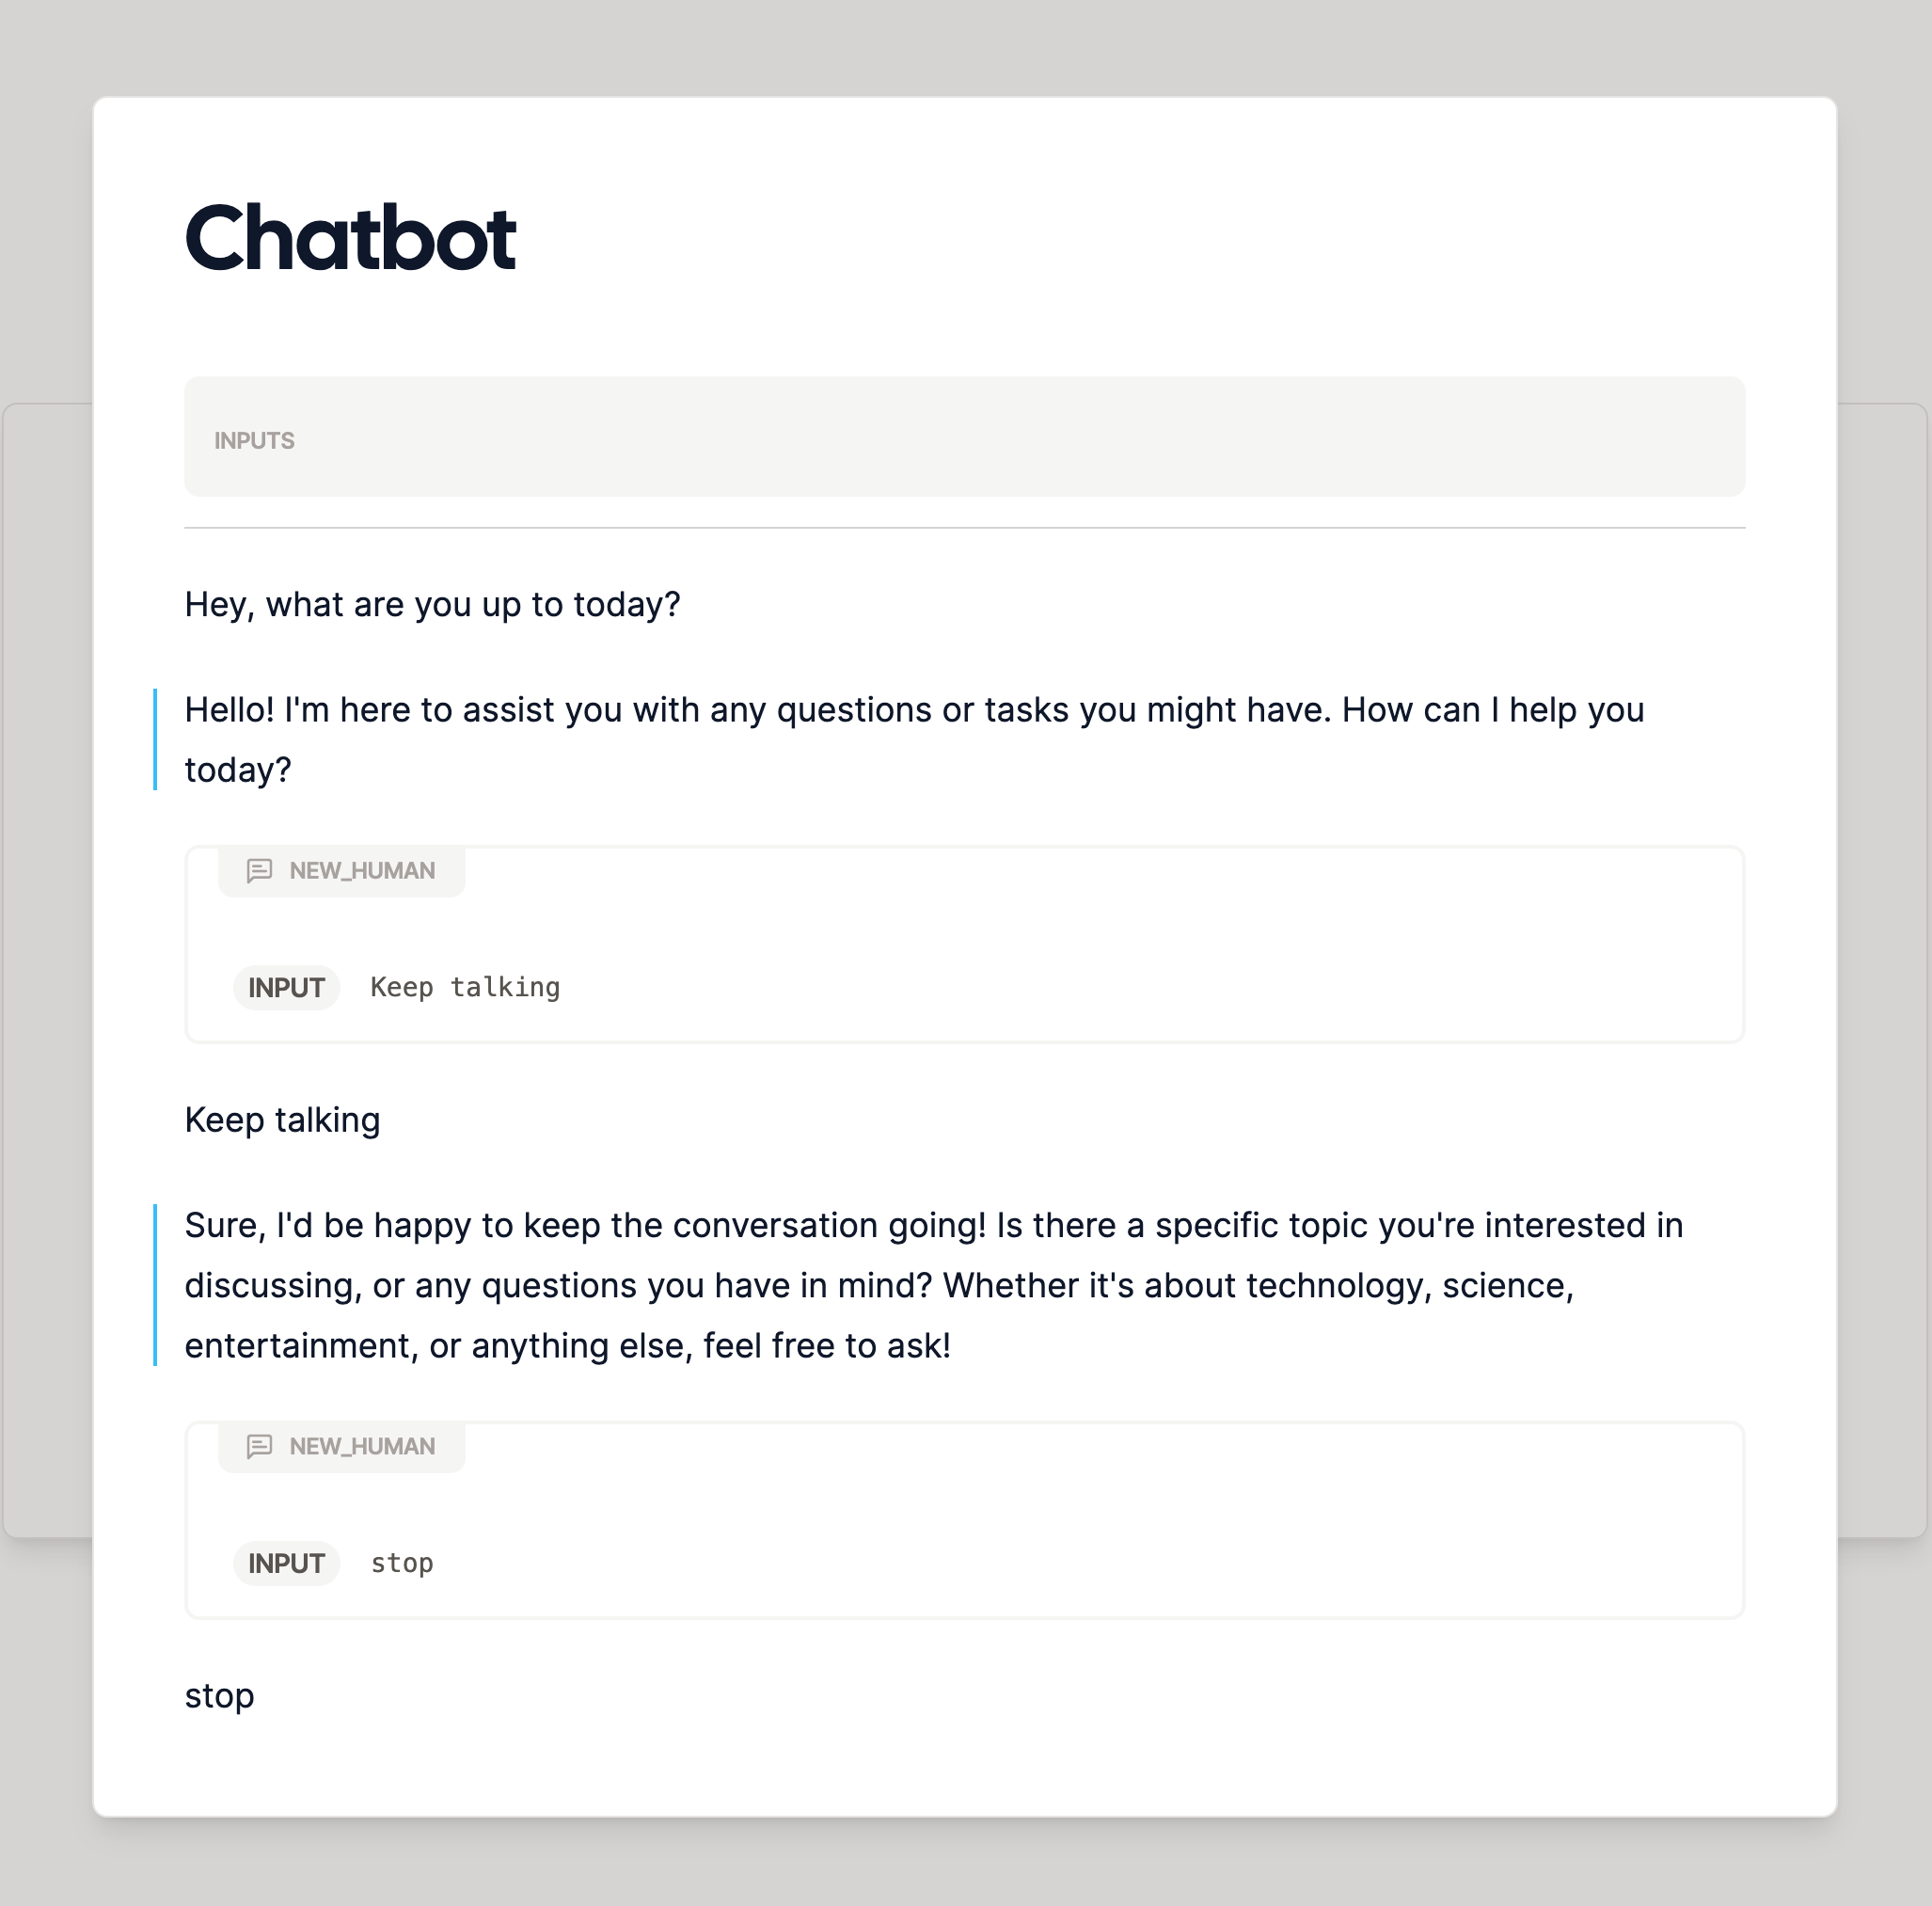
We'll use the last message from the human to trigger the stop, ending the loop when that last message matches a
predetermined safeword. You could use "blueberry" or "keep going" but for tradition's sake we'll go with "stop".
Enter your choice of stop message in the `First value` field.
## Taking it to the Next Level
You might notice the chatbot only responds 3 times! To make it more conversational, we'll have to tweak the default
loop settings. Click the loop node to open the sidebar, and notice the `Count` setting, currently set to 3 by default.
We could increase this count to get a larger number of repetitions, but real conversations tend to be a bit more
dynamic. Let's add a stop message instead, like a safeword for the chatbot to end the conversation.
We'll use the last message from the human to trigger the stop, ending the loop when that last message matches a
predetermined safeword. You could use "blueberry" or "keep going" but for tradition's sake we'll go with "stop".
Enter your choice of stop message in the `First value` field.
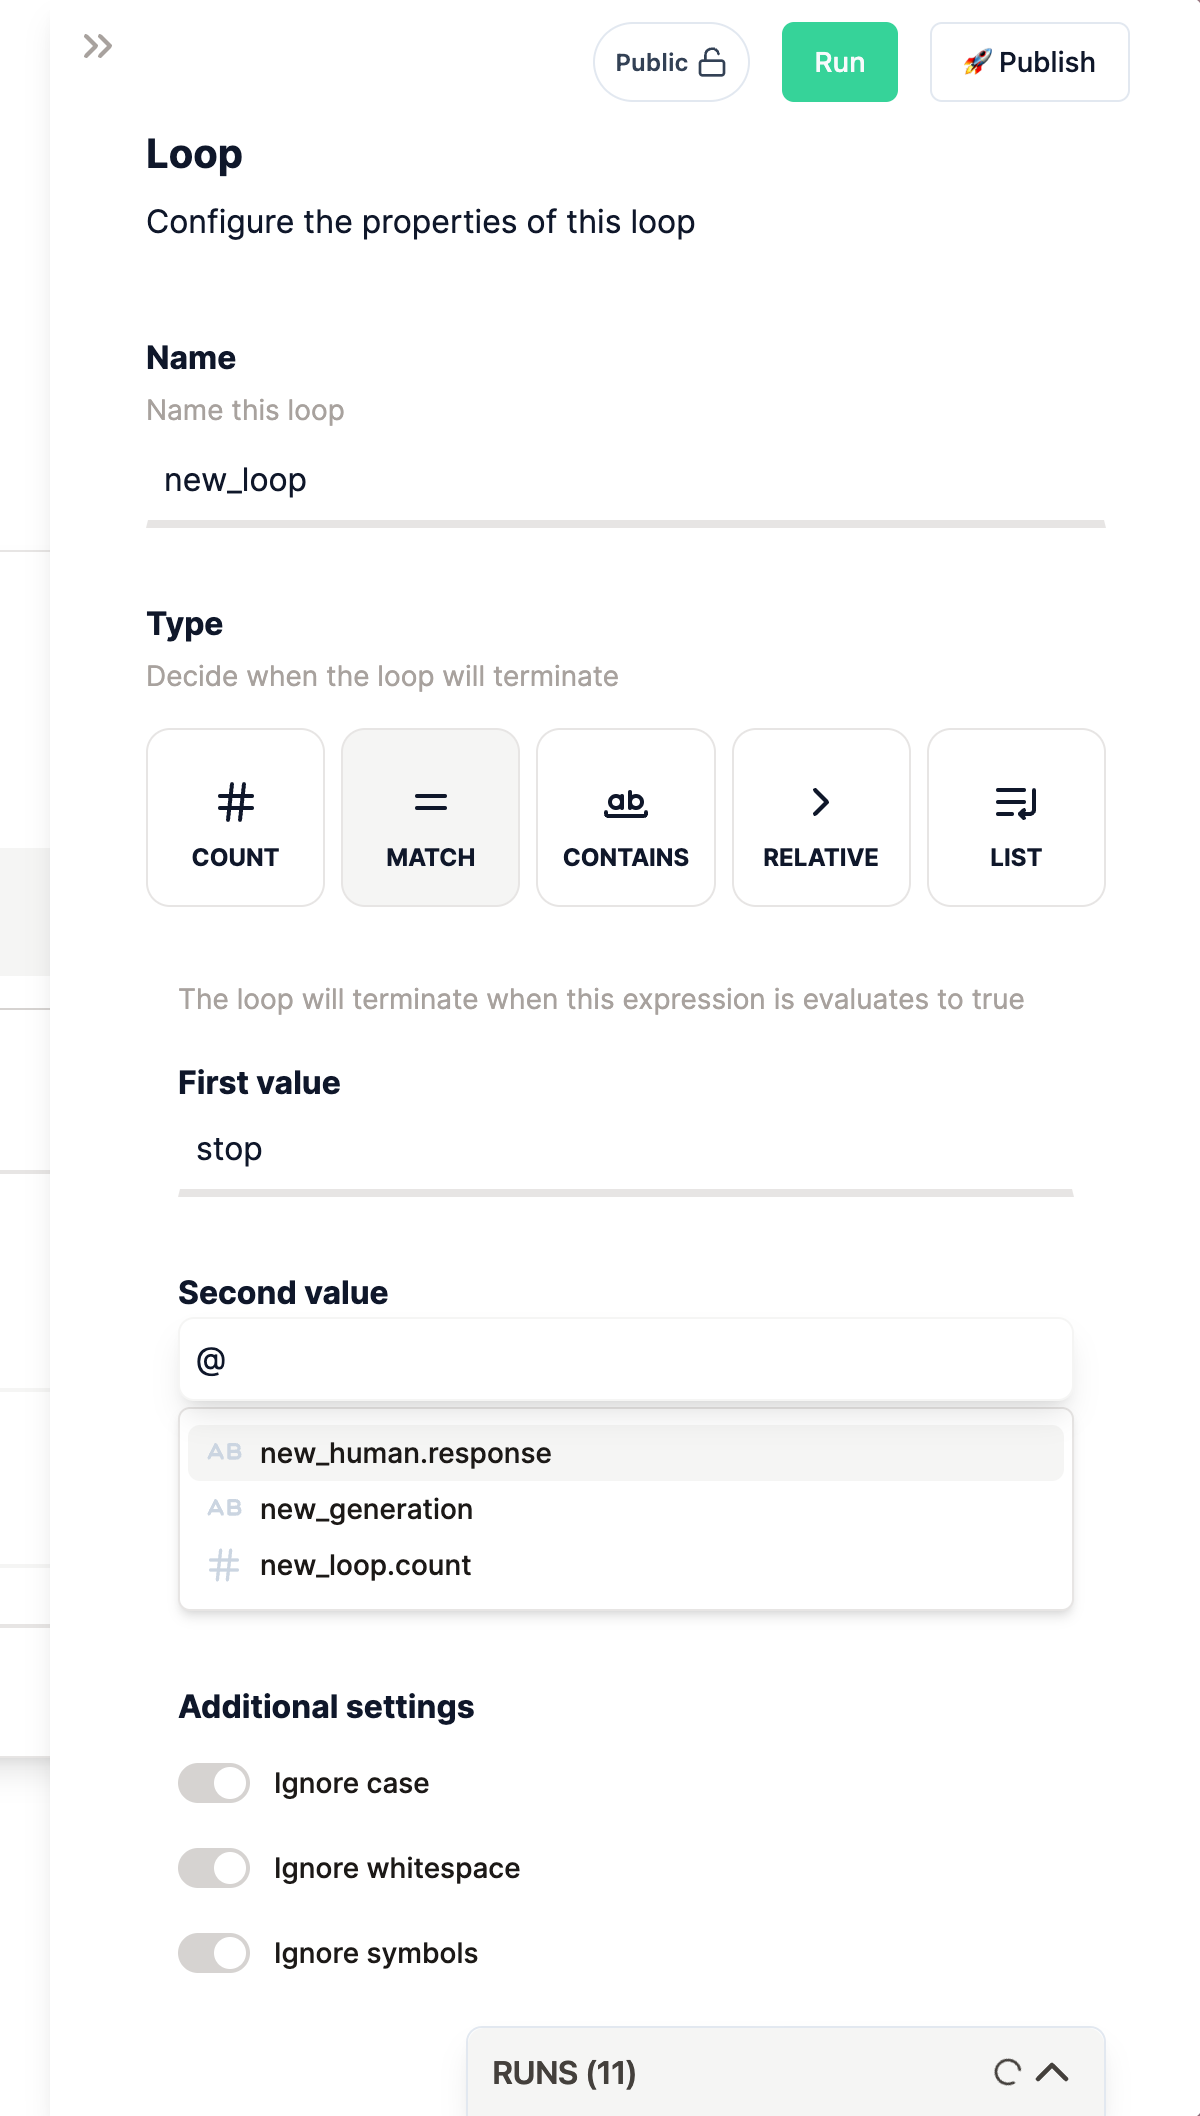
 To check if the human's last message matches the stop message, we'll use a [mention](/nodes/mention) node to
reference the human's output. Inside the `Second value` field, type `@` to bring up the mention options, and select
the one matching the name of the human ask node.
To check if the human's last message matches the stop message, we'll use a [mention](/nodes/mention) node to
reference the human's output. Inside the `Second value` field, type `@` to bring up the mention options, and select
the one matching the name of the human ask node.
 Now let's test it out!
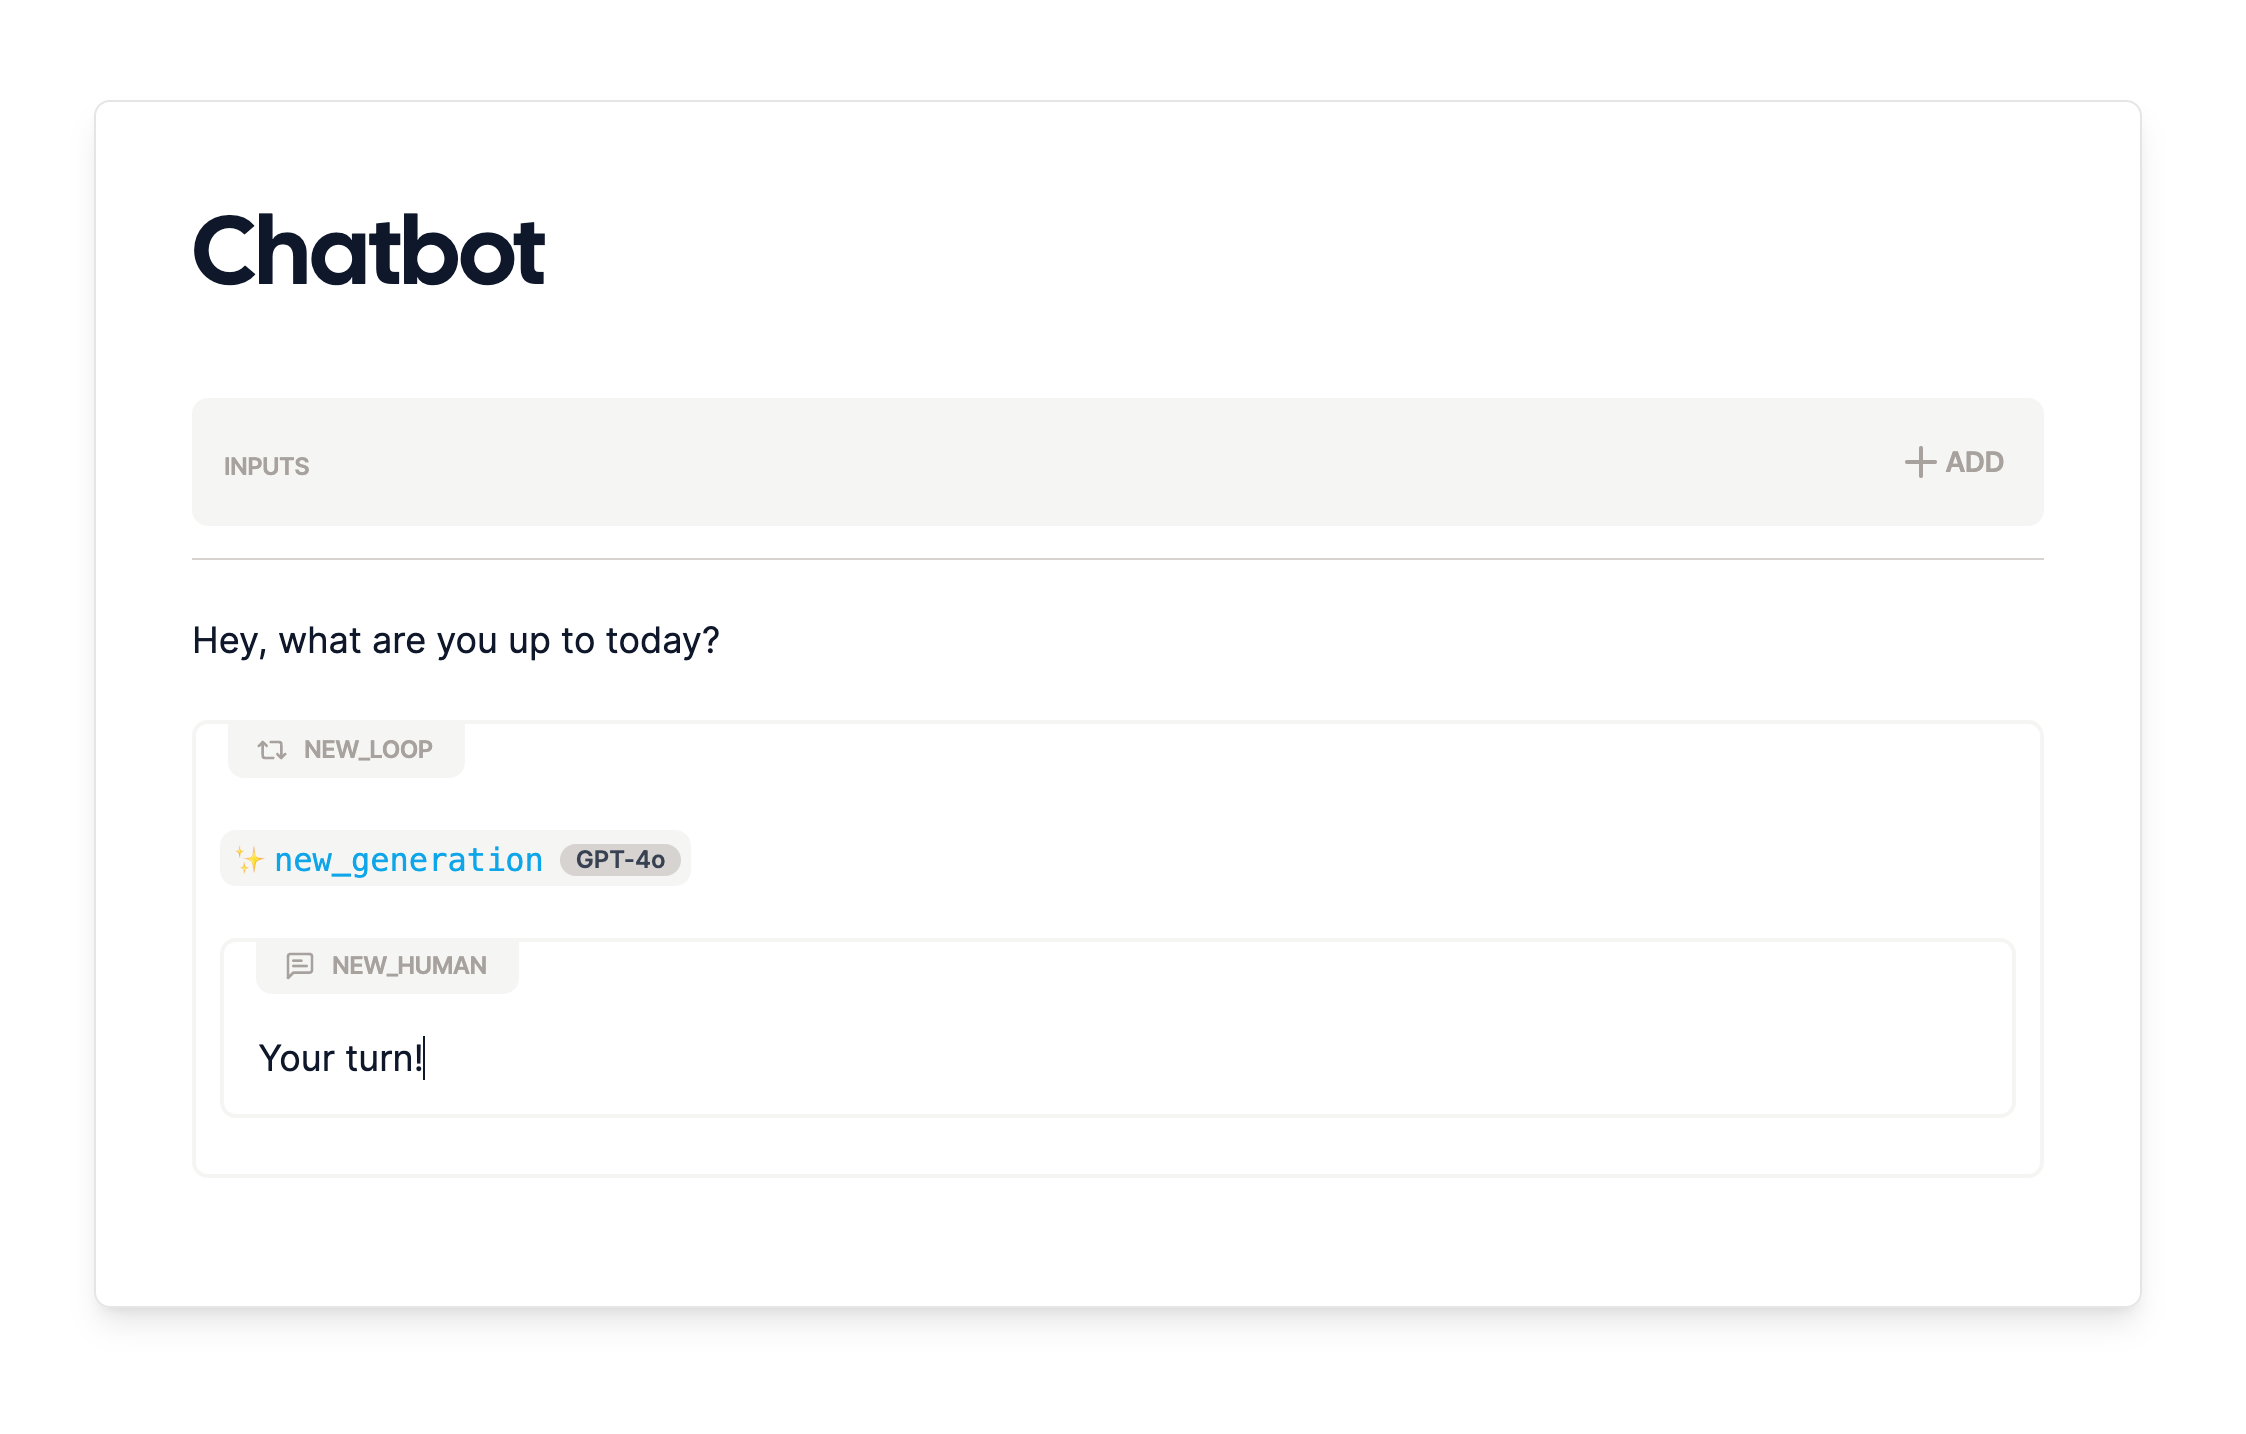
 Finally, it's always a good idea to add some polish to your chatbot. I'll add a "your turn" indicator to the human ask
here, so it's clear when the user should respond.
Finally, it's always a good idea to add some polish to your chatbot. I'll add a "your turn" indicator to the human ask
here, so it's clear when the user should respond.
 I'll also add a quick "Chatbot: " indicator before the generation that produces the AI's response, for that classic
early 2000s chatroom feel. This is as easy as typing in the text just before the generation node.
I'll also add a quick "Chatbot: " indicator before the generation that produces the AI's response, for that classic
early 2000s chatroom feel. This is as easy as typing in the text just before the generation node.
 At this point, we'll get a conversation that looks exactly like what we had in the demo at the start.
Next, we could add more features to make the chatbot more engaging. For example, when the chatbot stops, it just stops.
To make it more natural, we could add a goodbye message to the AI. We could also update the names of the nodes to make
the flow easier to follow, or perhaps add an input for the user's name so the AI can personalize the conversation.
The possibilities are endless.
And that's it! You've made a chatbot in under 5 minutes. If you have any questions or need help, feel free to reach
out. We're excited to see what you come up with.
At this point, we'll get a conversation that looks exactly like what we had in the demo at the start.
Next, we could add more features to make the chatbot more engaging. For example, when the chatbot stops, it just stops.
To make it more natural, we could add a goodbye message to the AI. We could also update the names of the nodes to make
the flow easier to follow, or perhaps add an input for the user's name so the AI can personalize the conversation.
The possibilities are endless.
And that's it! You've made a chatbot in under 5 minutes. If you have any questions or need help, feel free to reach
out. We're excited to see what you come up with.