Steps
1
Create a New Prompt
Start by creating a new Prompt. You can do this by clicking the “New Prompt” button on the editor.
2
Start the Conversation
Give the chatbot an initial message to get the ball rolling. Just type whatever you want the AI to see!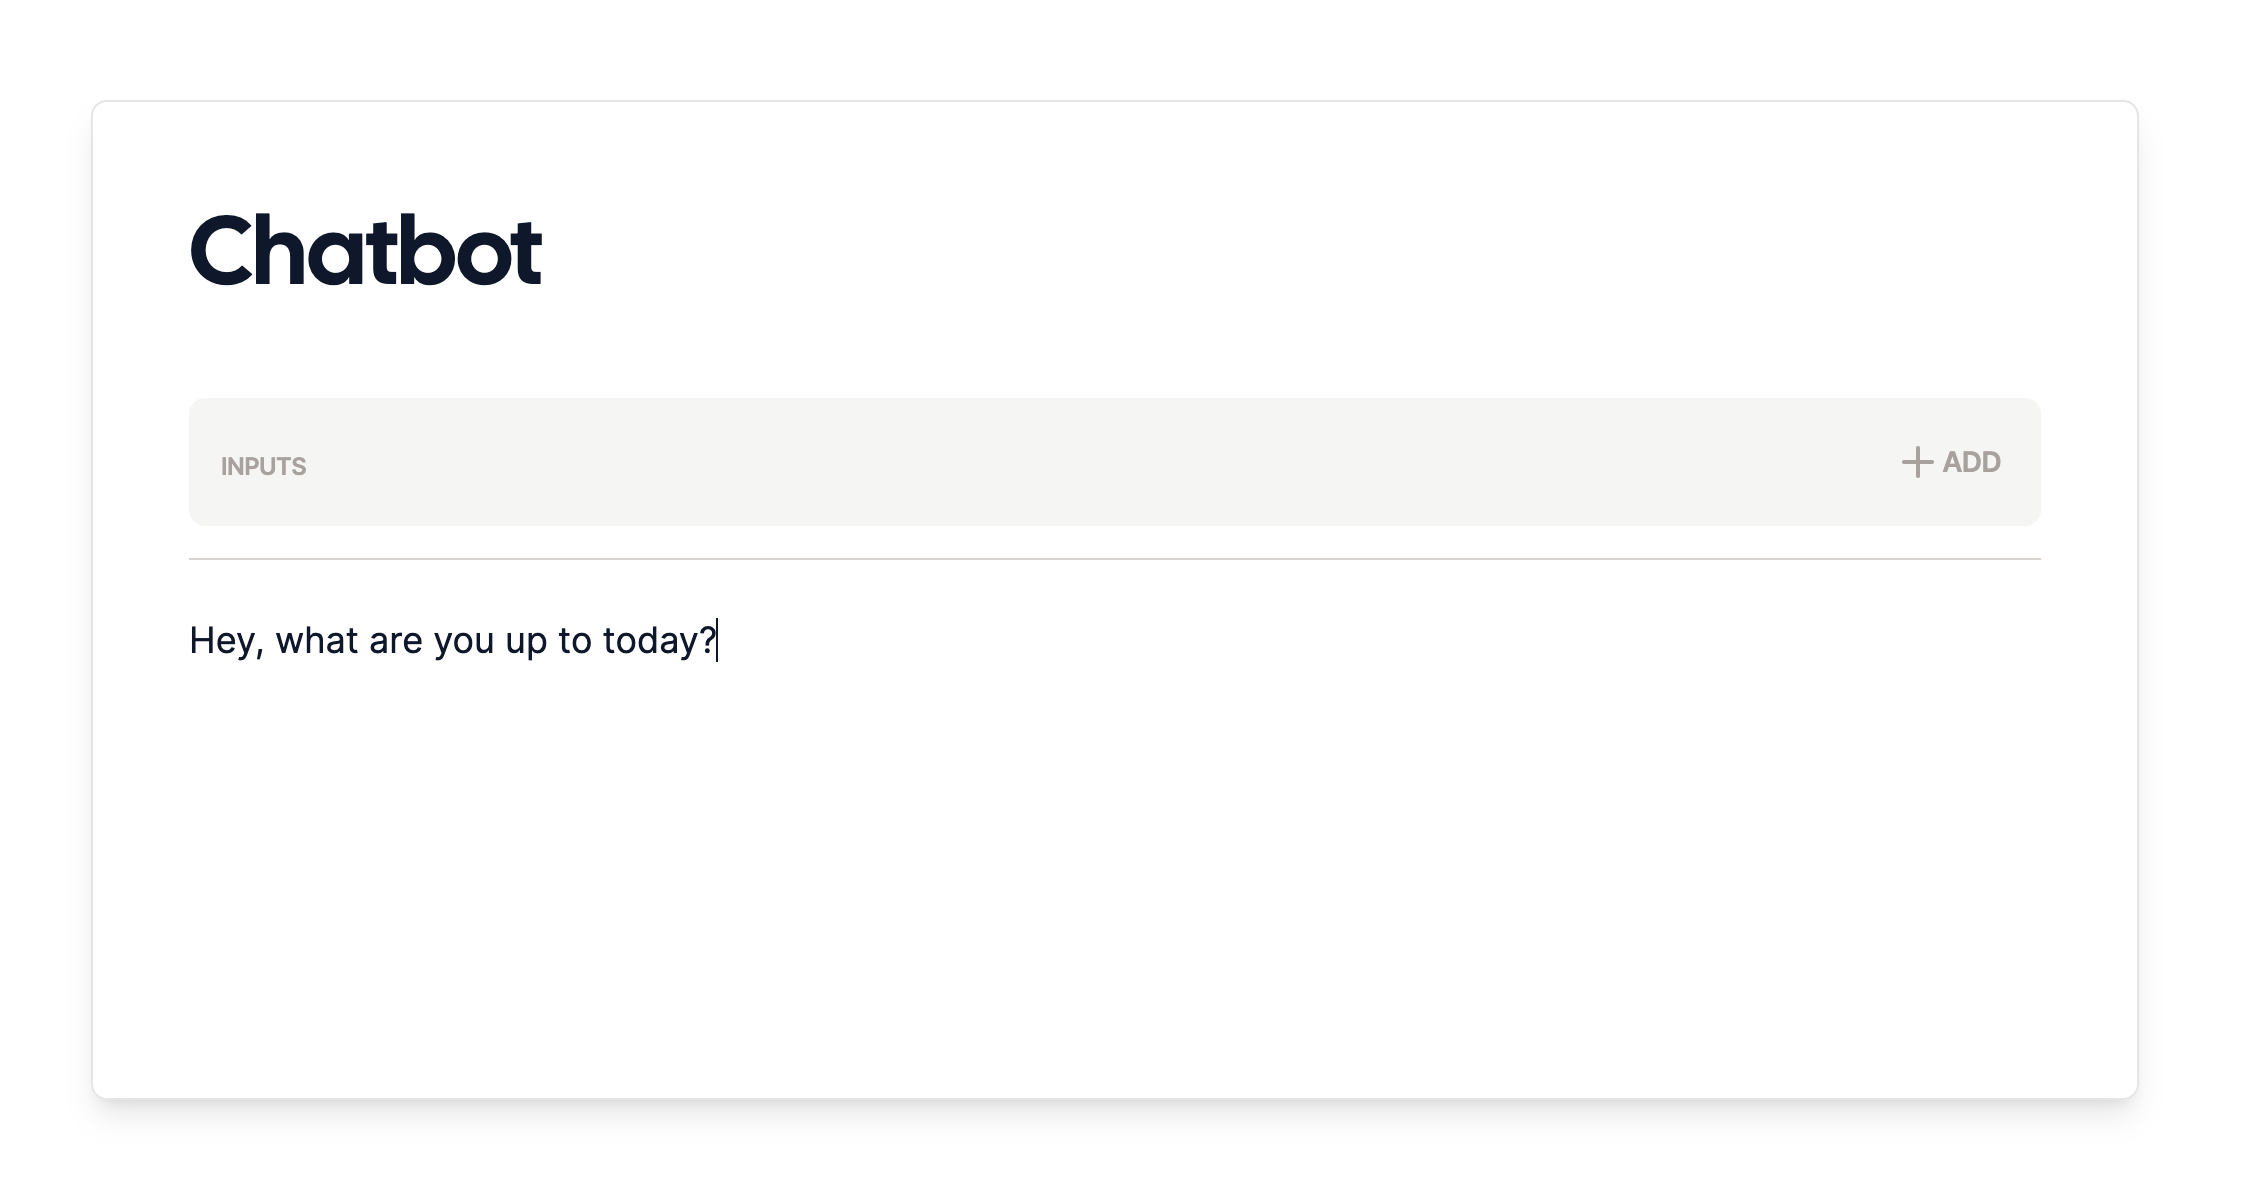
3
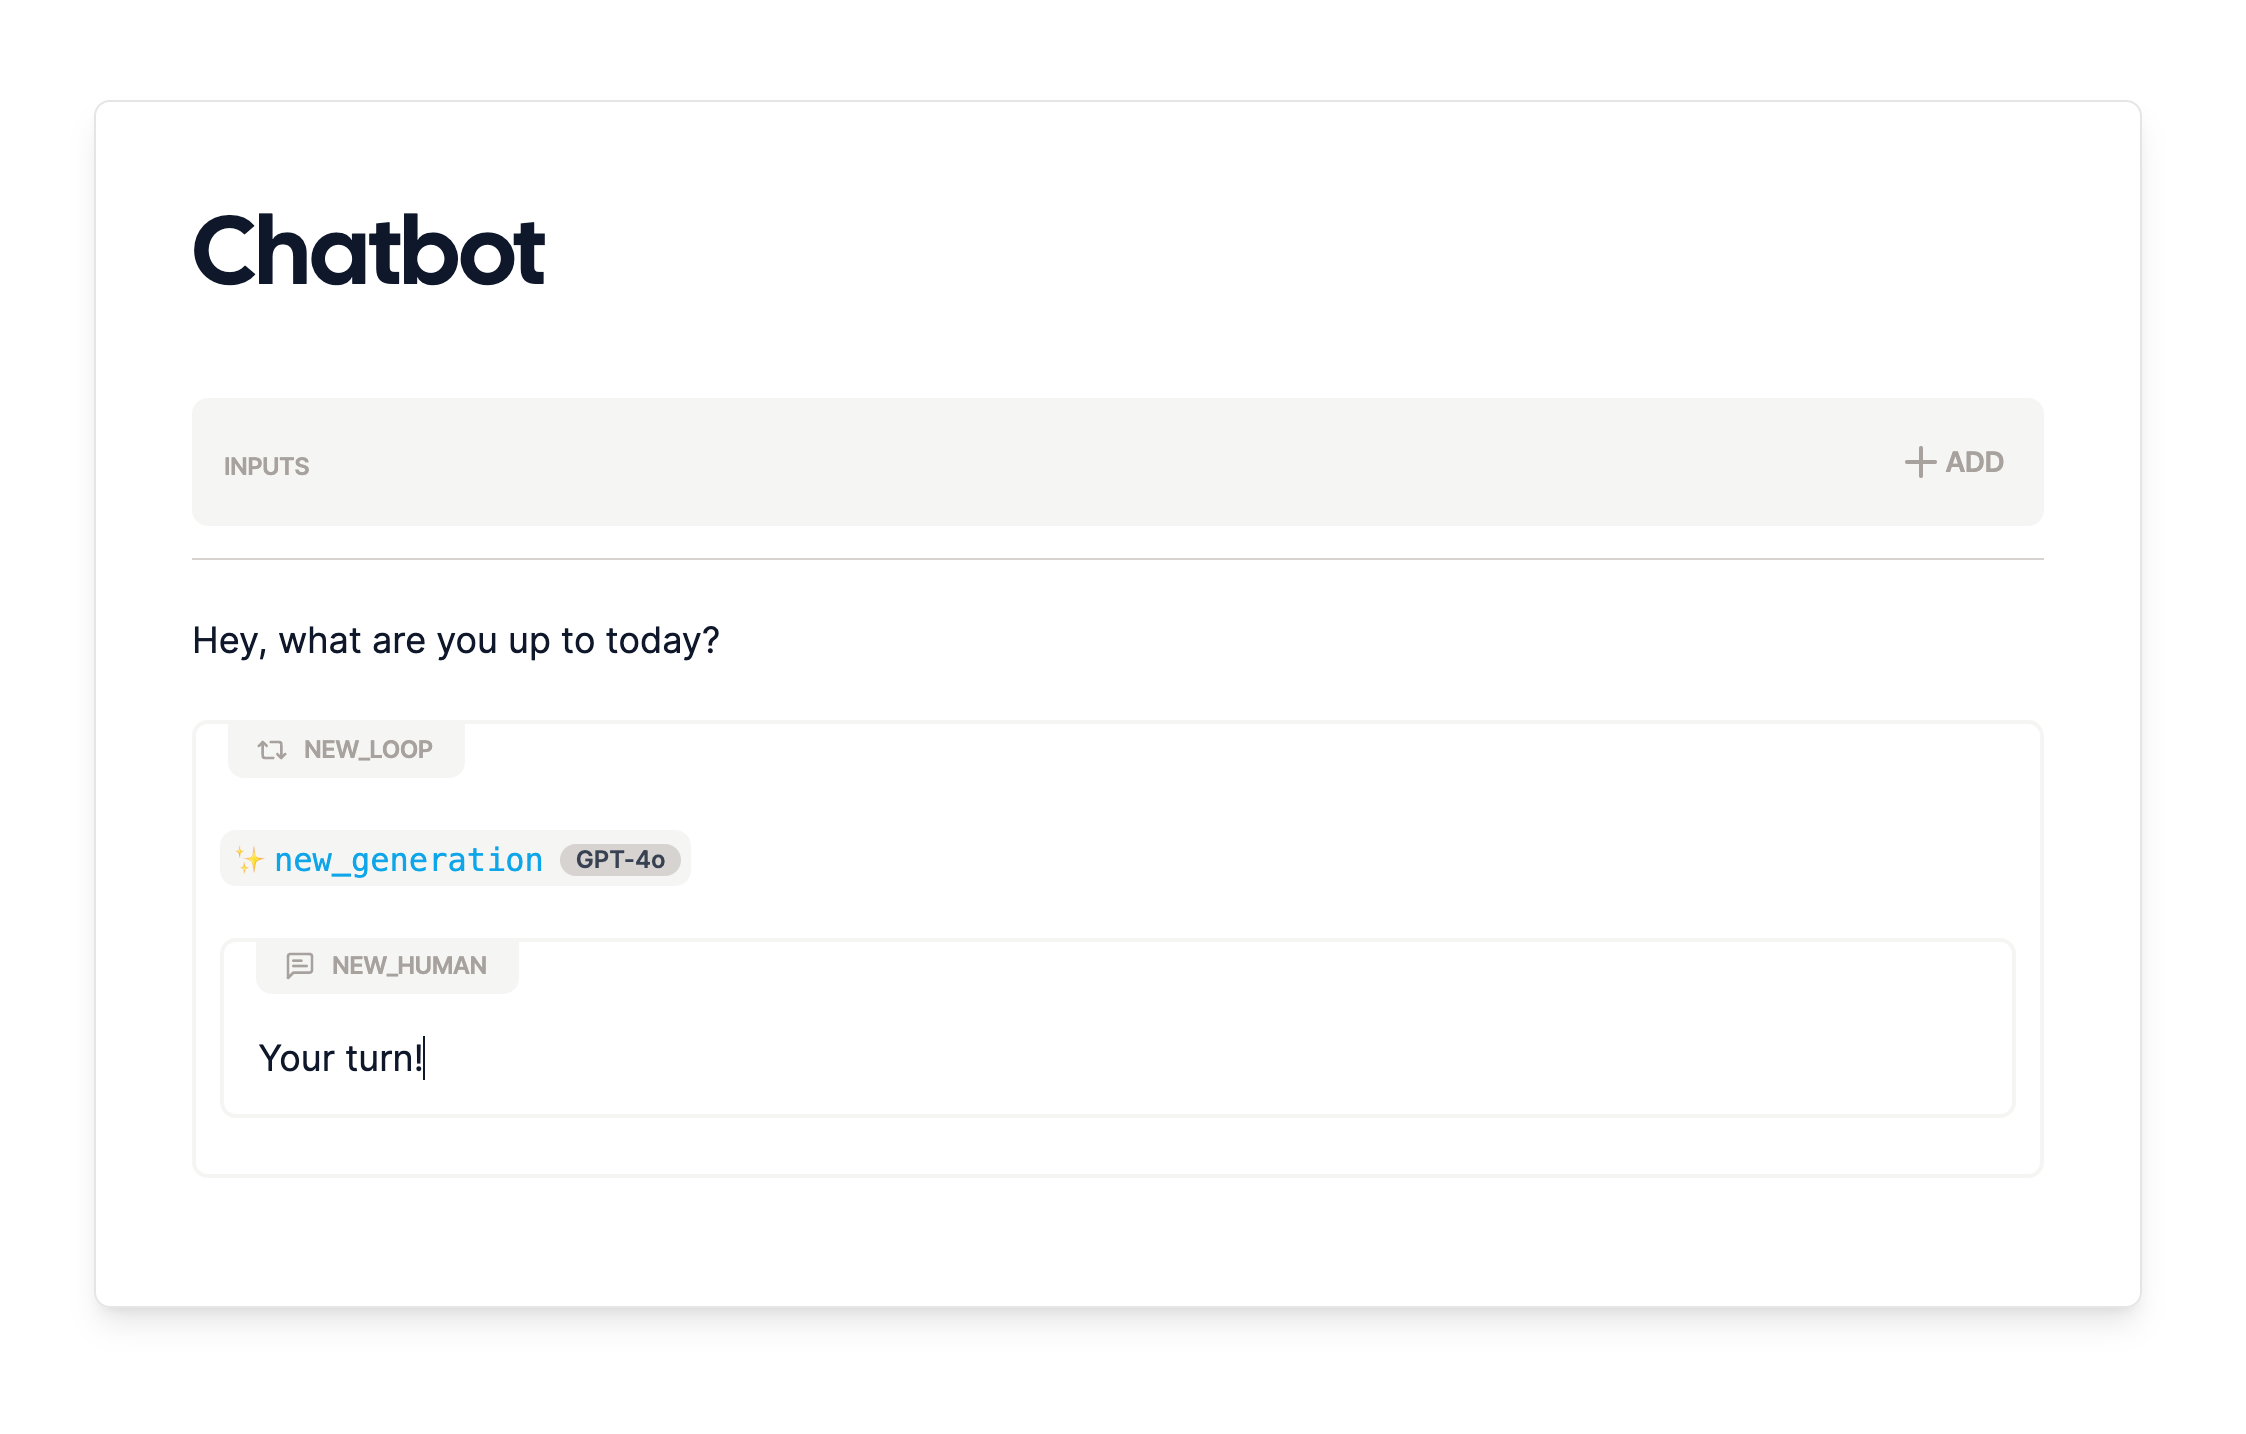
Add a Loop
To keep the conversation going, add a loop node. This will allow the conversation steps we’ll add
next to repeat.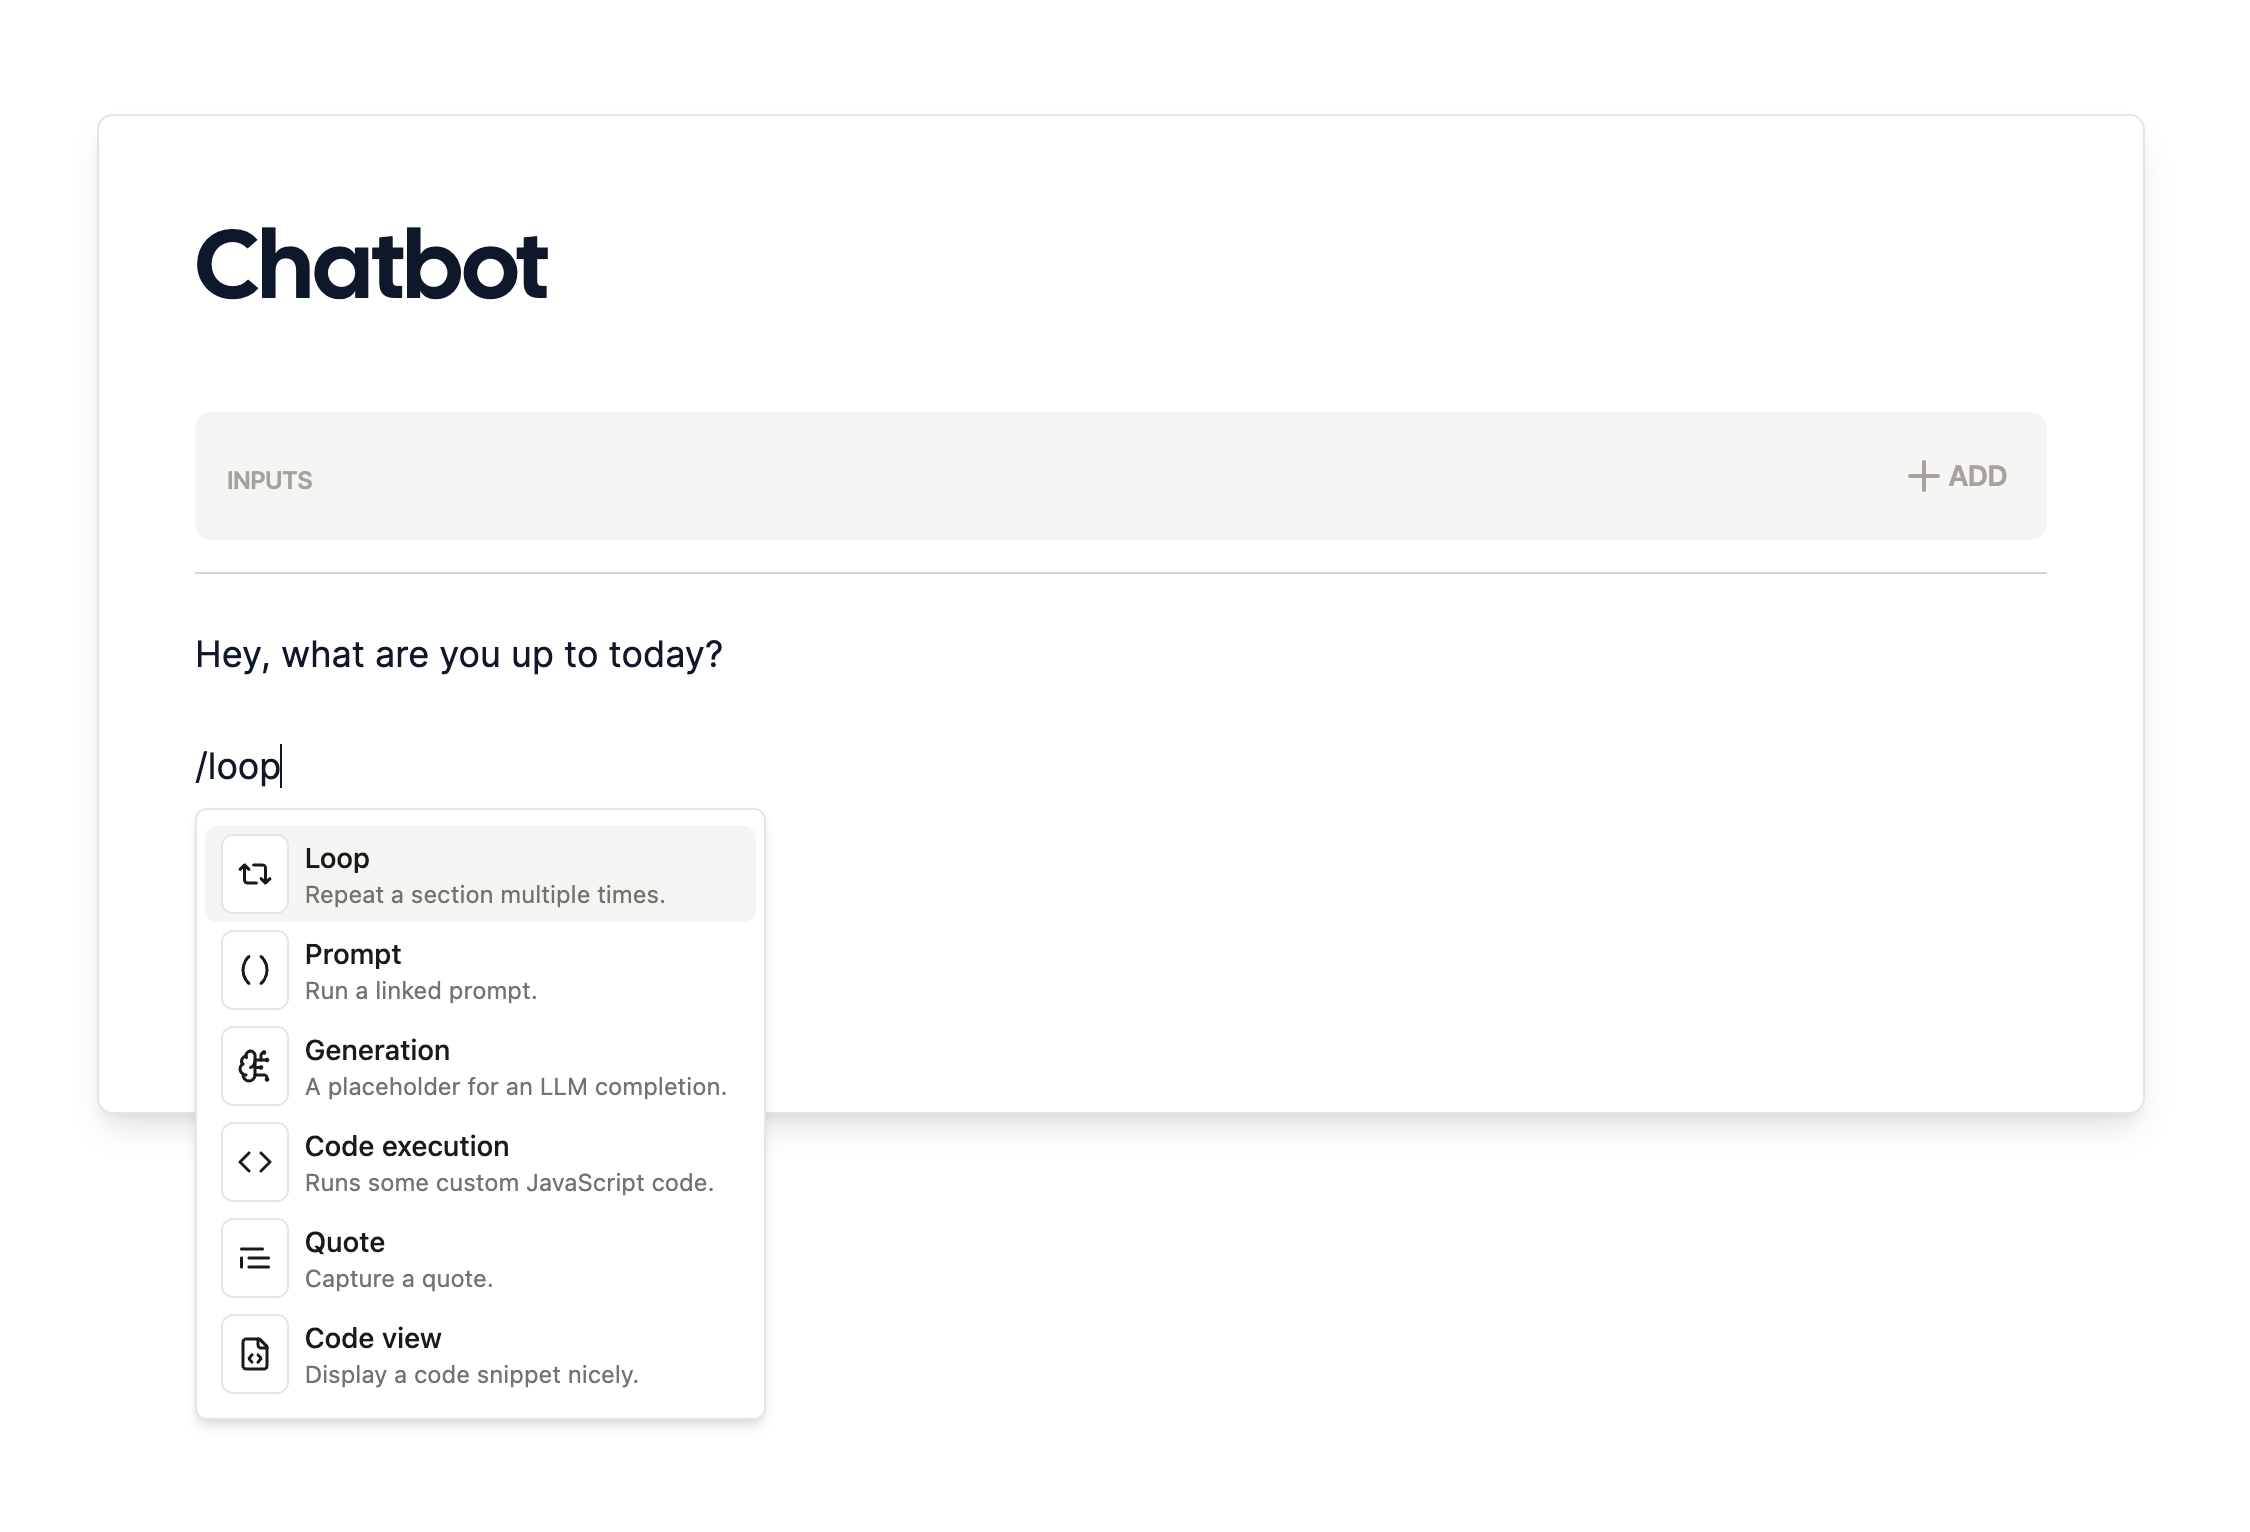
4
Now for some AI
Add a generation node inside the loop to generate the AI’s response. You can use the default
settings or customize them to your liking.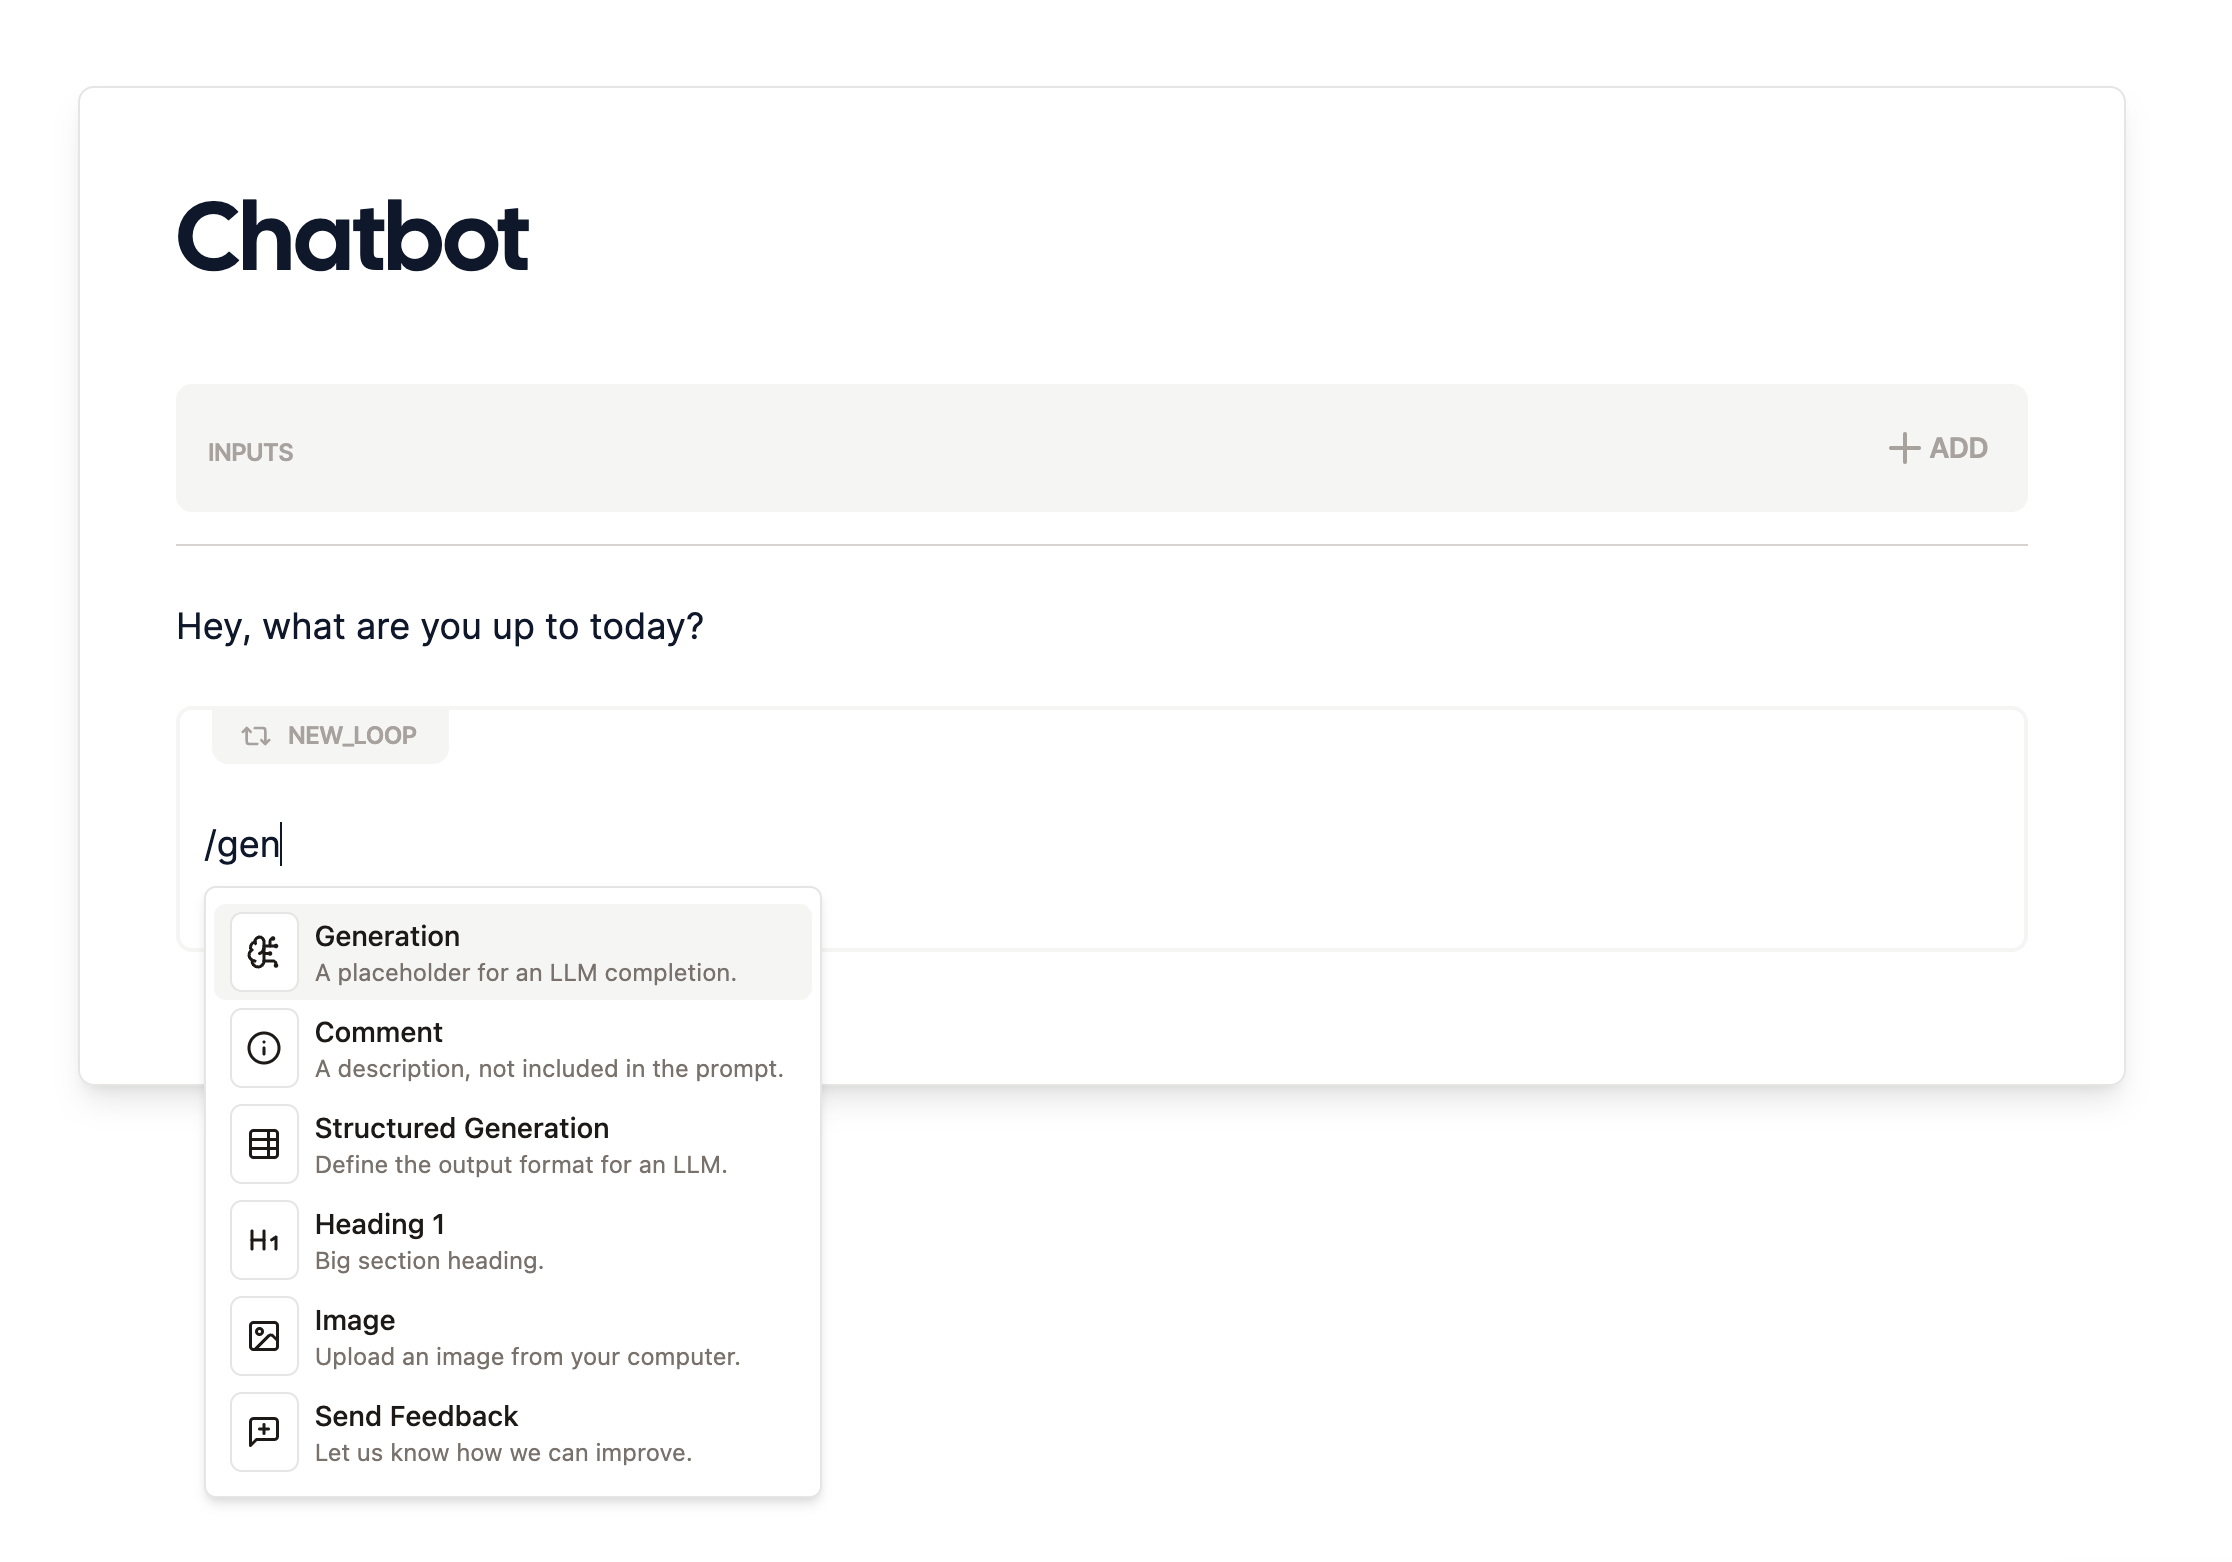
5
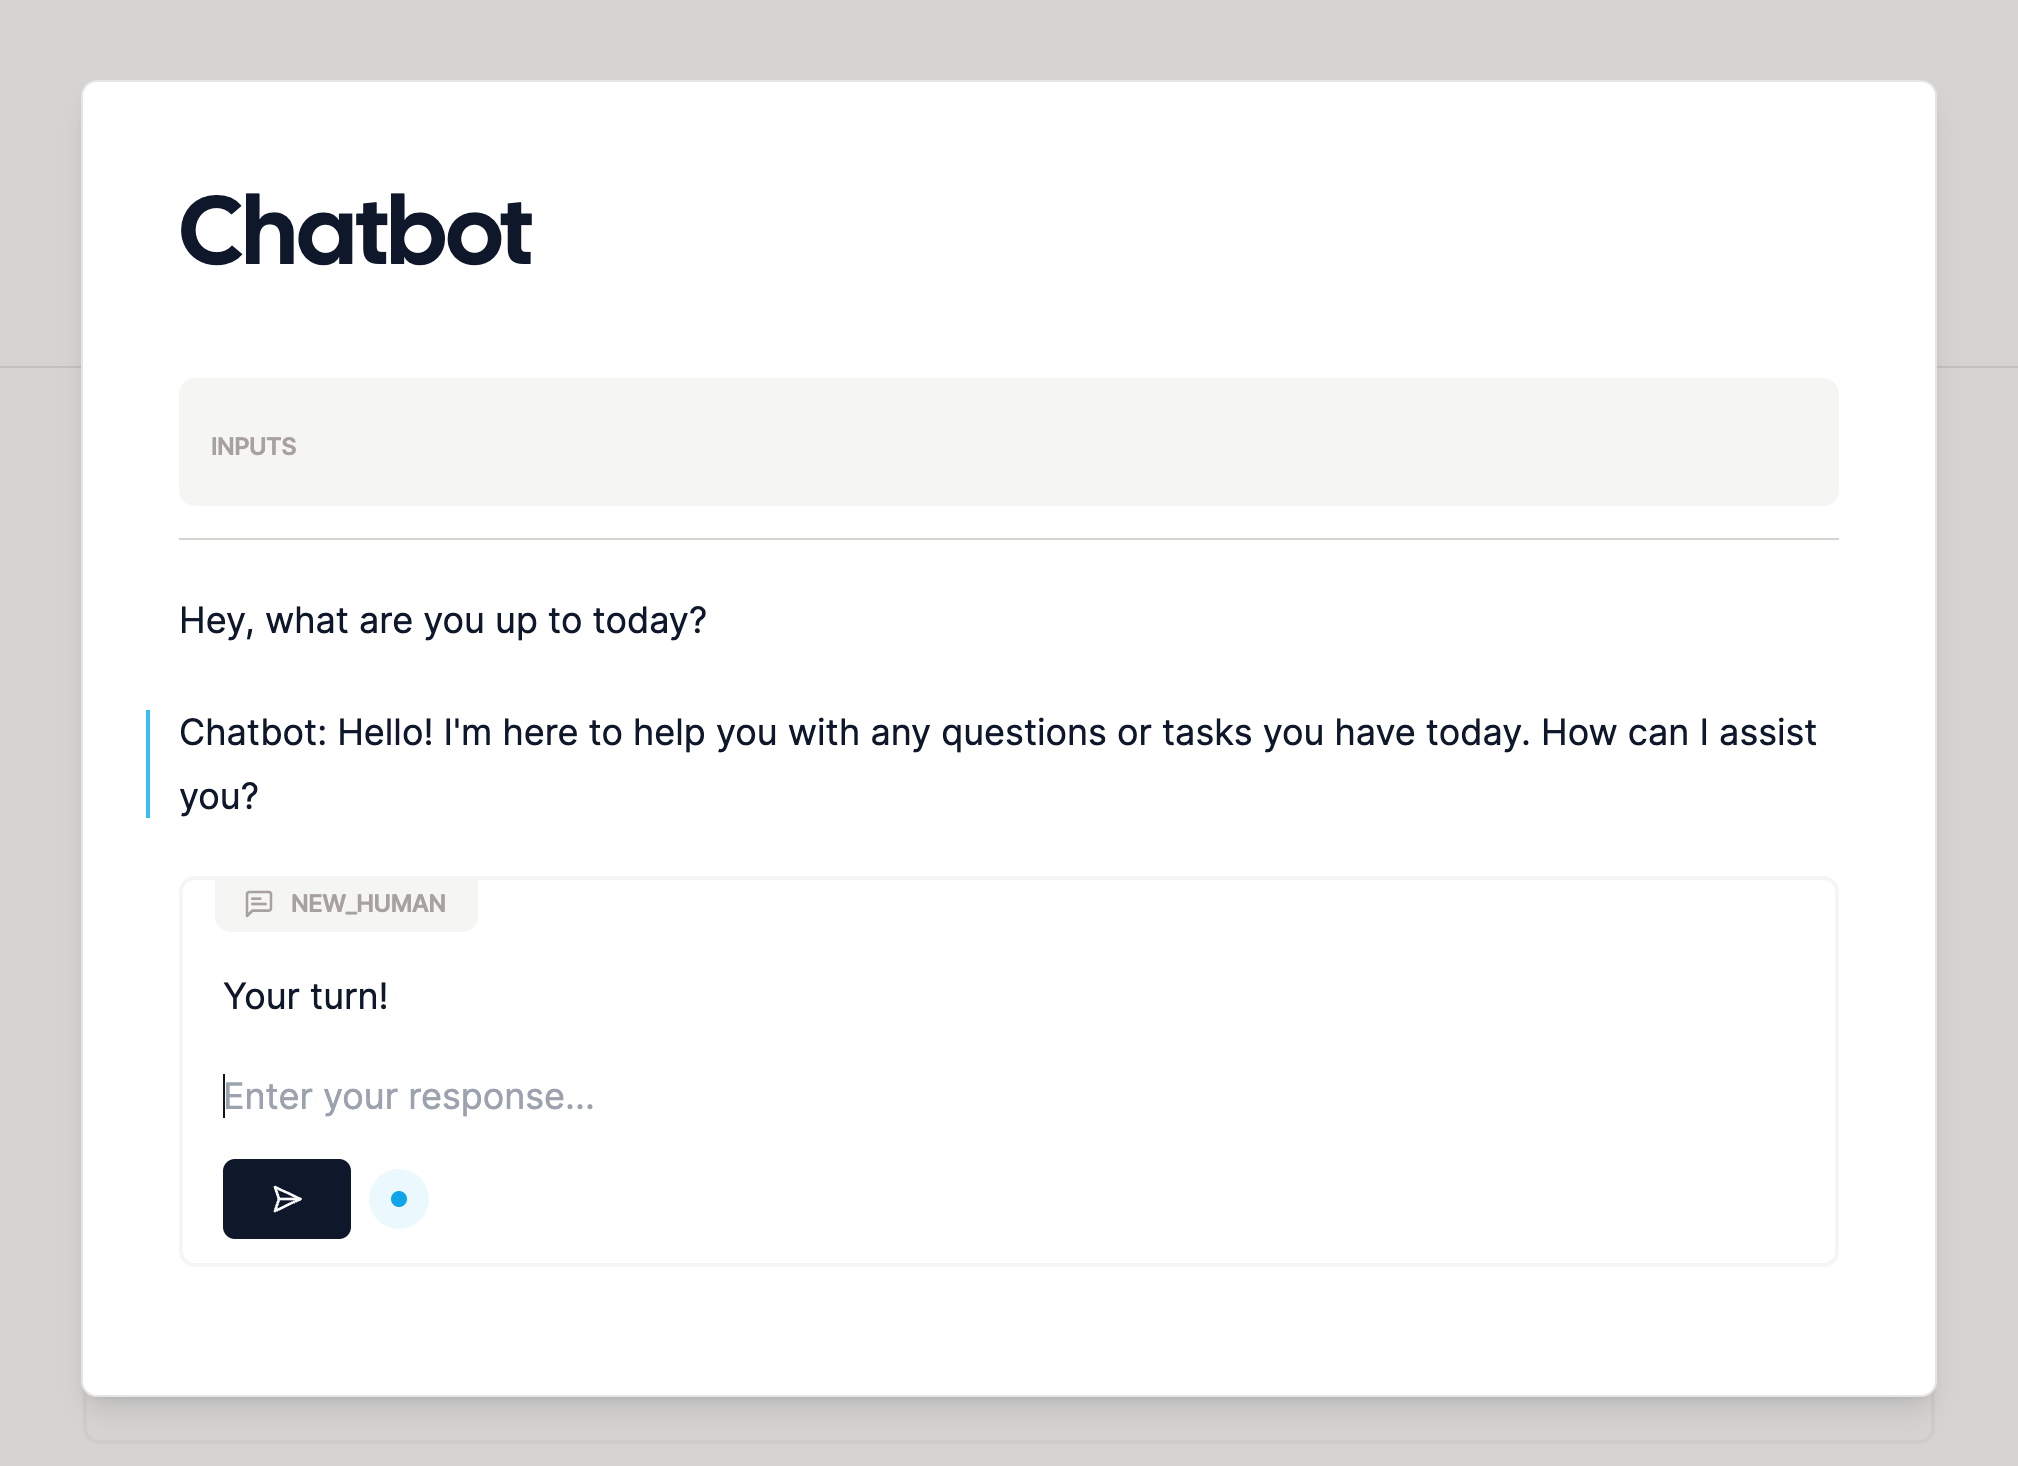
It Takes Two to Tango
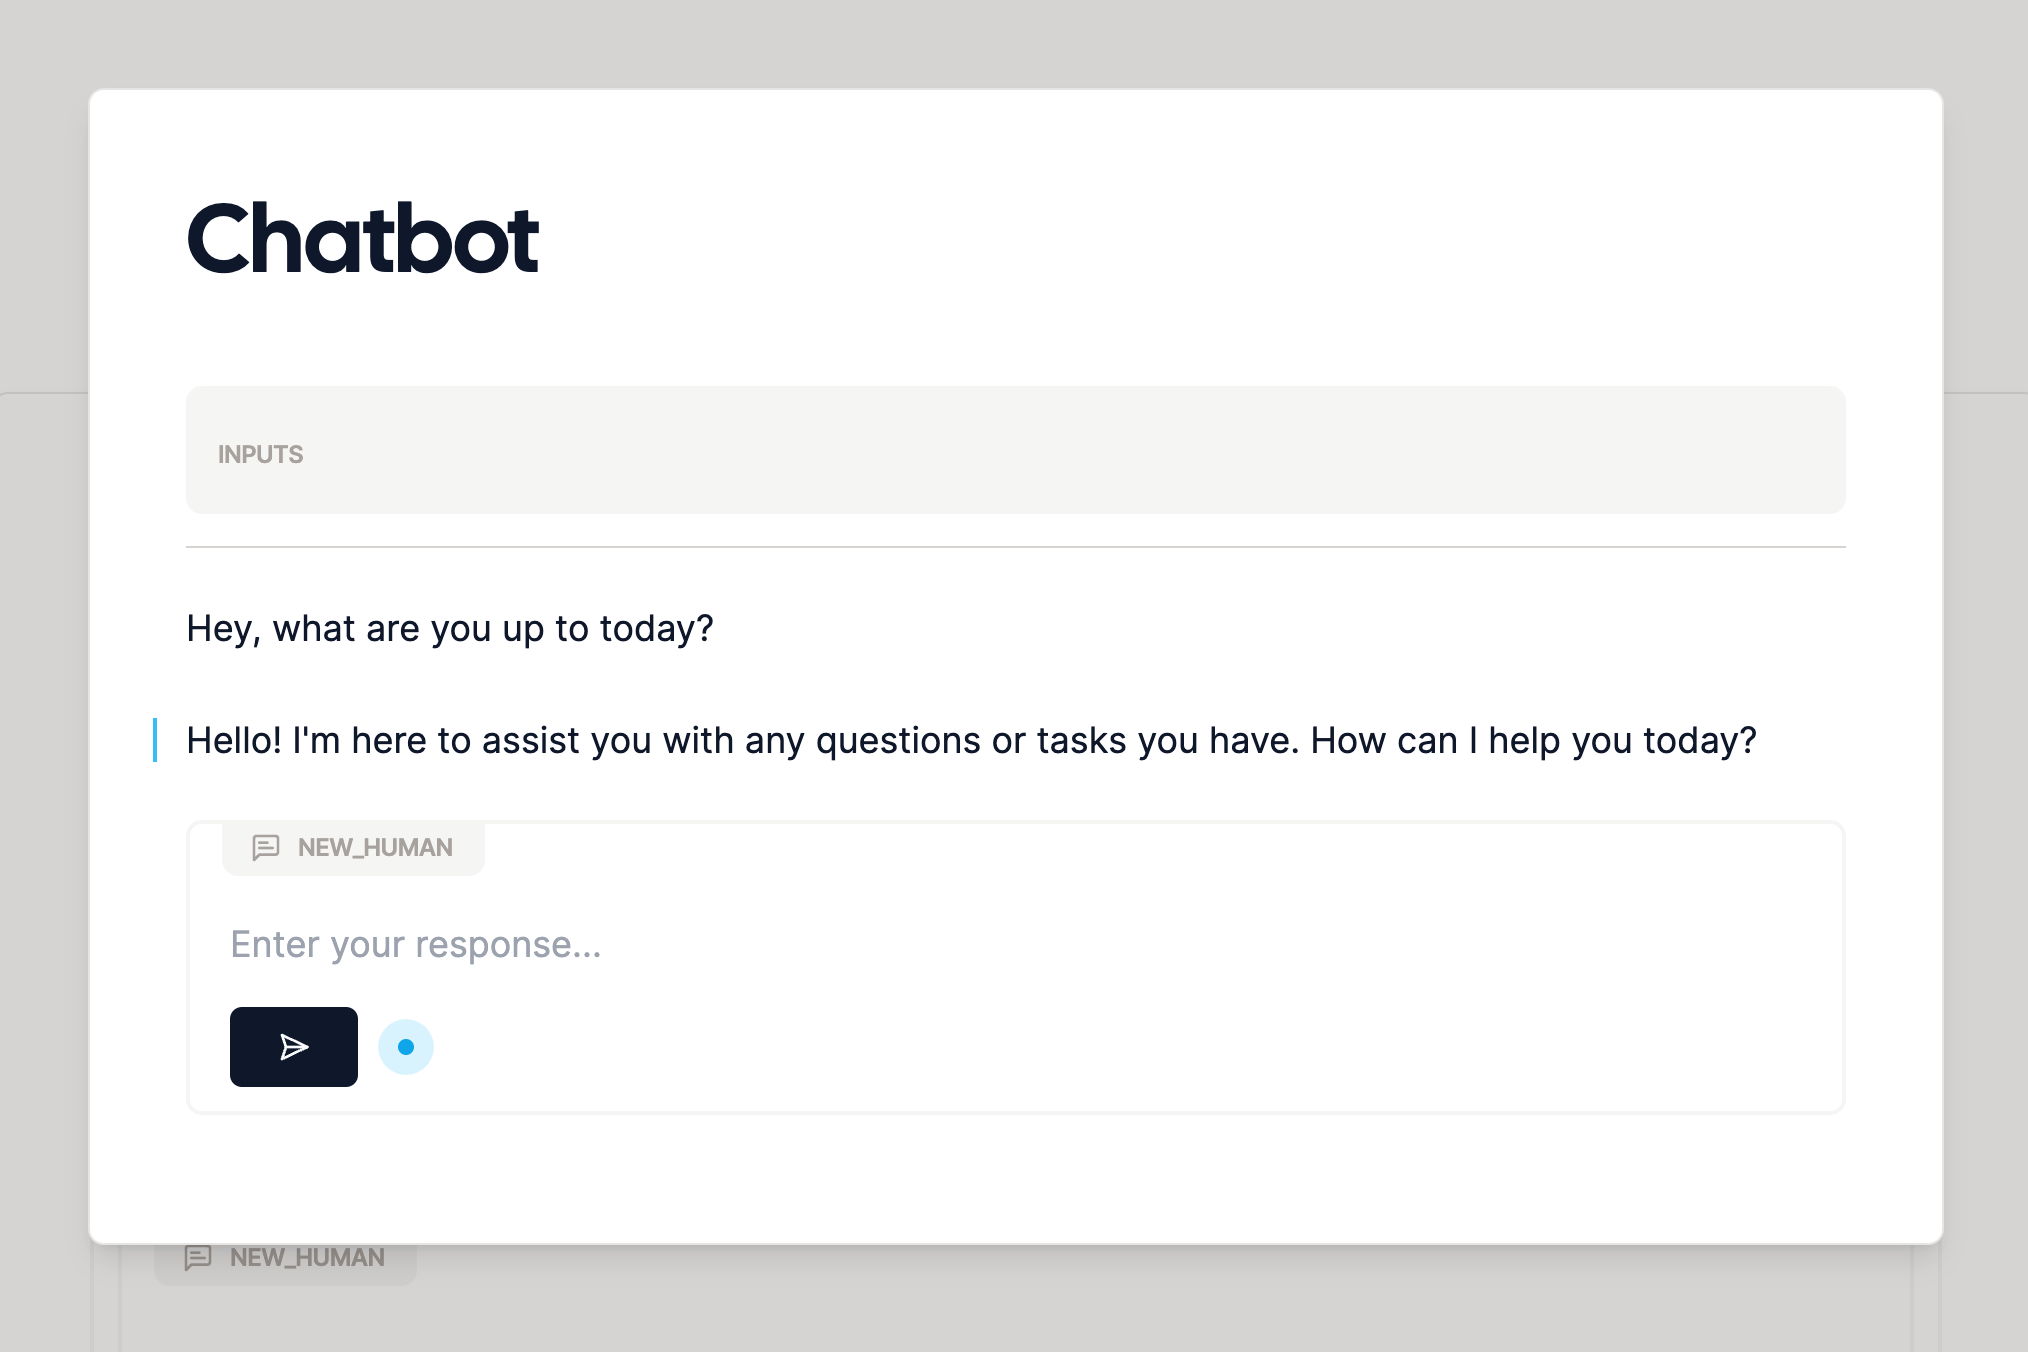
Finally, to let the user respond to the AI in real time, add a human ask node after the generation
to get the user’s response (this is probably you!). This will allow the AI to respond to the user’s input.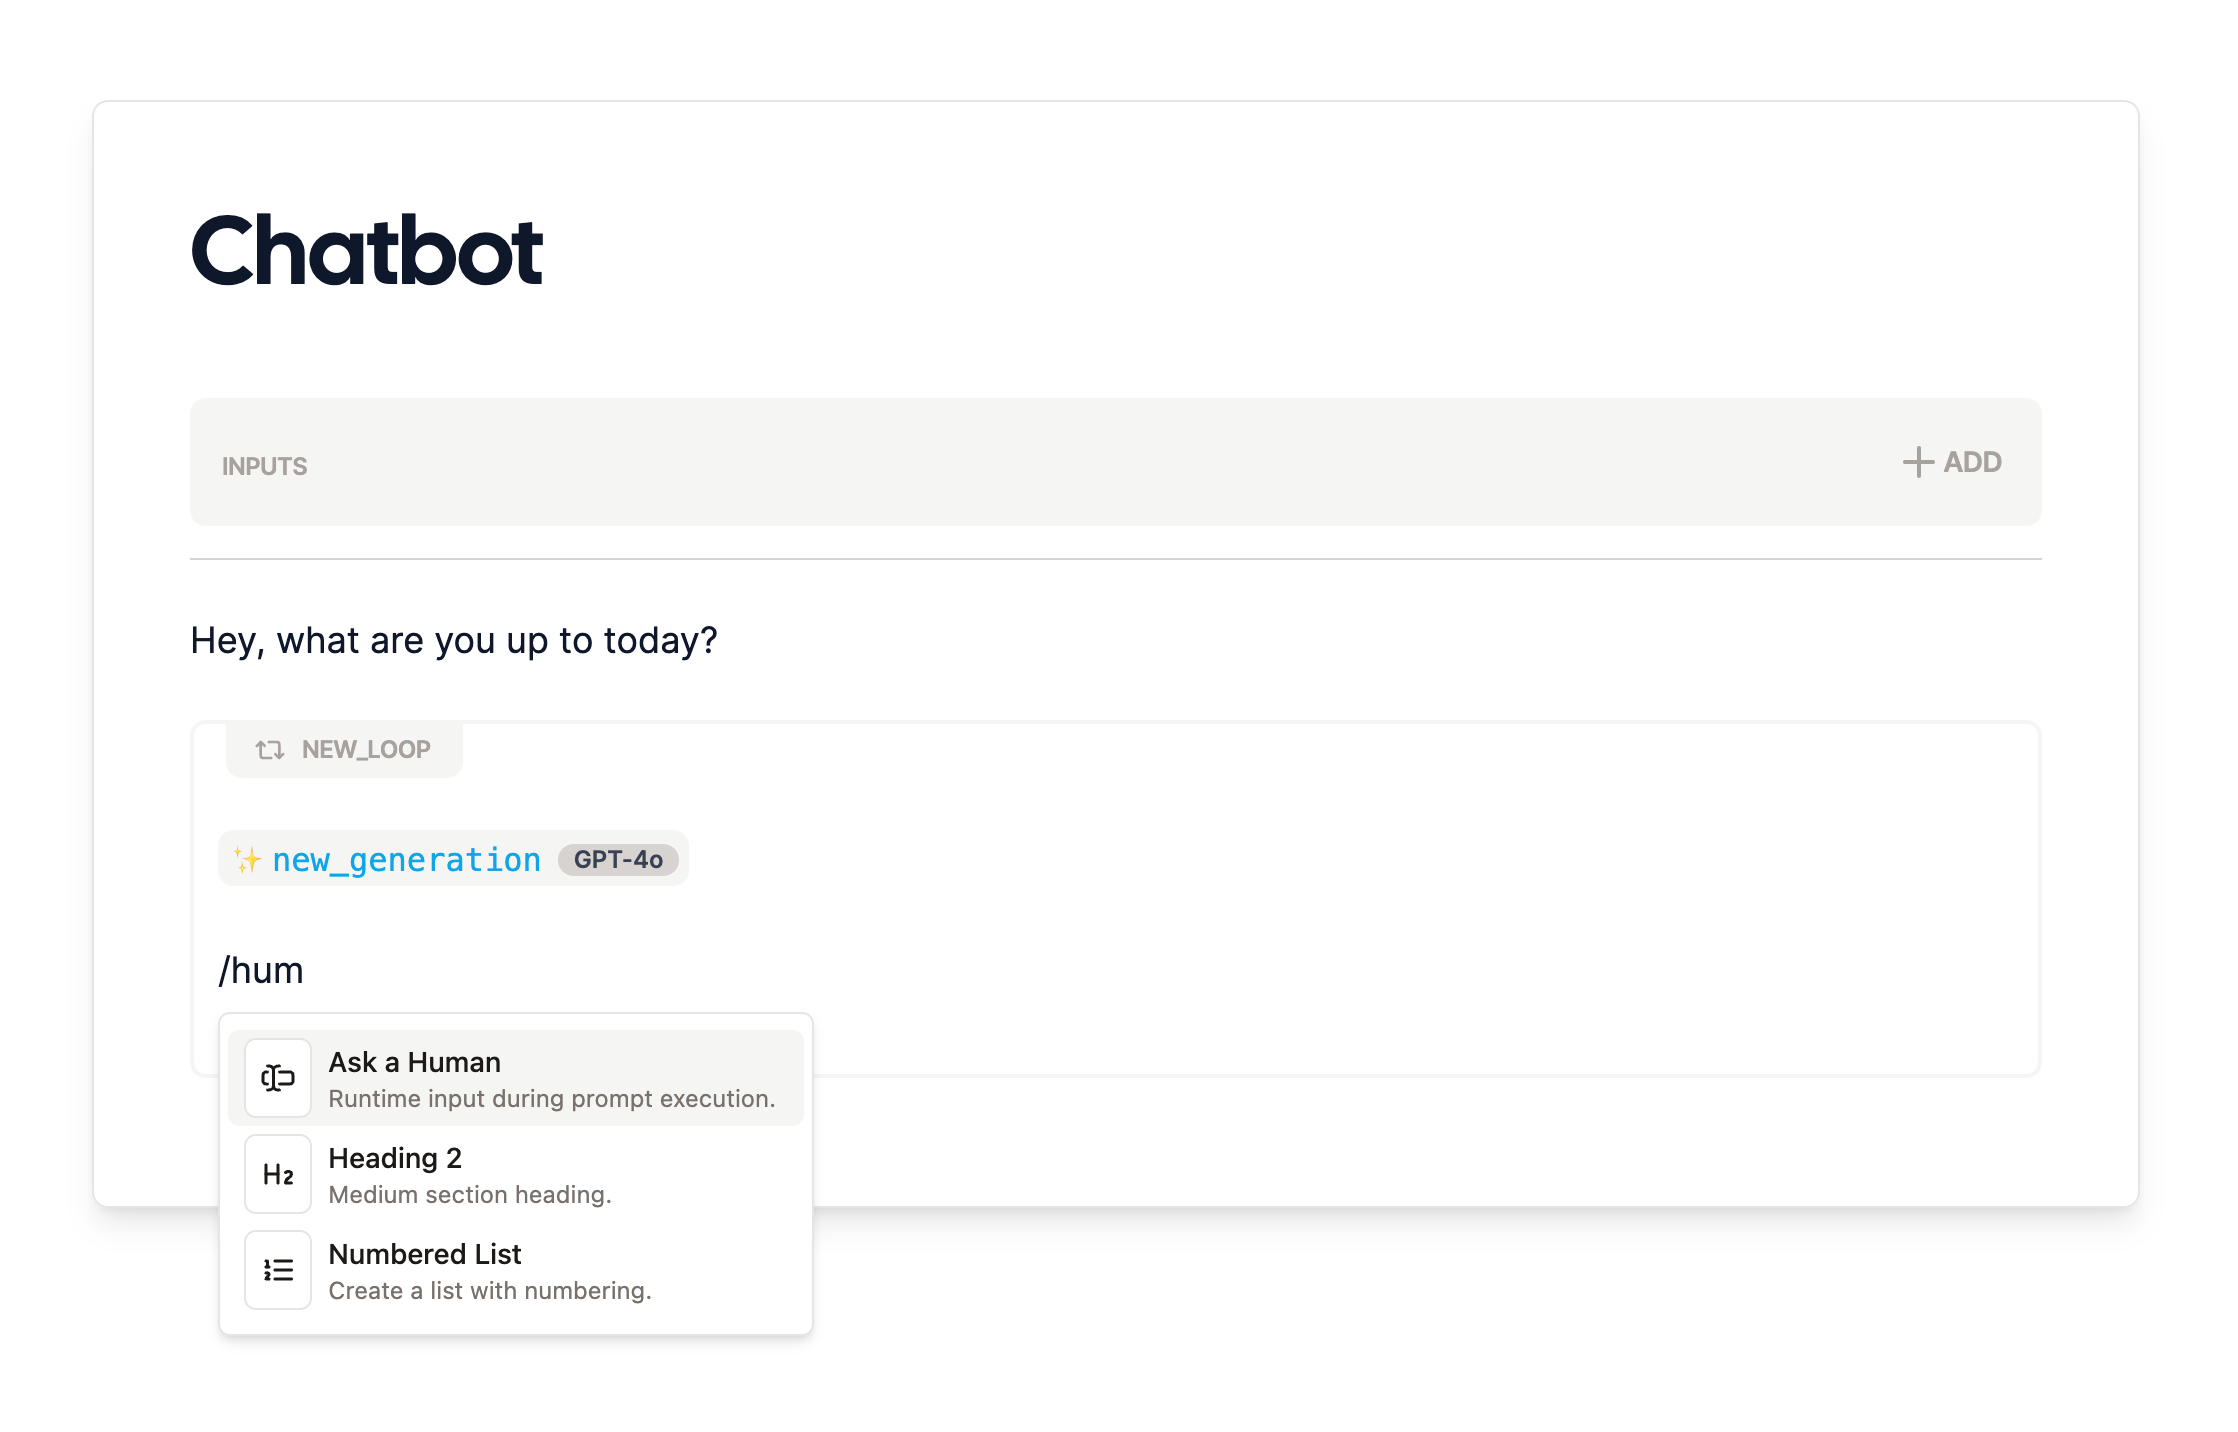
Taking it to the Next Level
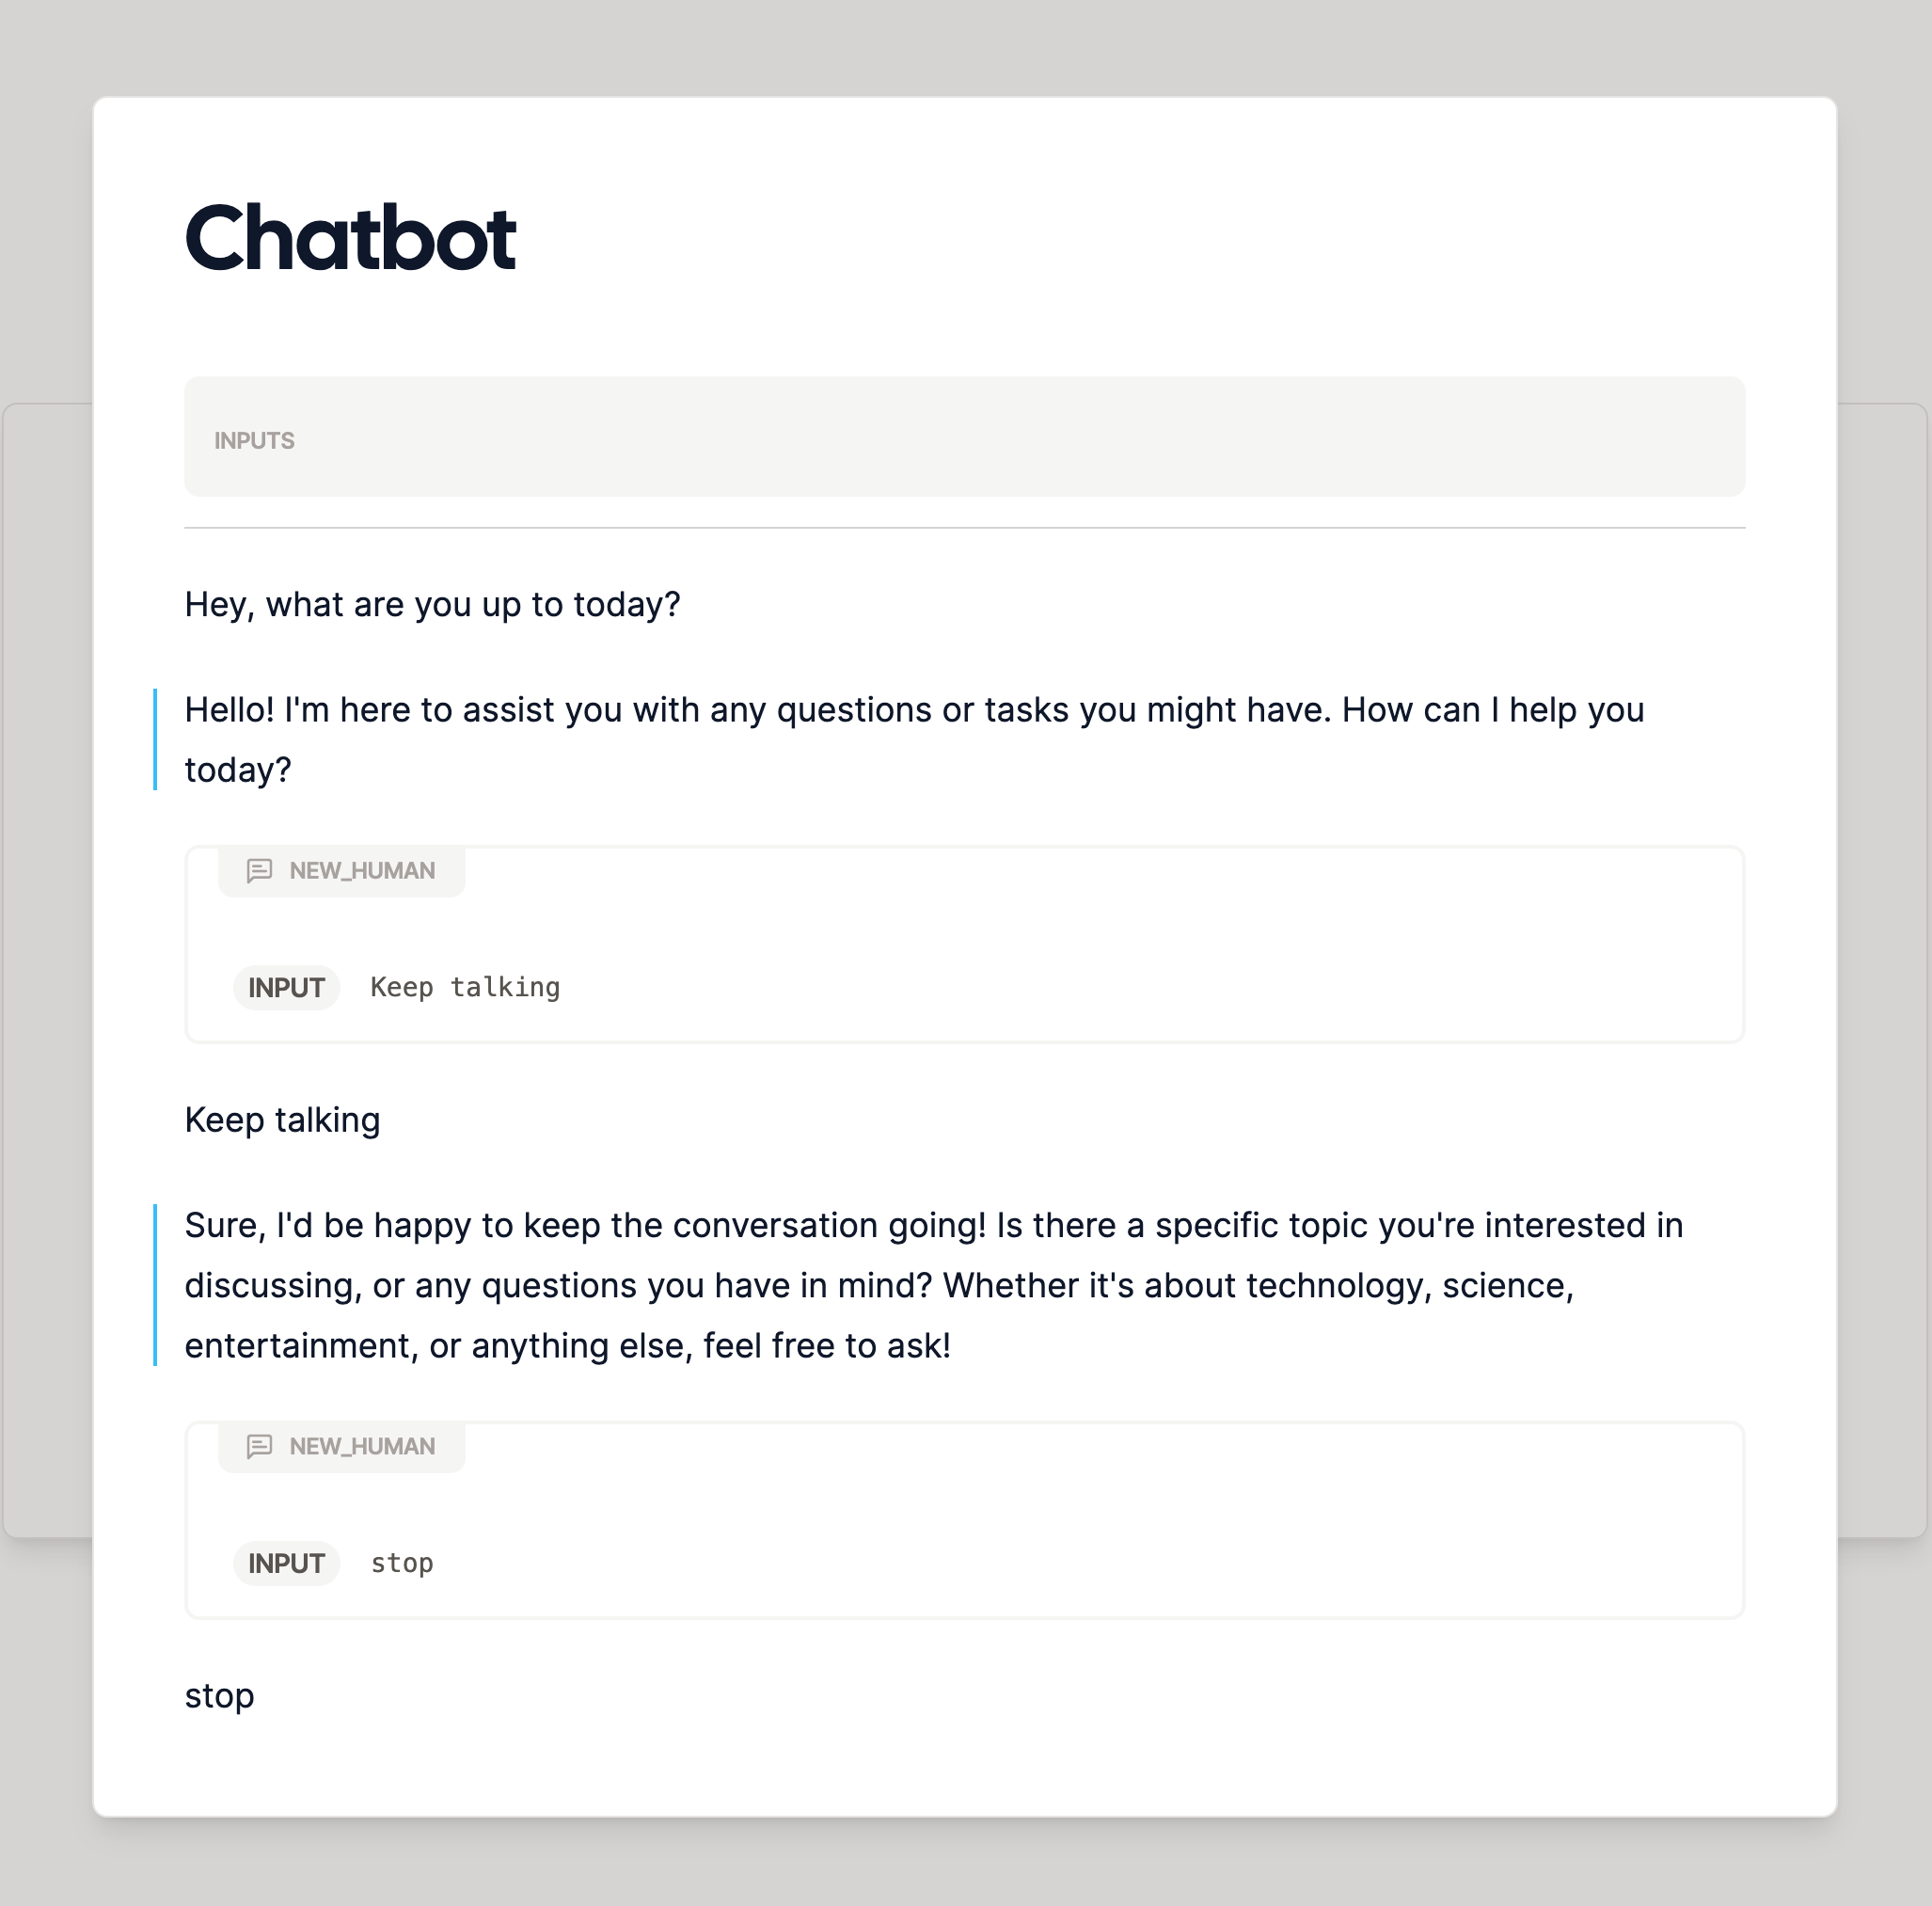
You might notice the chatbot only responds 3 times! To make it more conversational, we’ll have to tweak the default loop settings. Click the loop node to open the sidebar, and notice theCount setting, currently set to 3 by default.
We could increase this count to get a larger number of repetitions, but real conversations tend to be a bit more
dynamic. Let’s add a stop message instead, like a safeword for the chatbot to end the conversation.
6
Change the Loop Type to Match
We’ll use the last message from the human to trigger the stop, ending the loop when that last message matches a
predetermined safeword. You could use “blueberry” or “keep going” but for tradition’s sake we’ll go with “stop”.Enter your choice of stop message in the 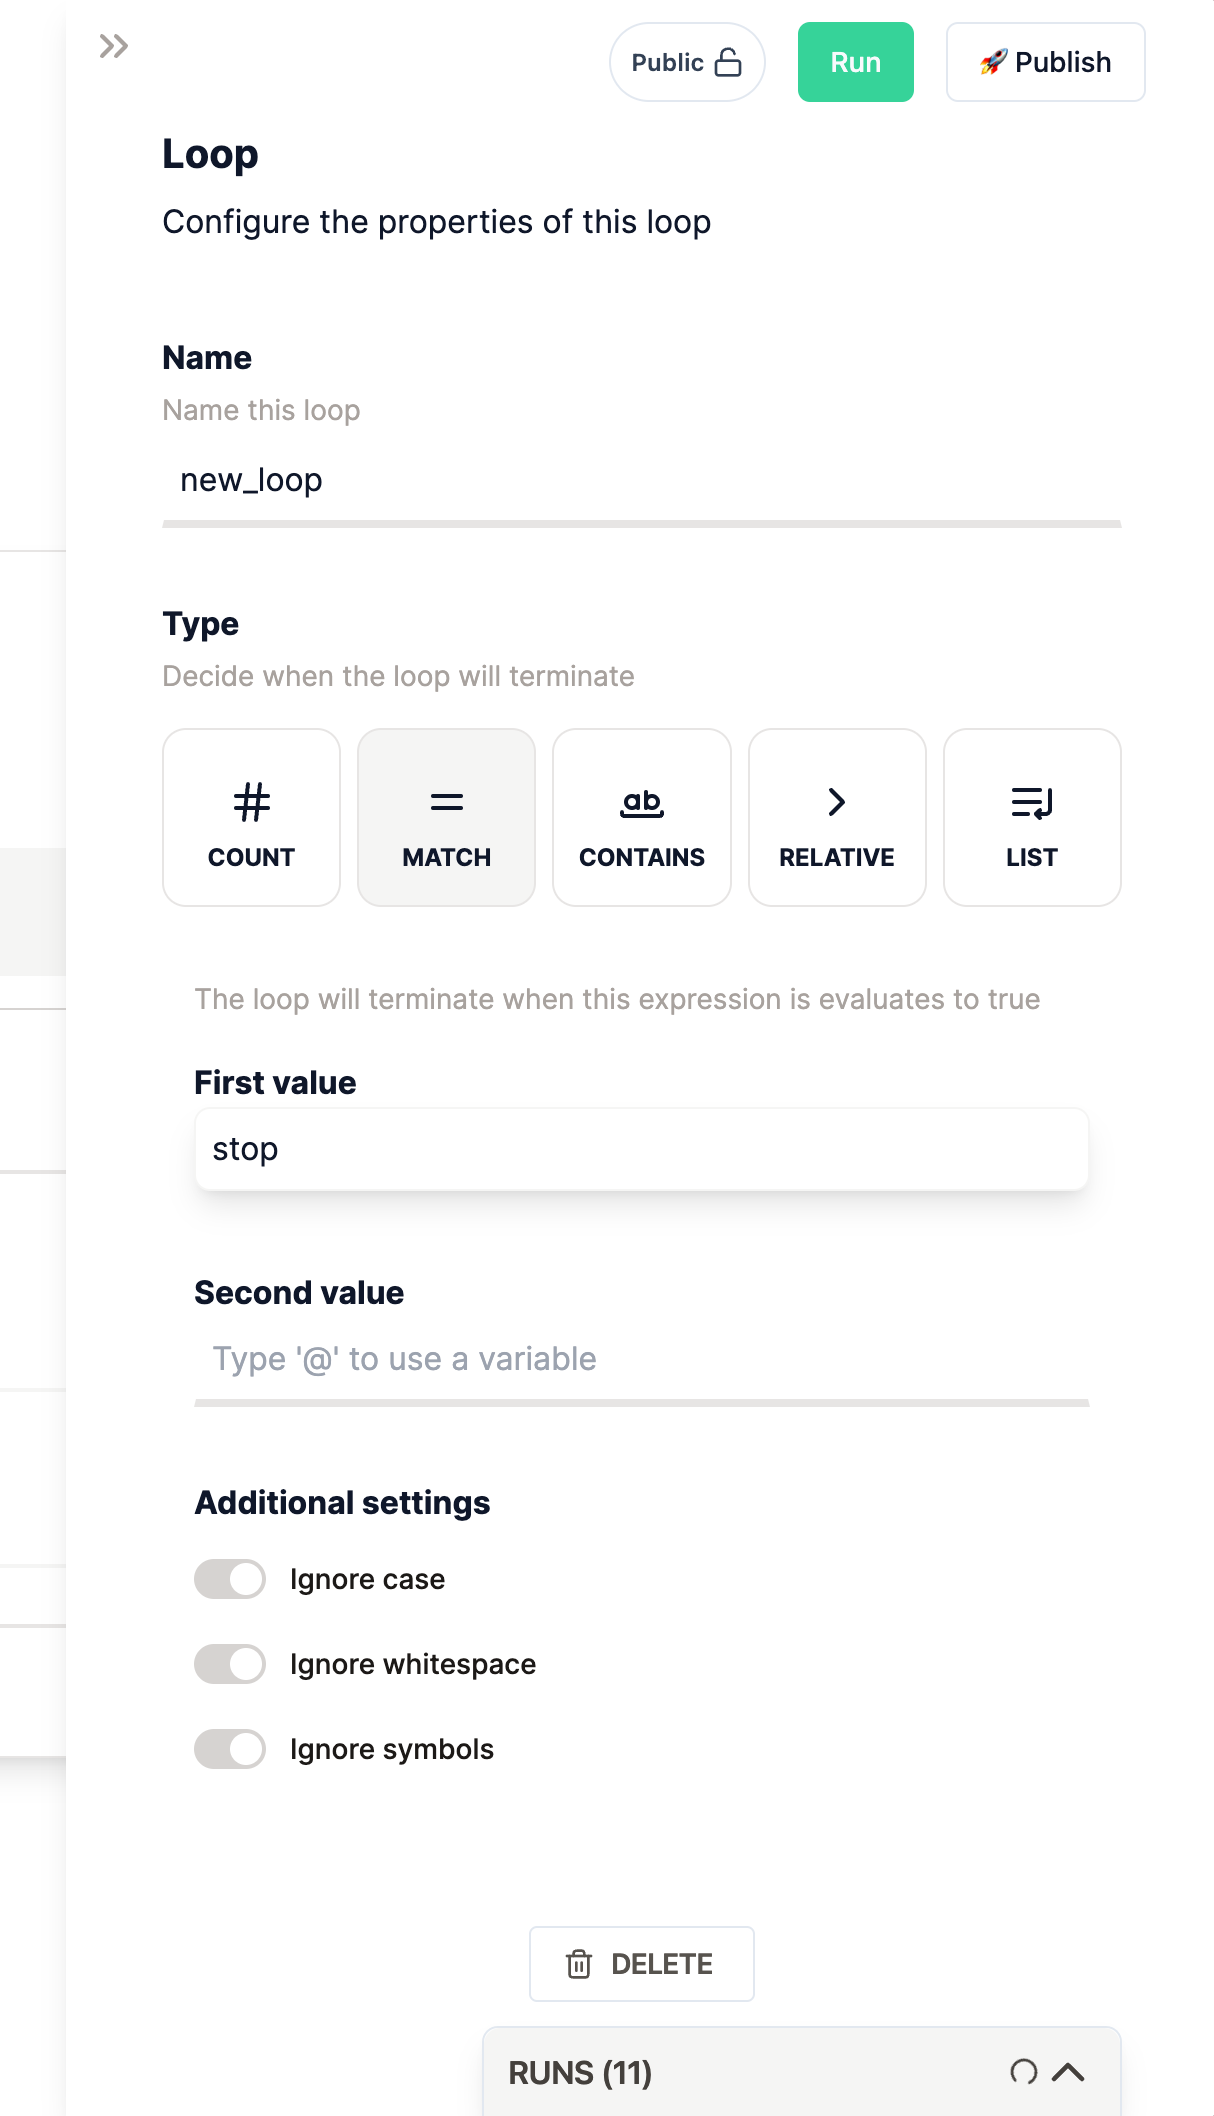
First value field.7
Use a Mention to Reference the Human Output
To check if the human’s last message matches the stop message, we’ll use a mention node to
reference the human’s output. Inside the 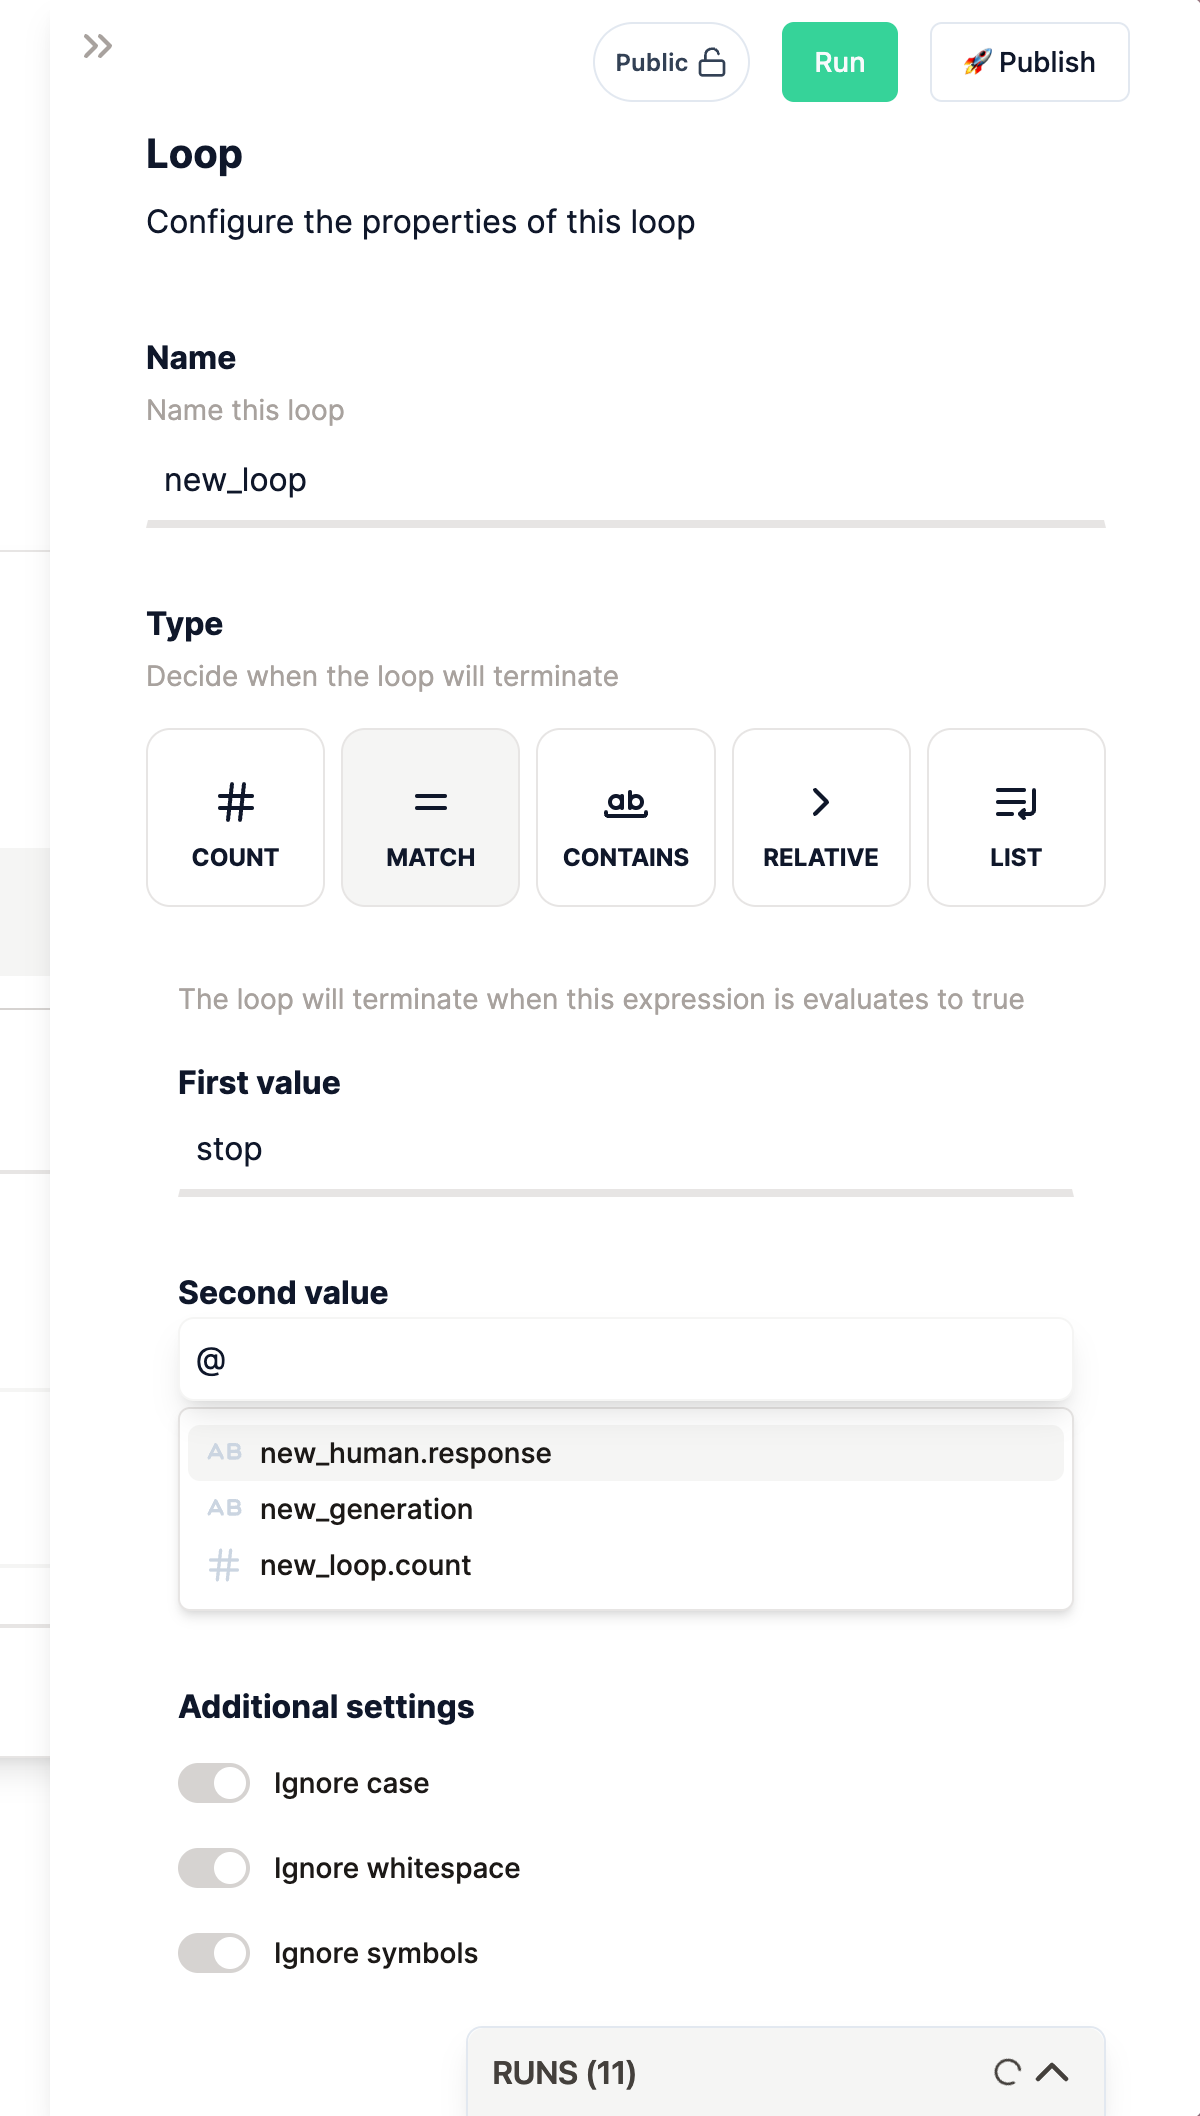
Second value field, type @ to bring up the mention options, and select
the one matching the name of the human ask node.