Steps
Create a New File Input
Start by creating a new Input. Select Input type “PDF / Document File”. Don’t forget to give your input a name for clarity! I called mine PDF, but it could also make sense to indicate what it is, like “resume” or “report”.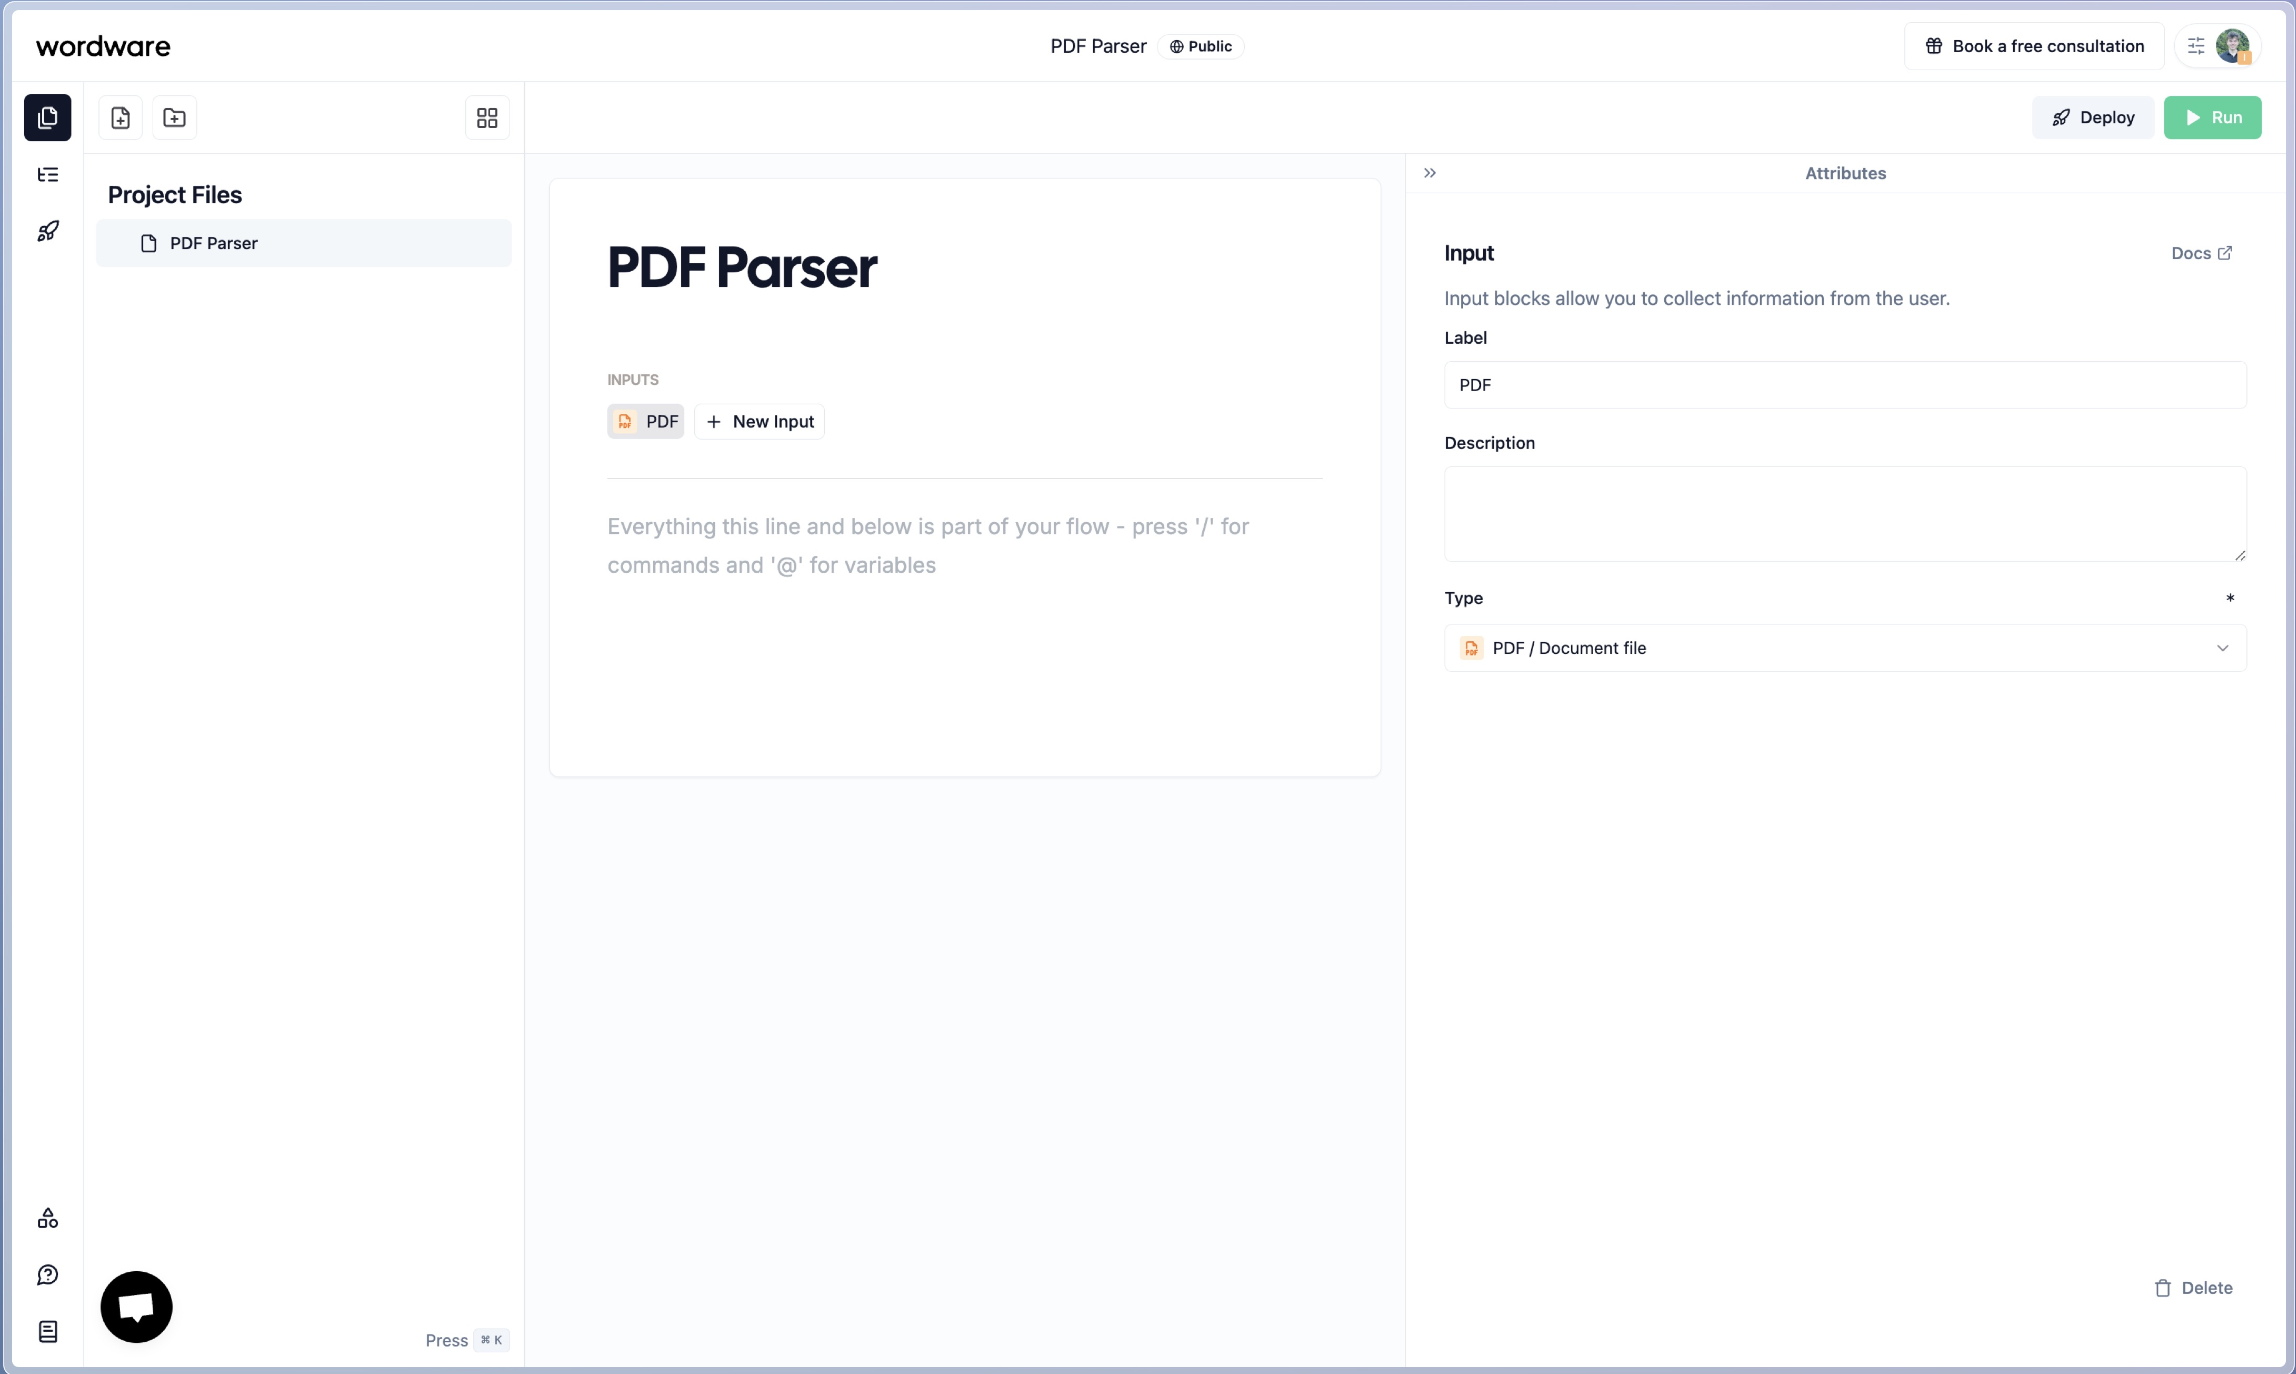
Mention the File Input in the Flow
In the editor, type 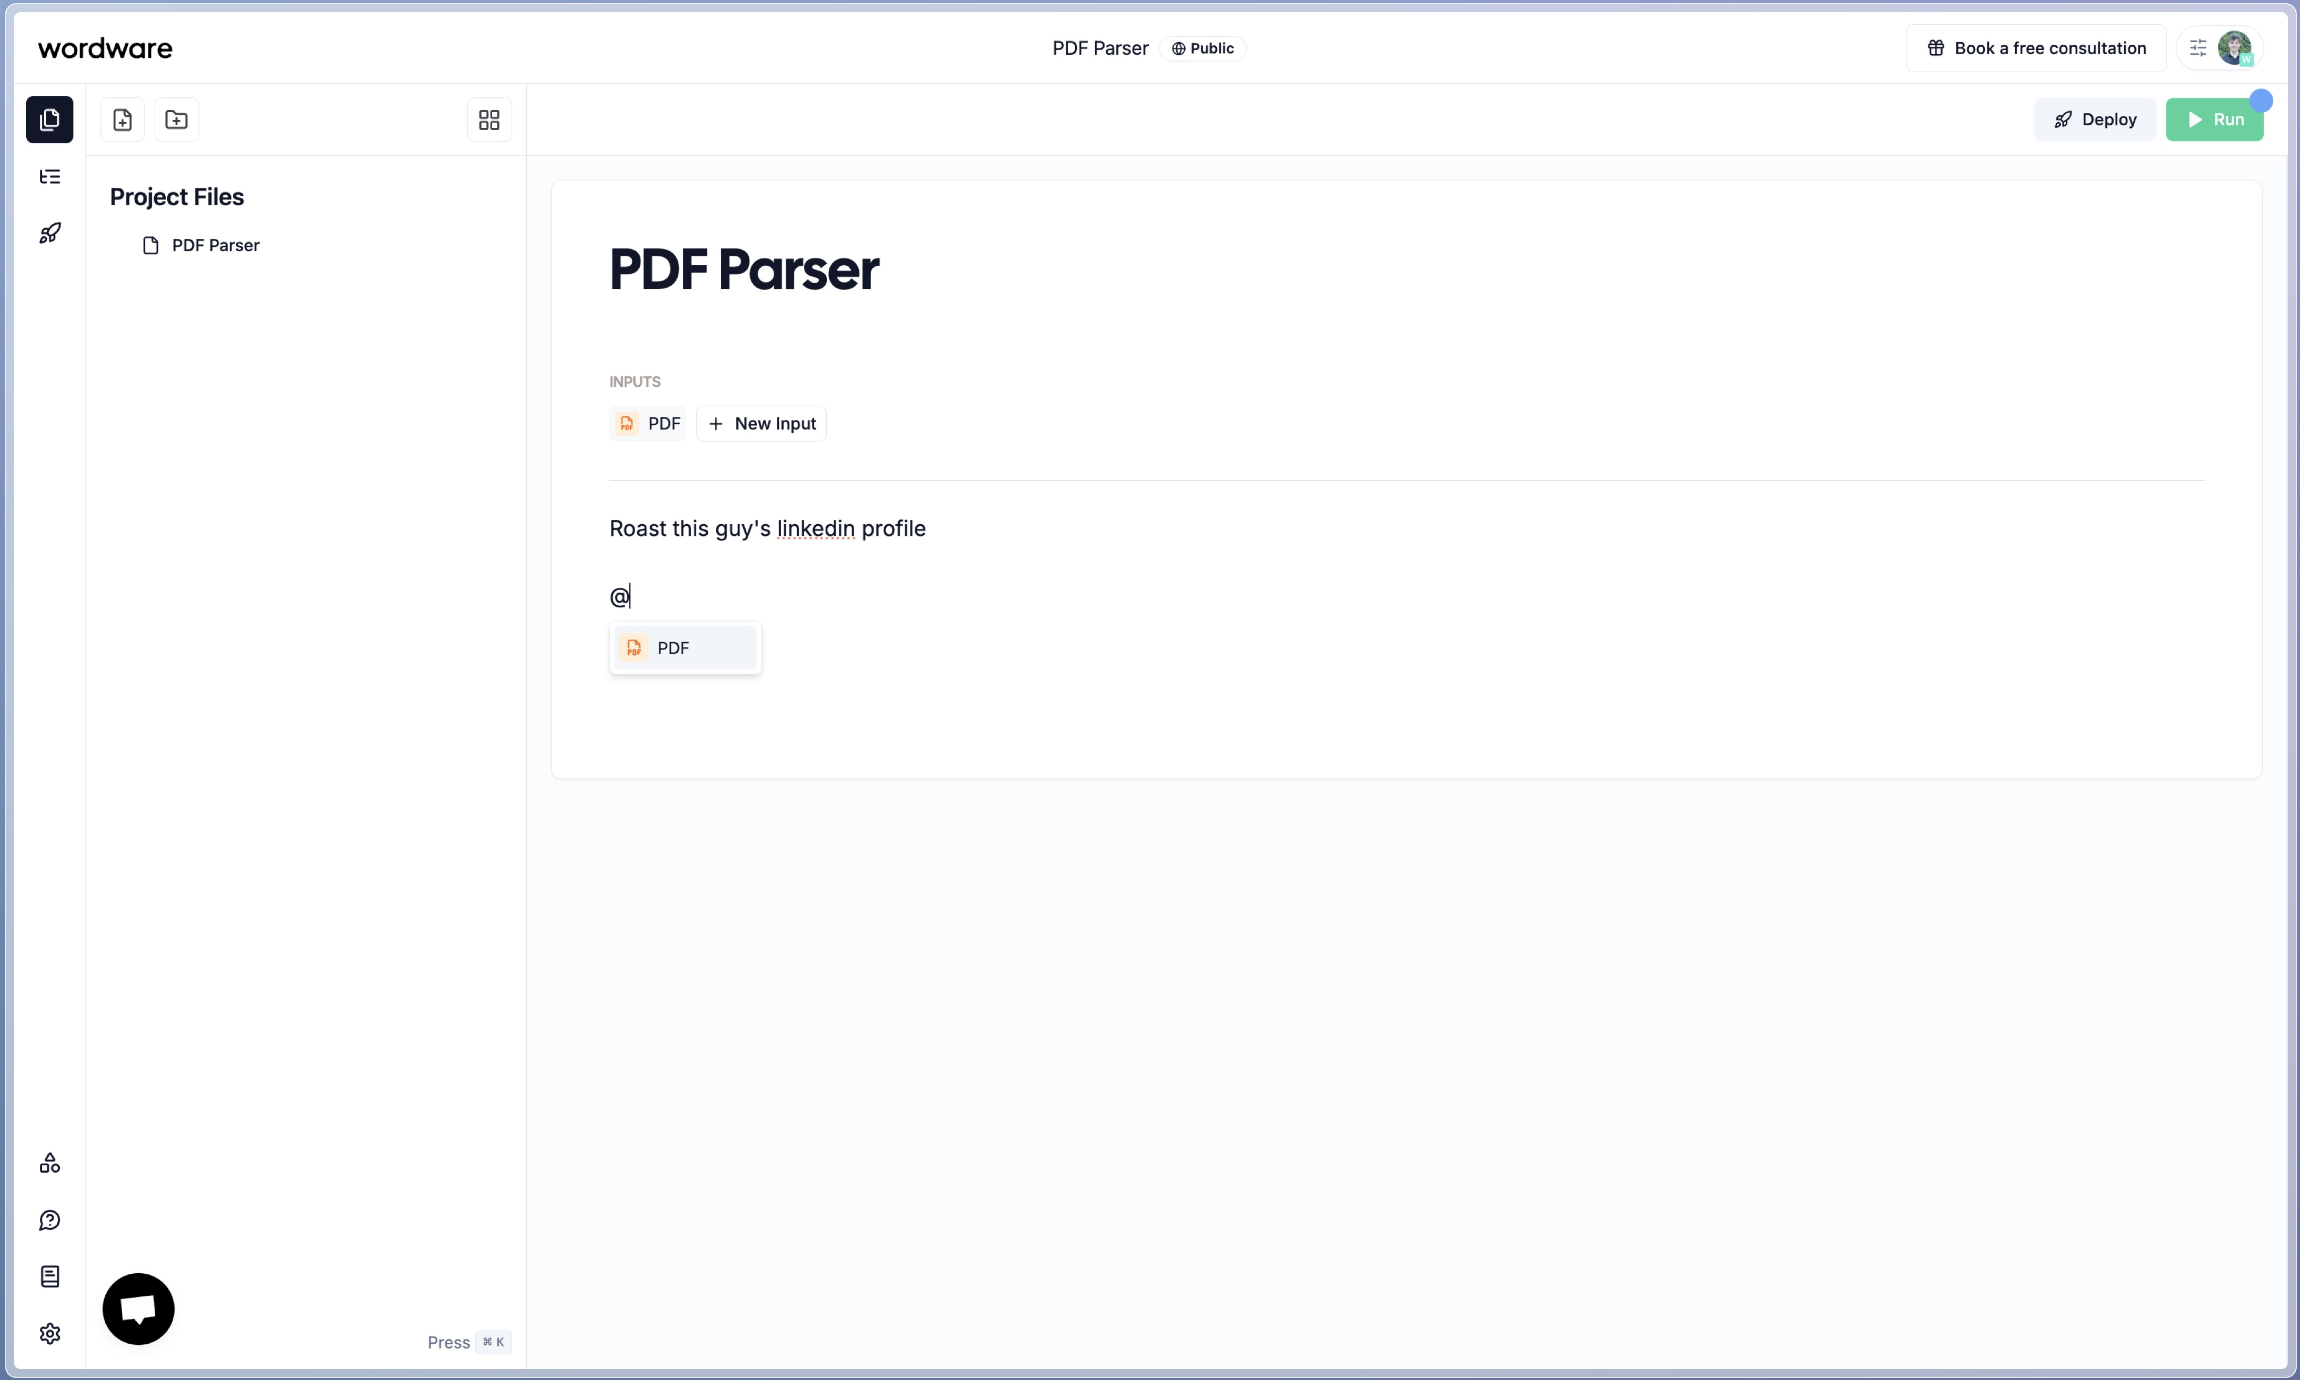
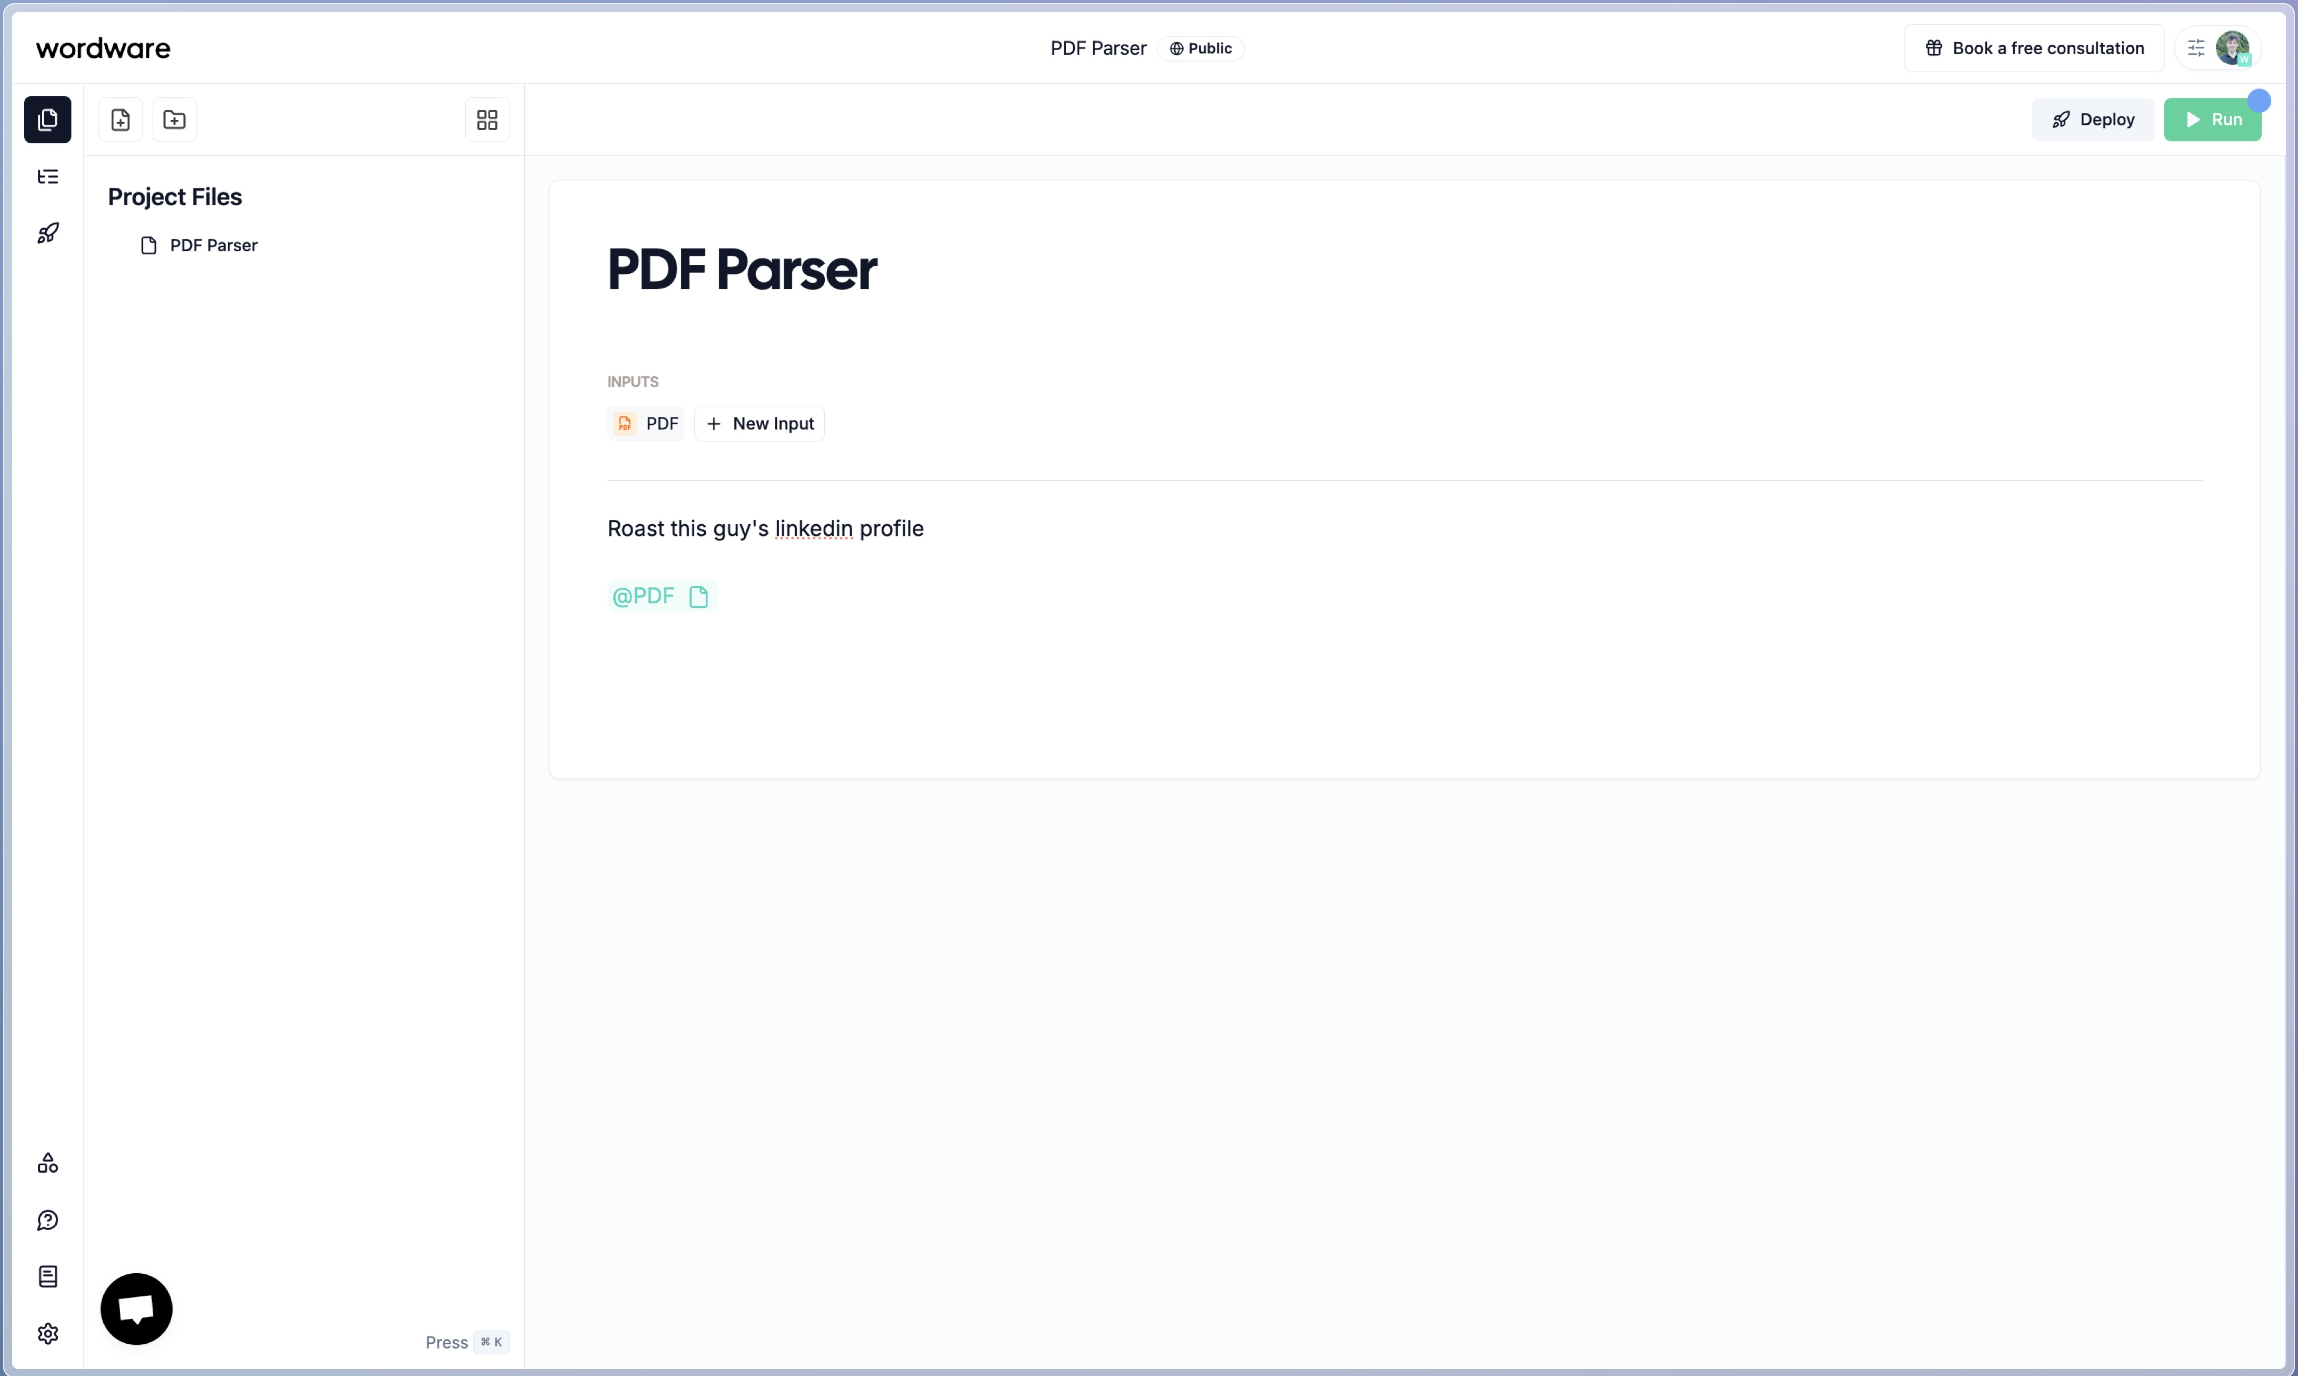
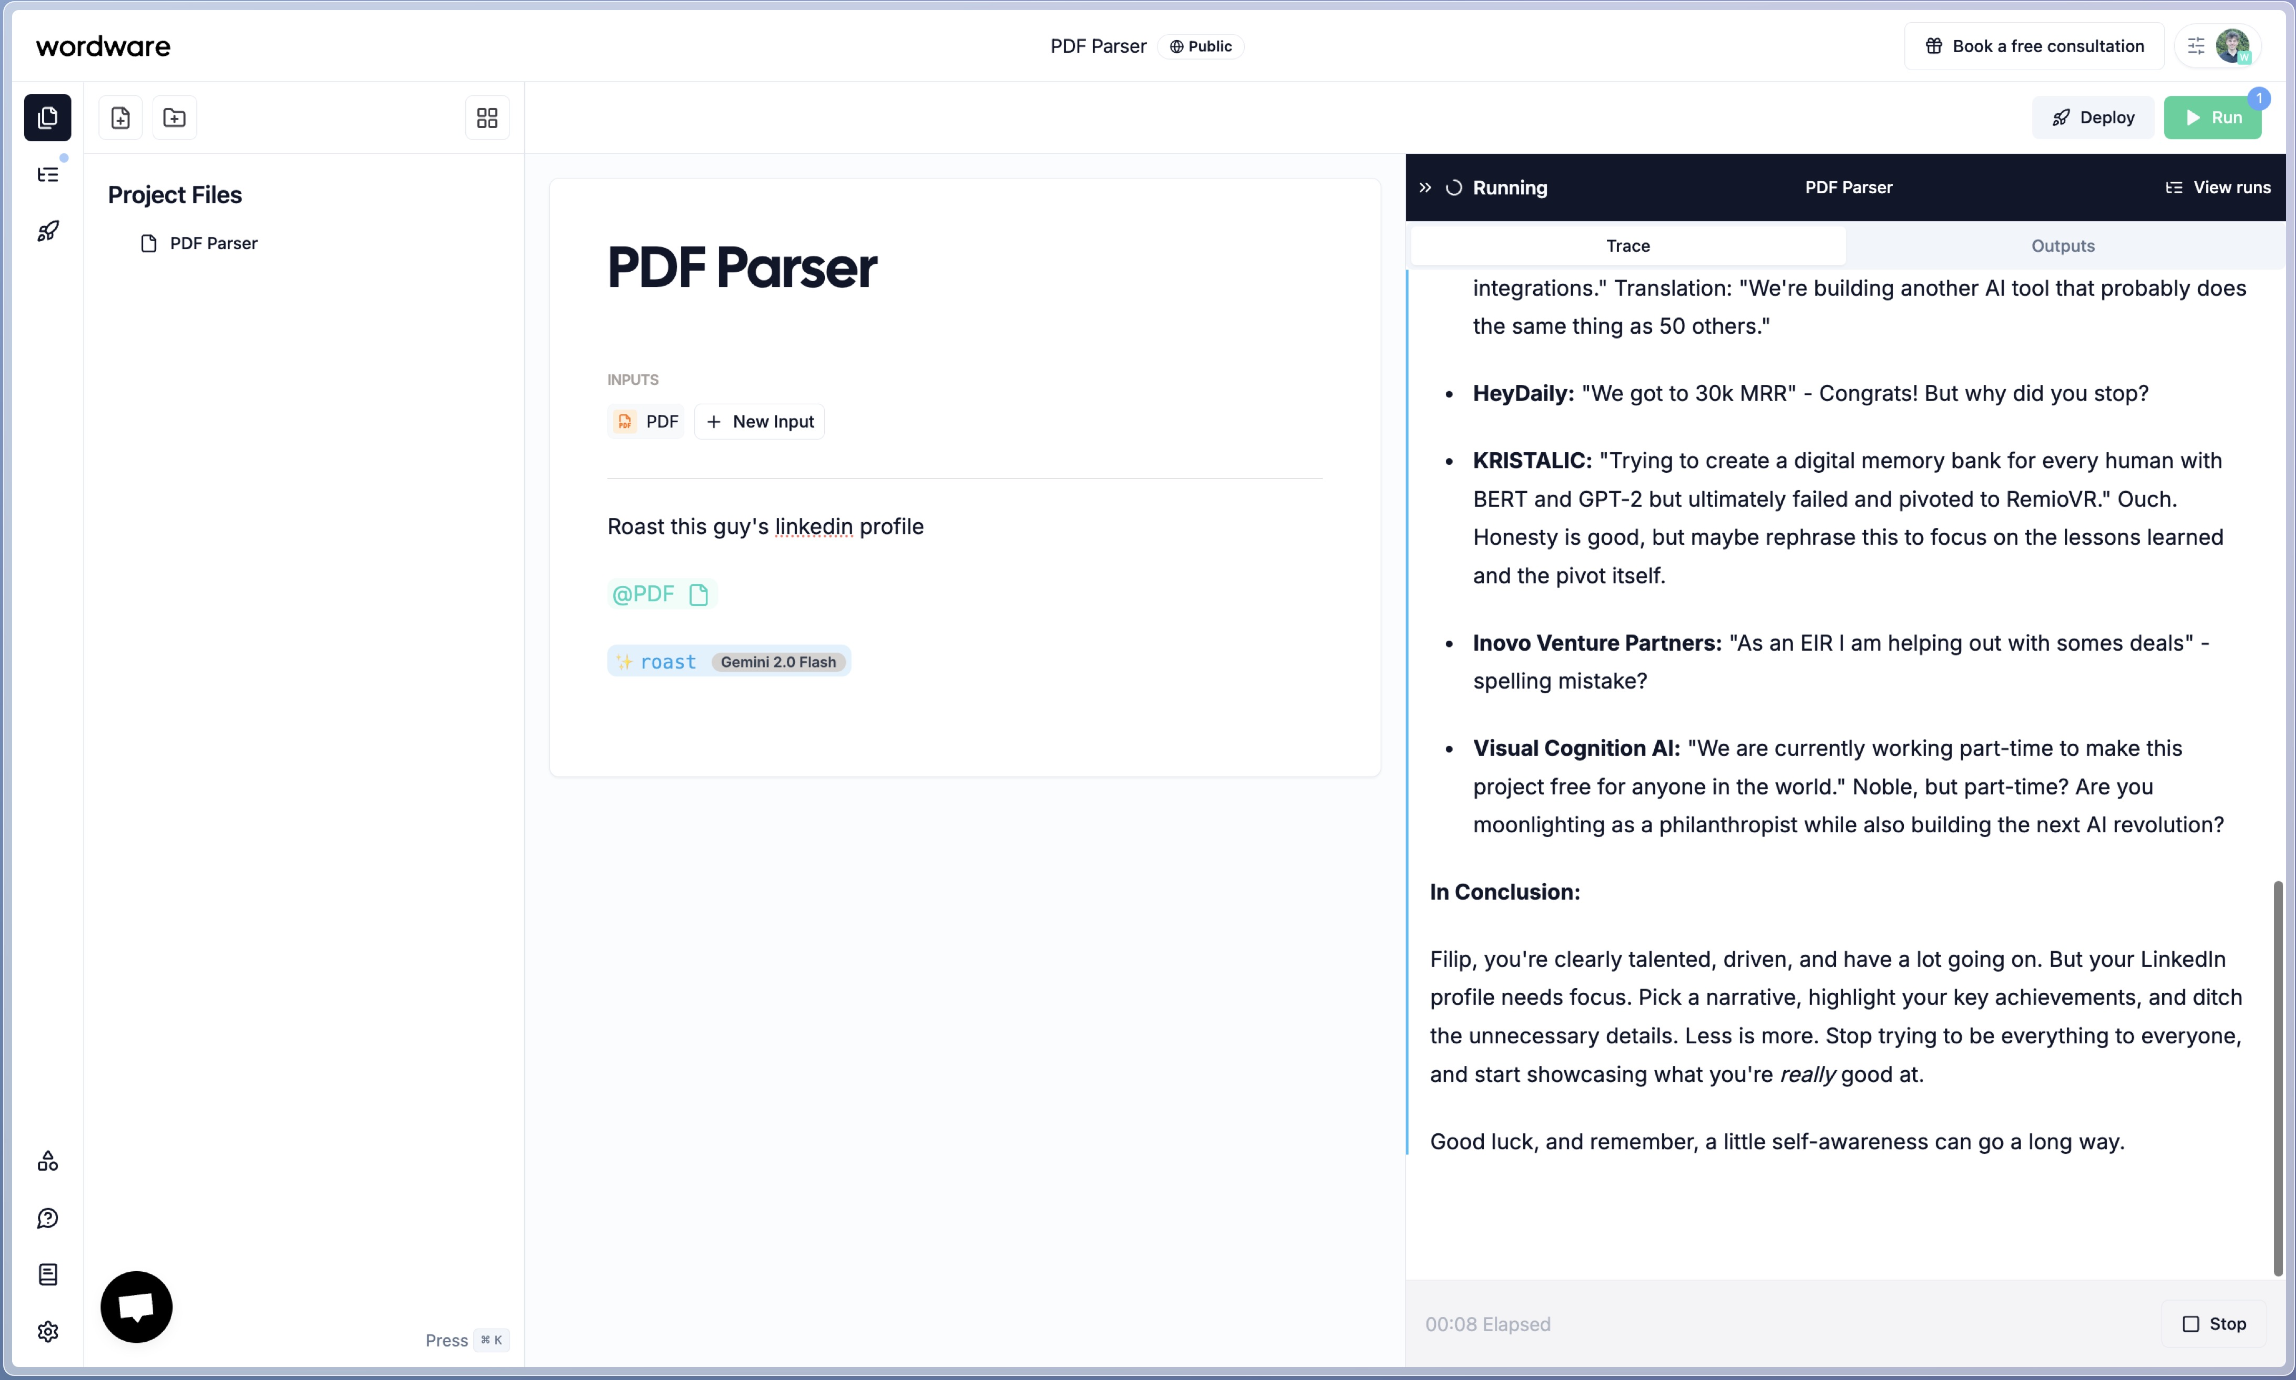
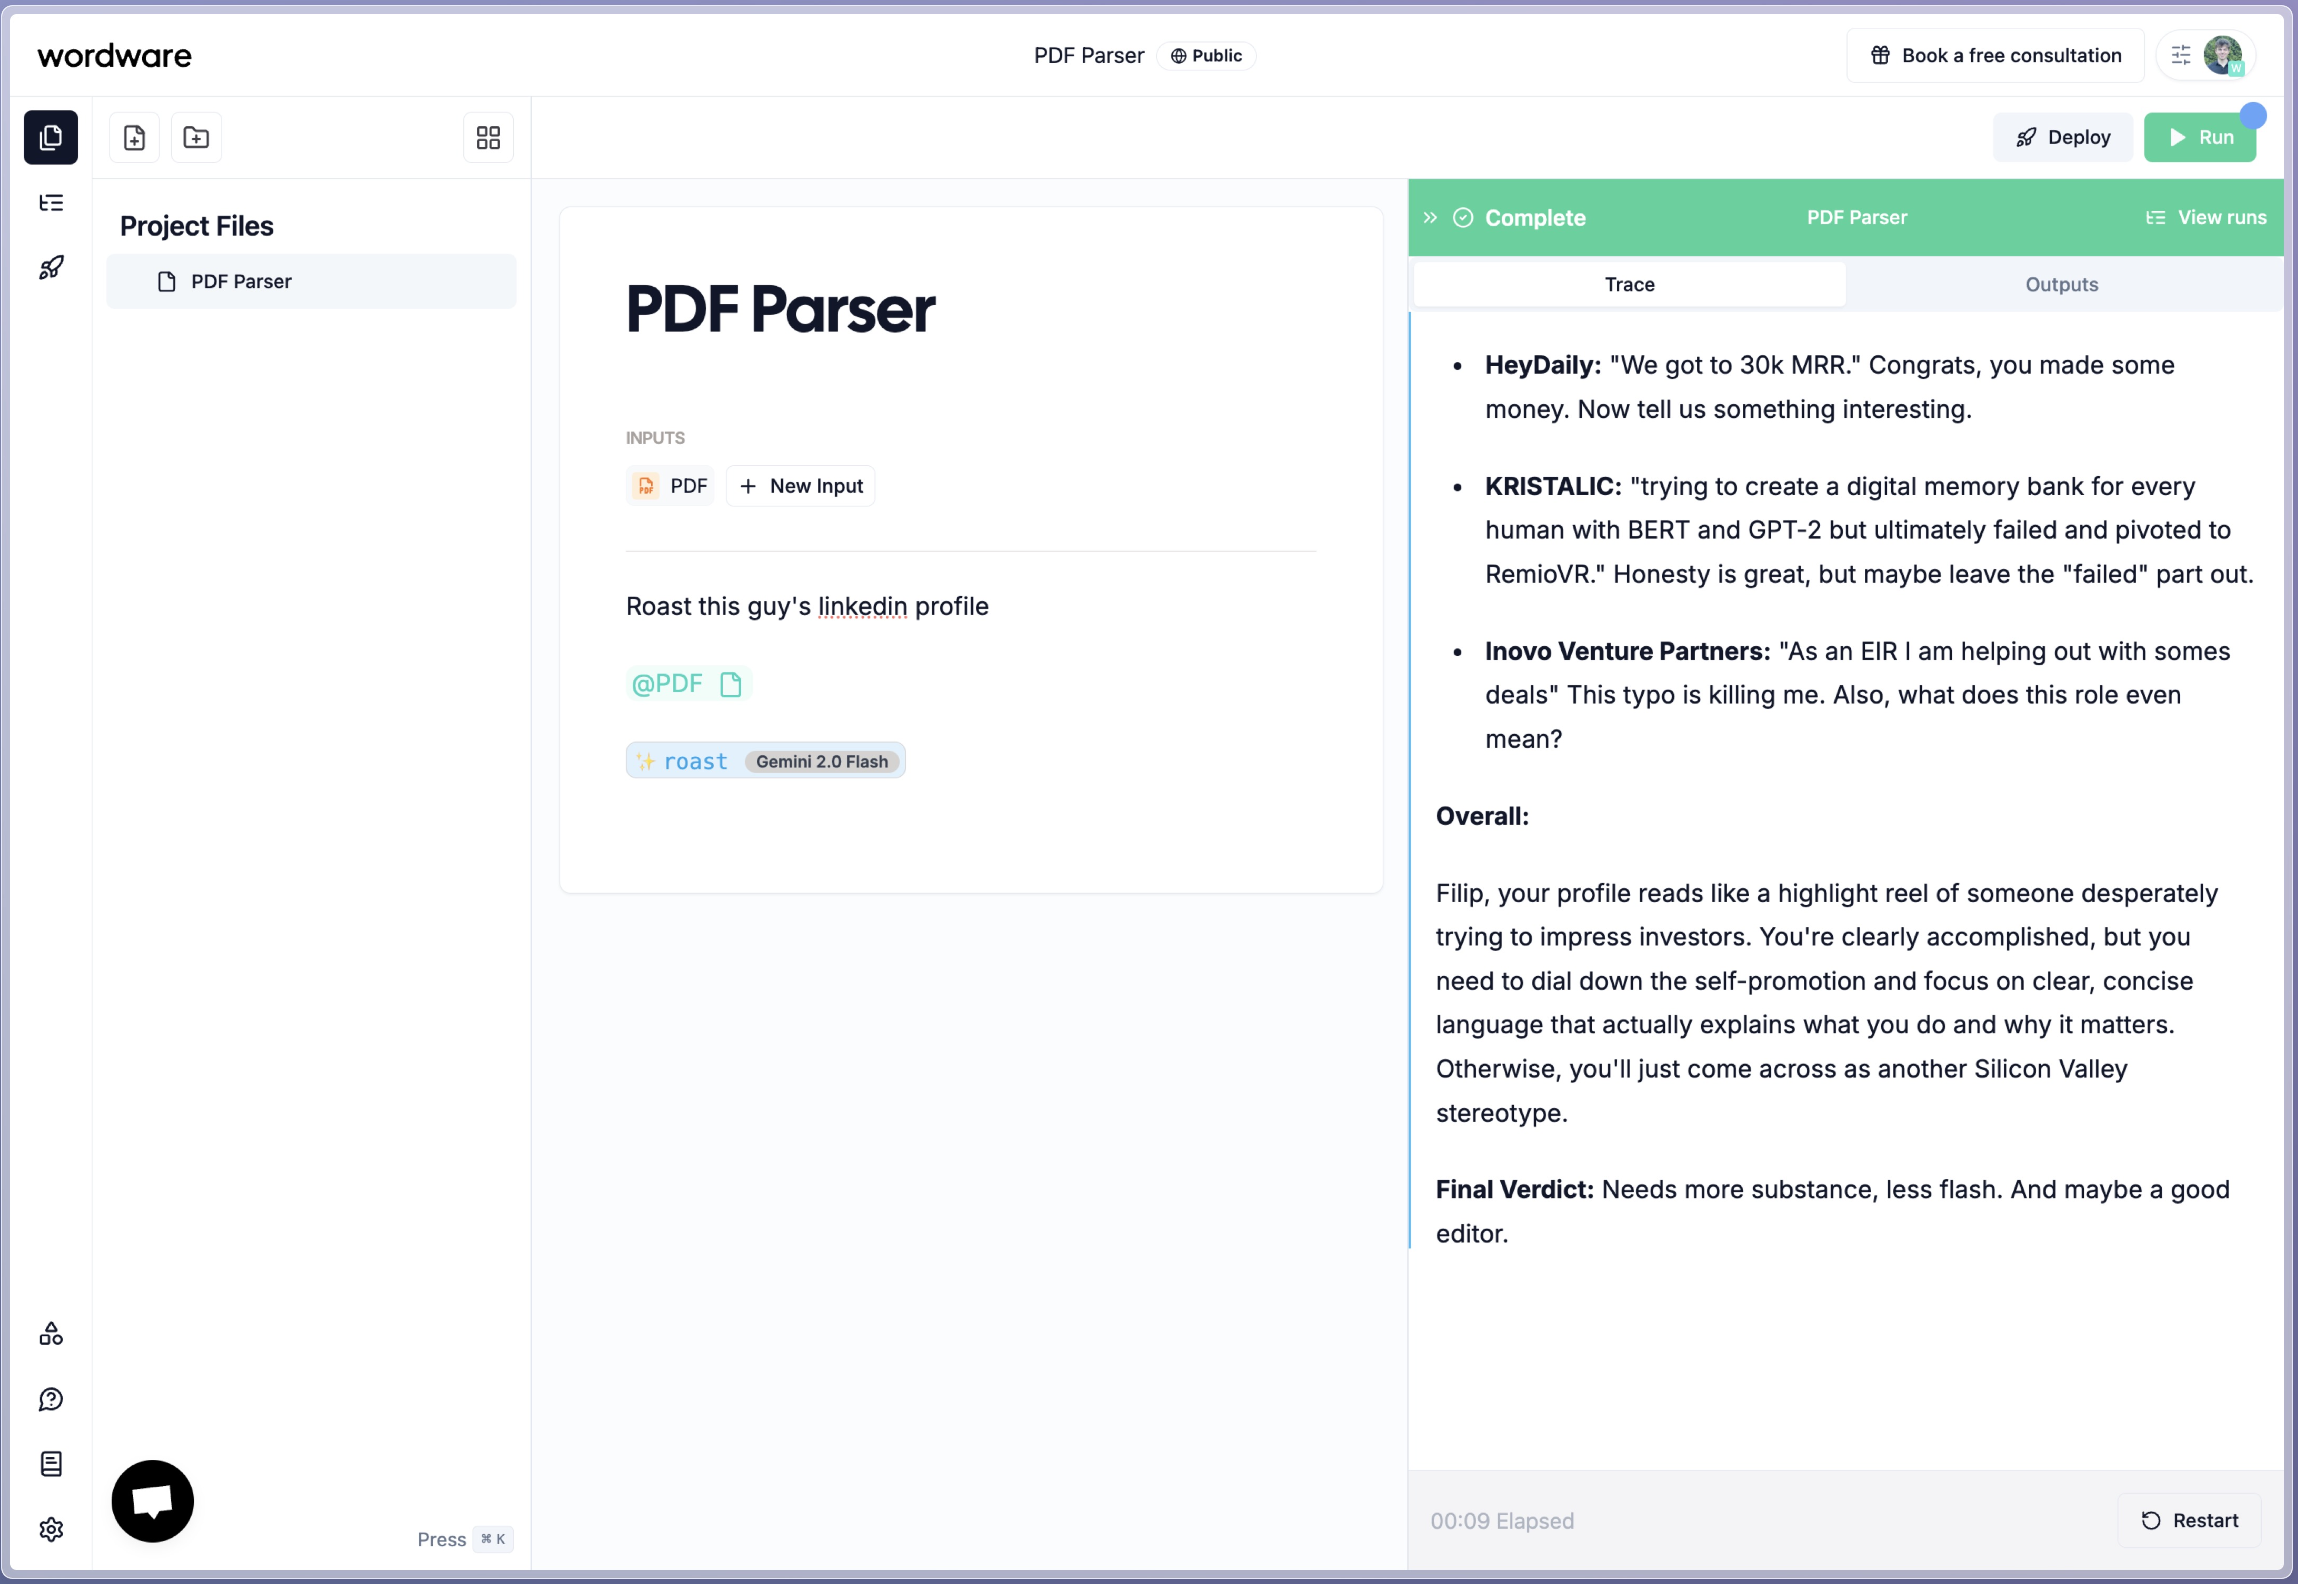
@ to bring up the mention options, and select the PDF Input you just created.Add a generation, upload the file and run the flow!
If you haven’t already, add an instruction to the flow. And then add a new generation node by typing 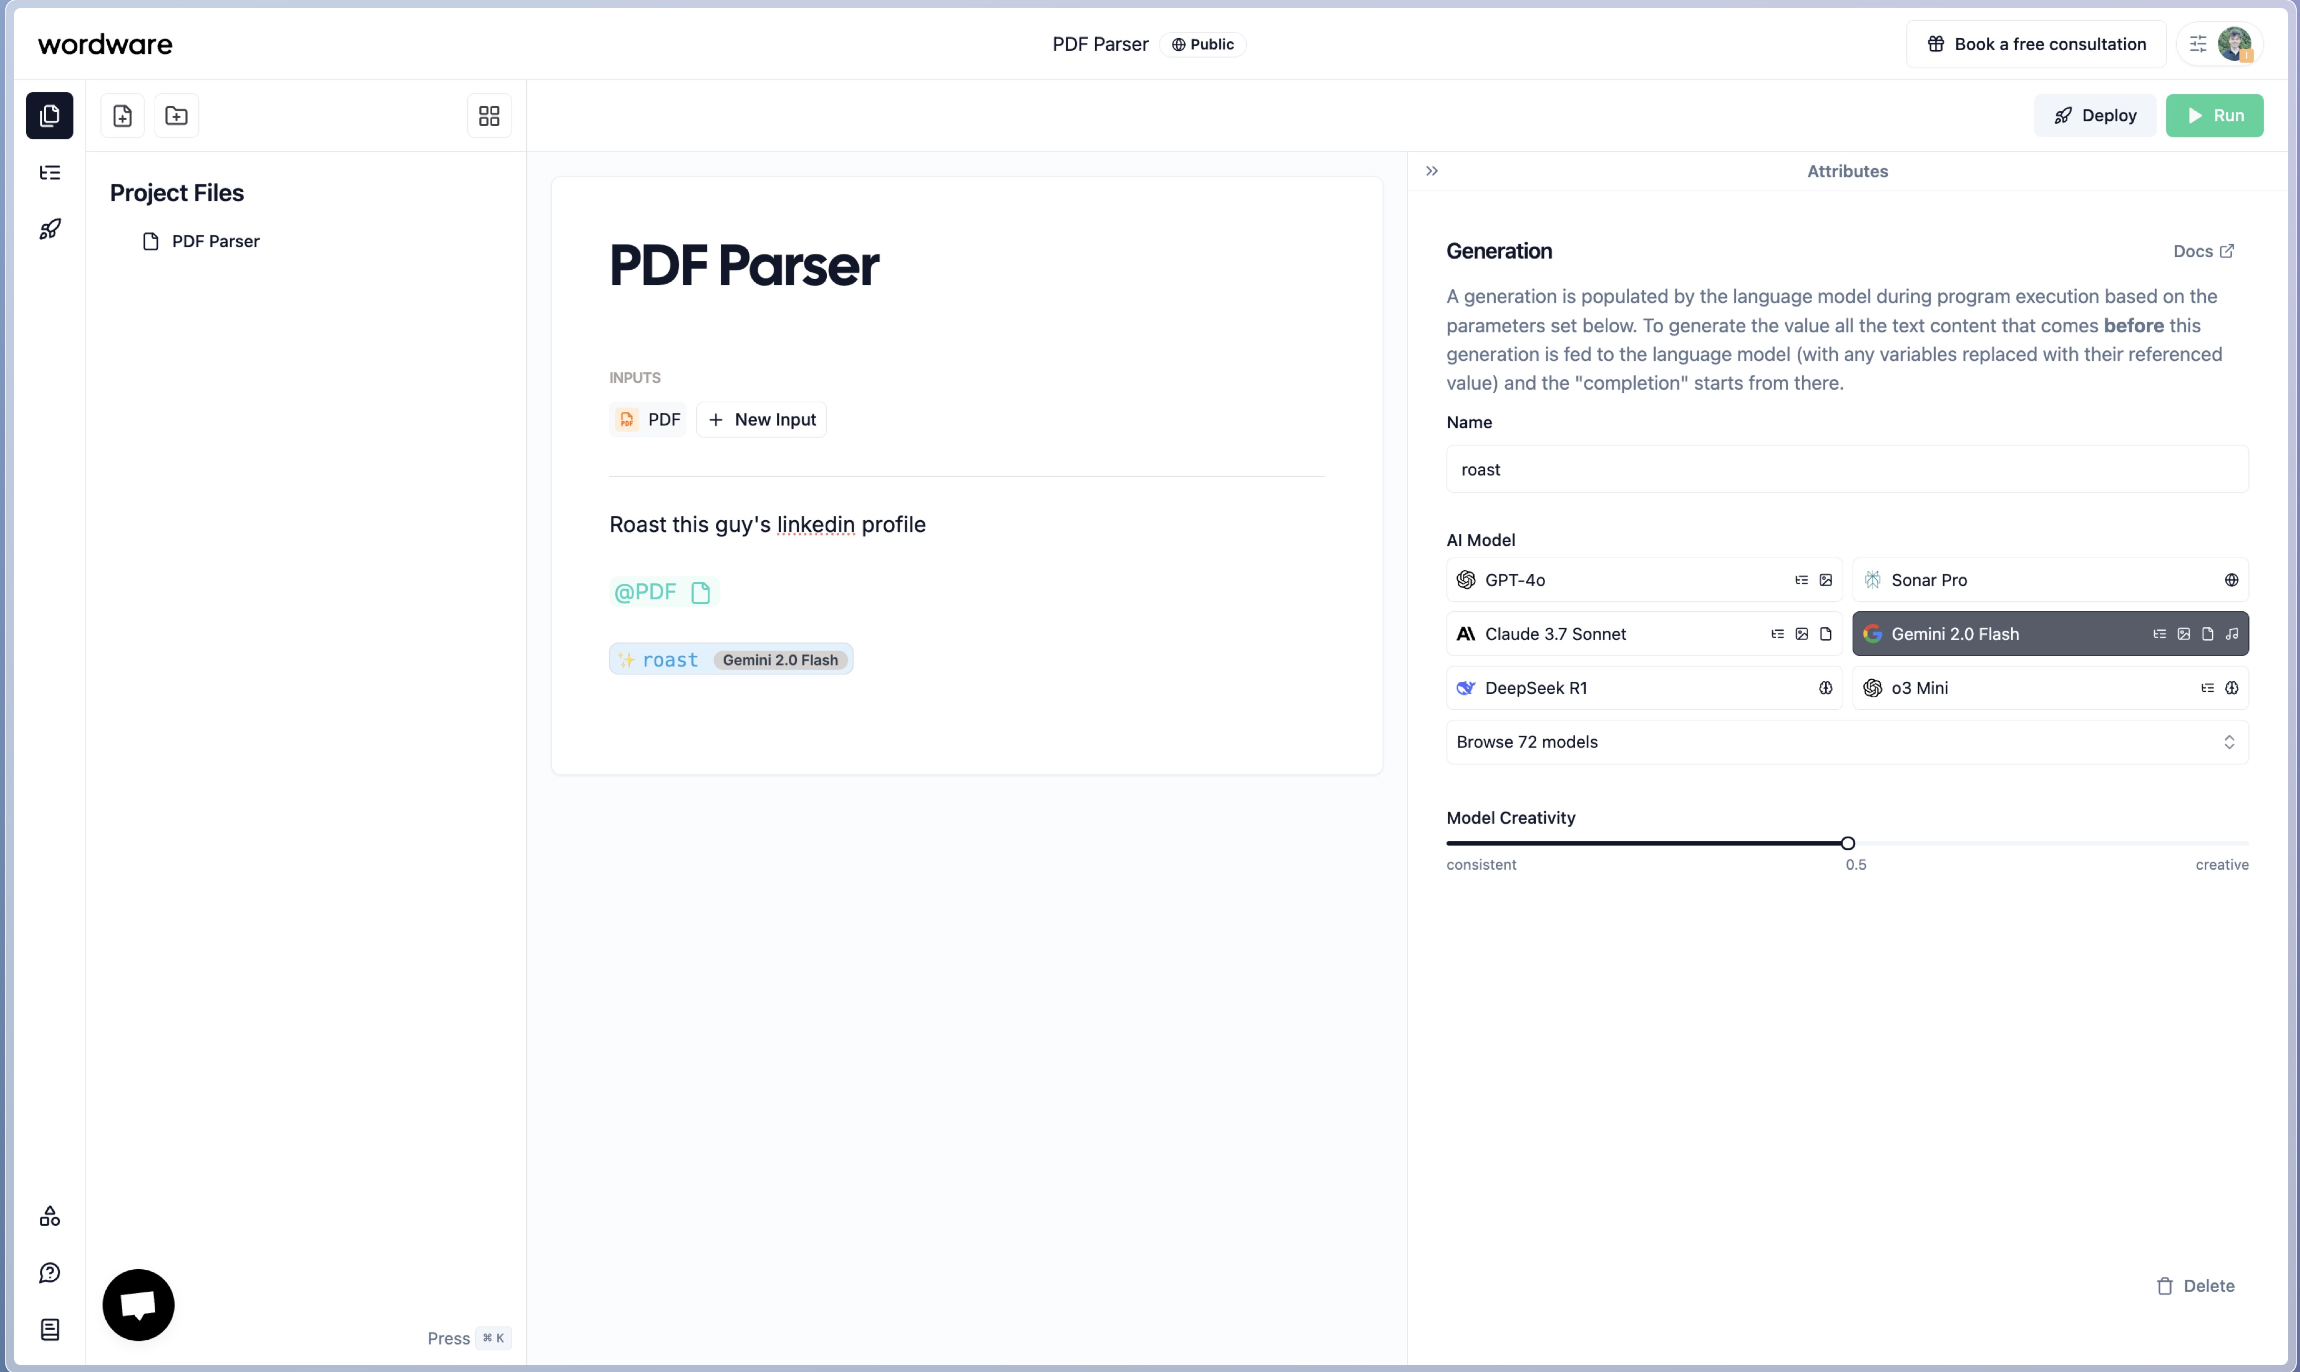
/generation in the editor.Add your PDF
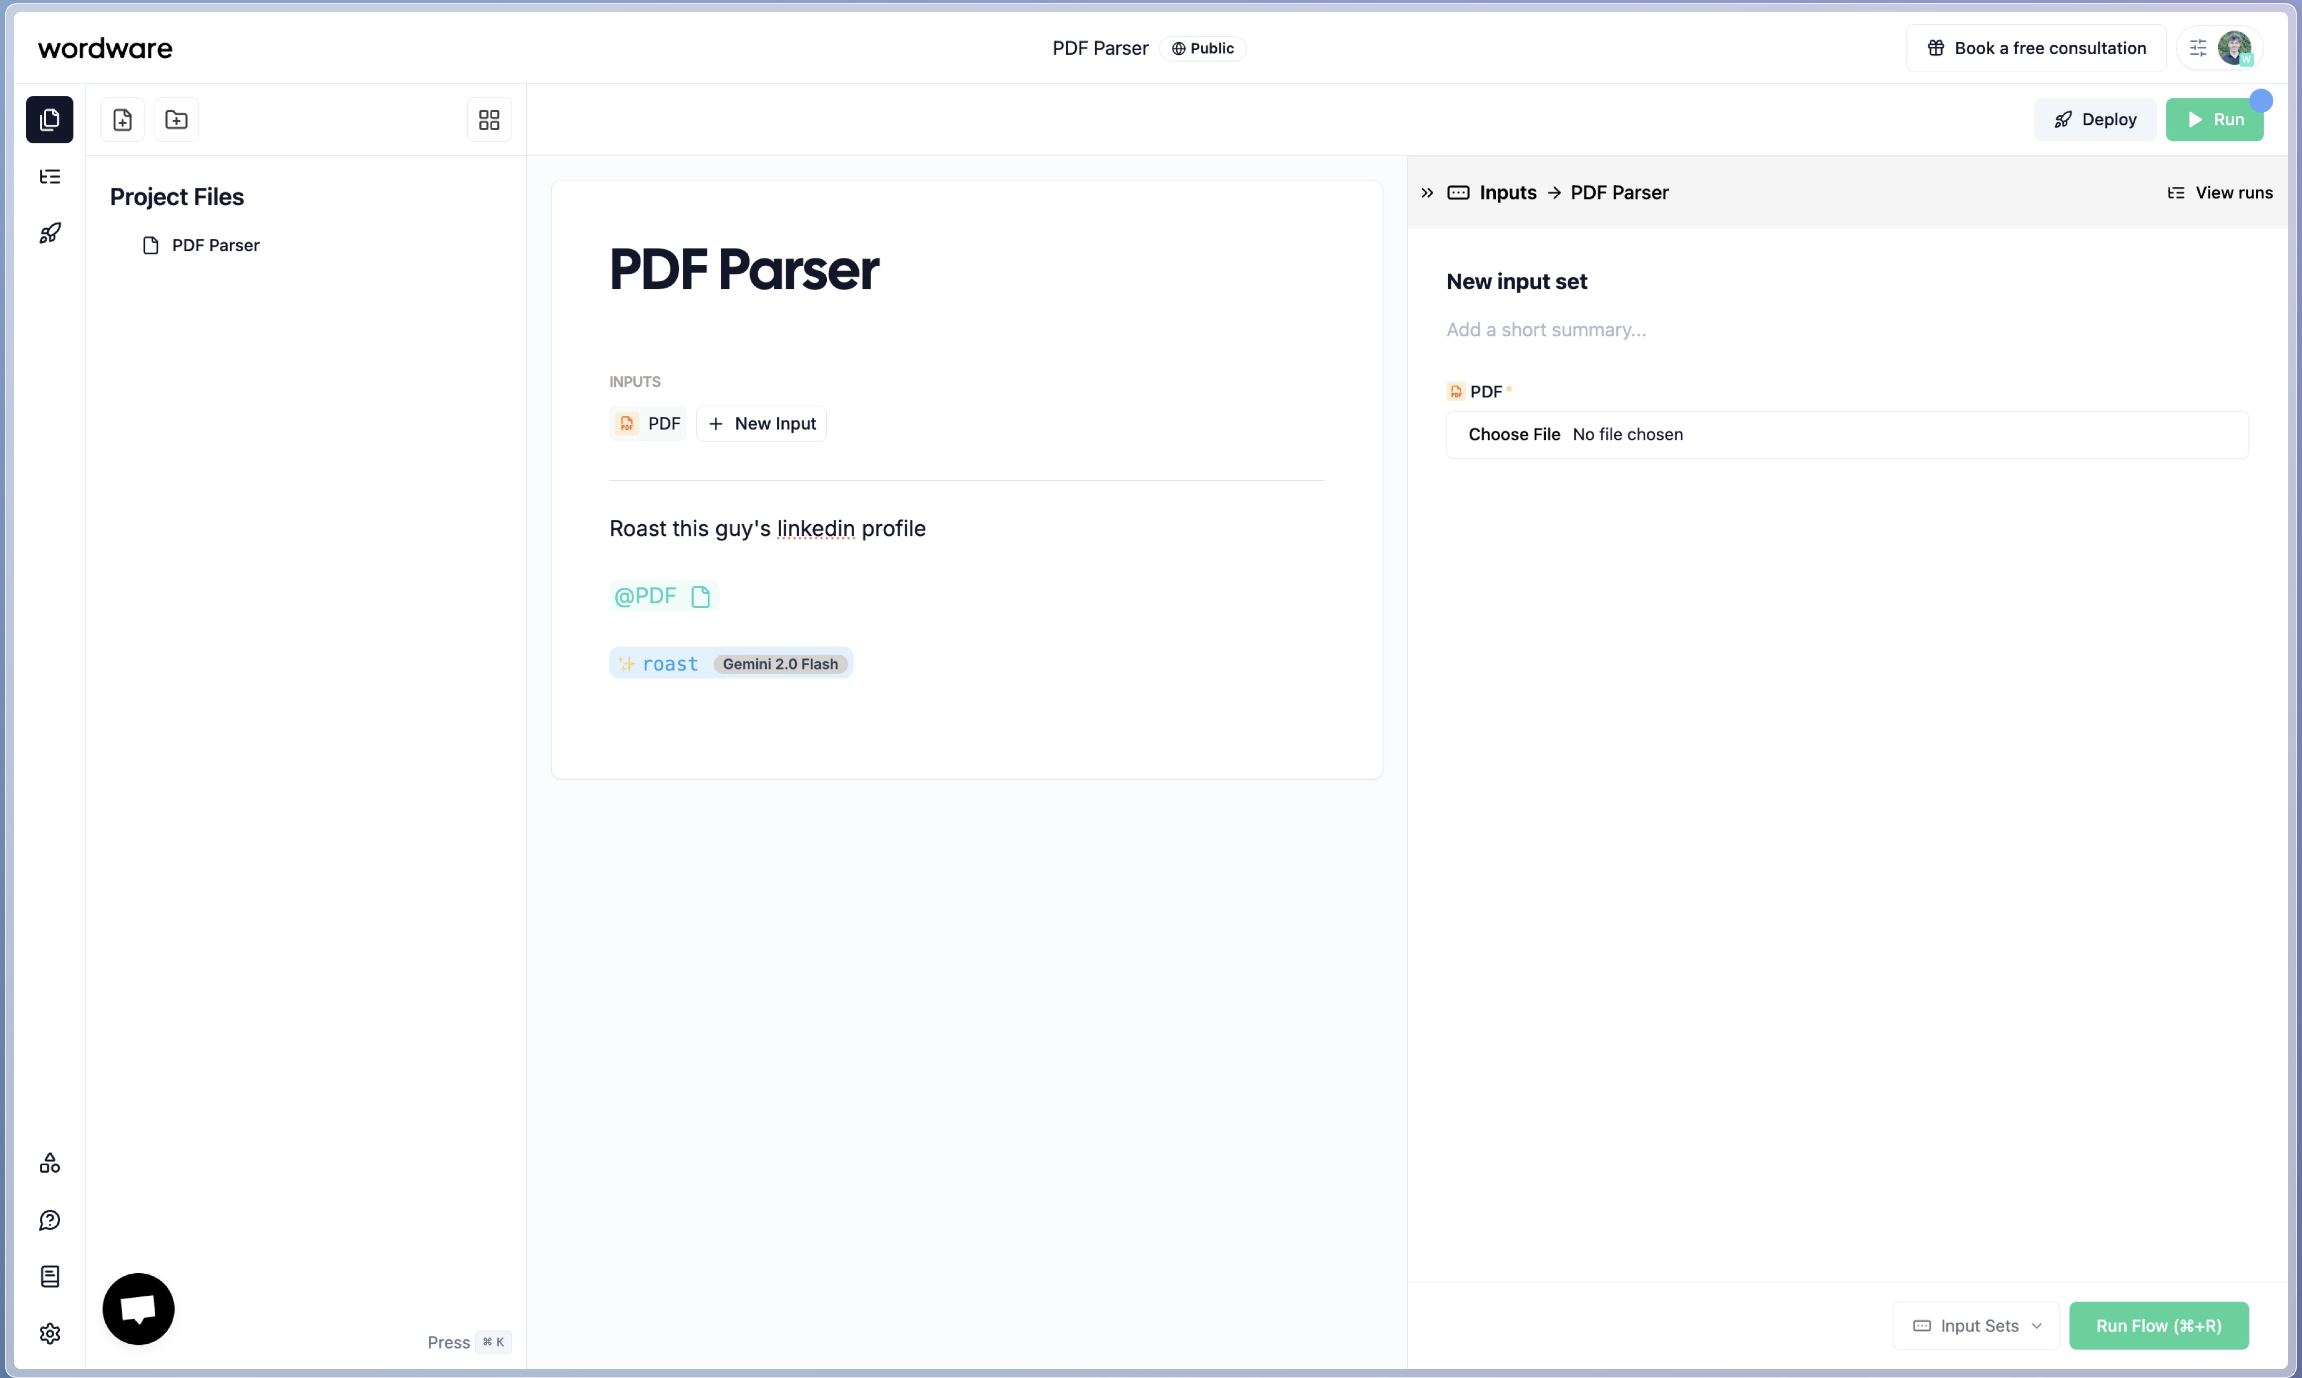
If you press run the sidebar will open up and you can select the PDF you want to run the flow with.