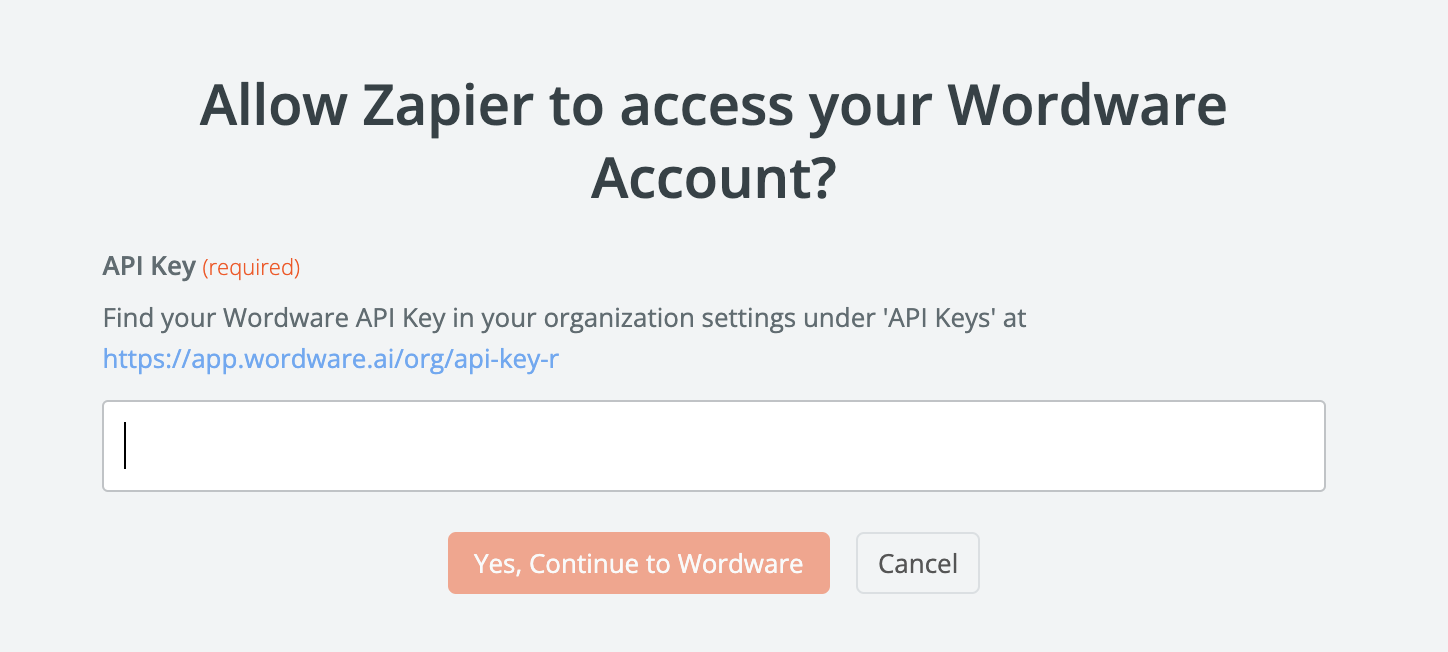
Get an API Key
Navigate to the settings page by clicking the user avatar in the top right corner and selecting “API Keys”Create the workflow
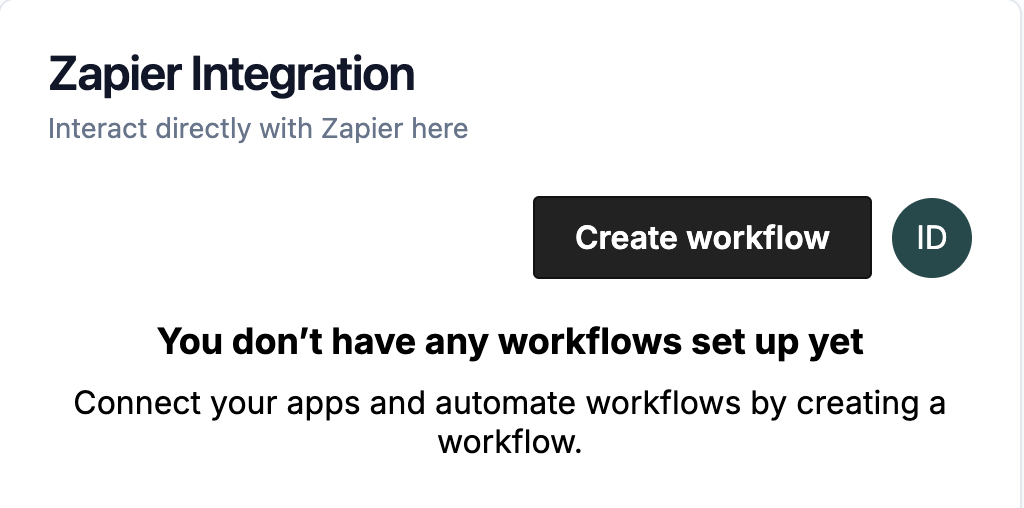
After you’ve published an app, you can create the workflow. Navigate to the “Workflows” tab in your app’s “Deployments” page.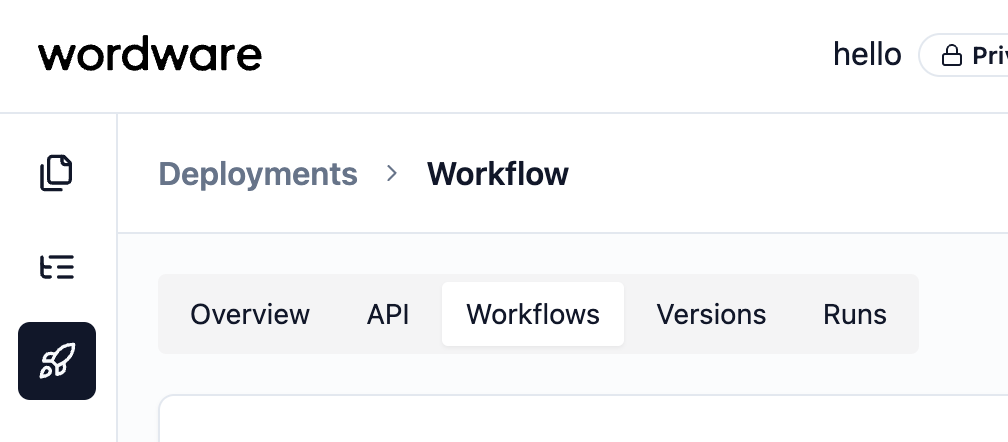
Configure the trigger
This will open the integrated Zapier editor where you can build any workflow that can be built with Zapier. First, open the trigger menu to select the trigger you want to start the workflow.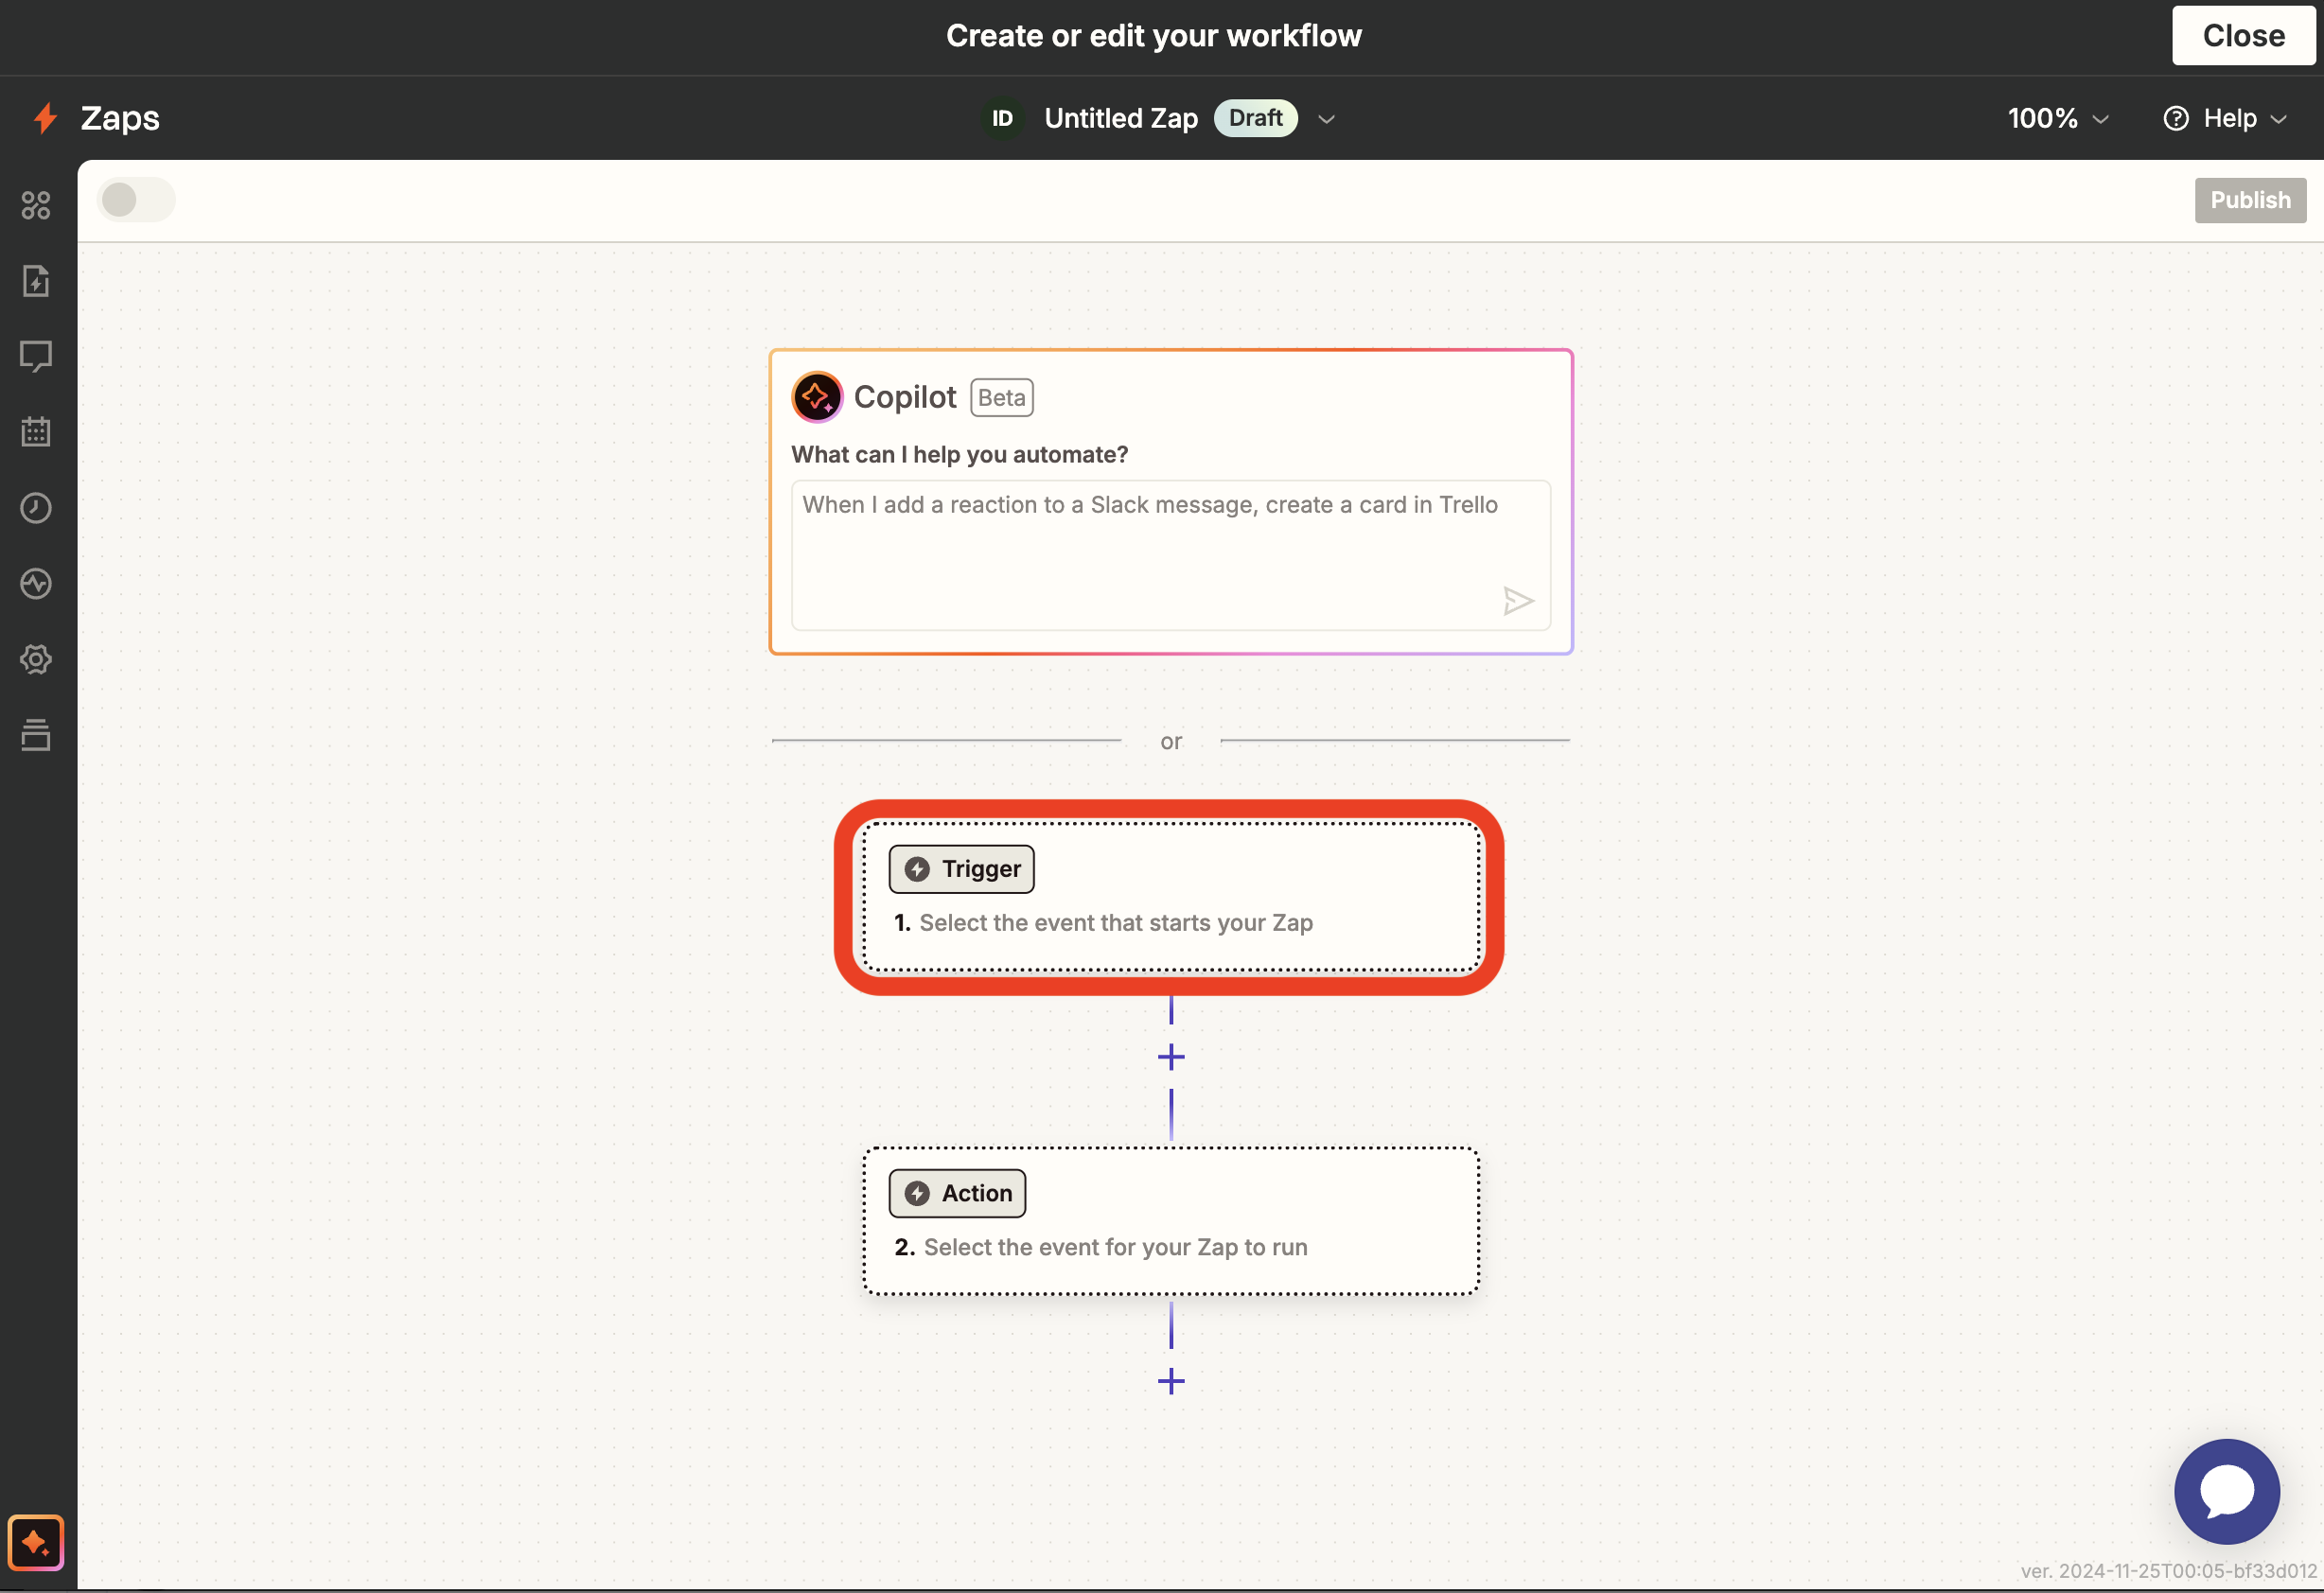

Connect with your WordApp
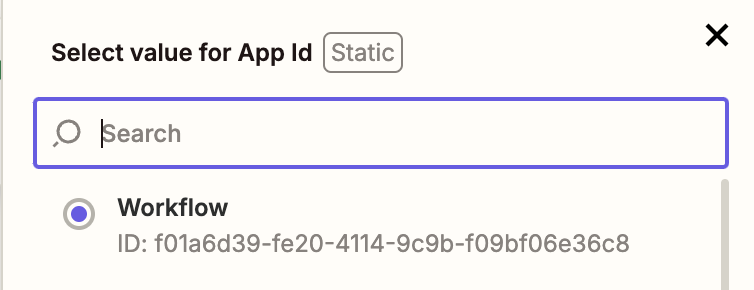
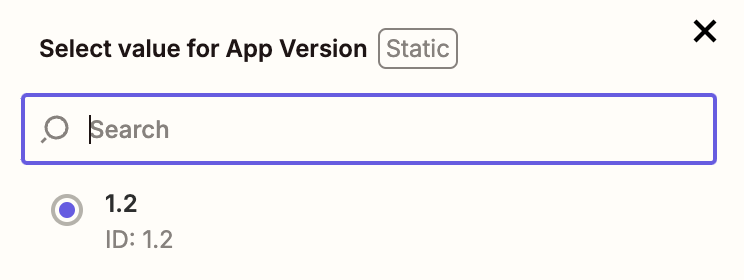
Now for the fun part. We want to run our WordApp whenever the trigger fires. To do this, click on the action card below the trigger to open the action menu. Now type in Wordware and select Wordware as your desired app.
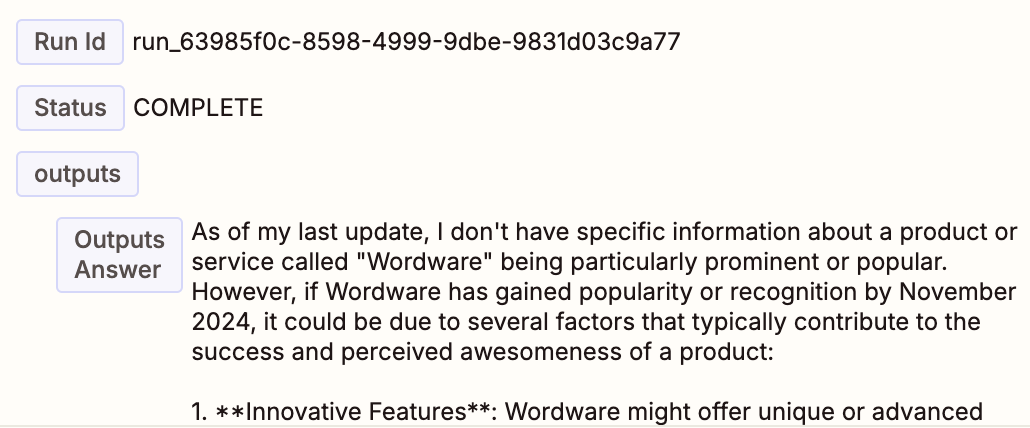
Test the workflow
Once you have all of the inputs configured, you can click the “Test step” button to make sure your workflow is working as expected. If you have not run your app before, you will be prompted to run it once manually to simulate the responses we would get when the workflow actually runs. Select the provided curl command and run it in your terminal. It should stream back a response.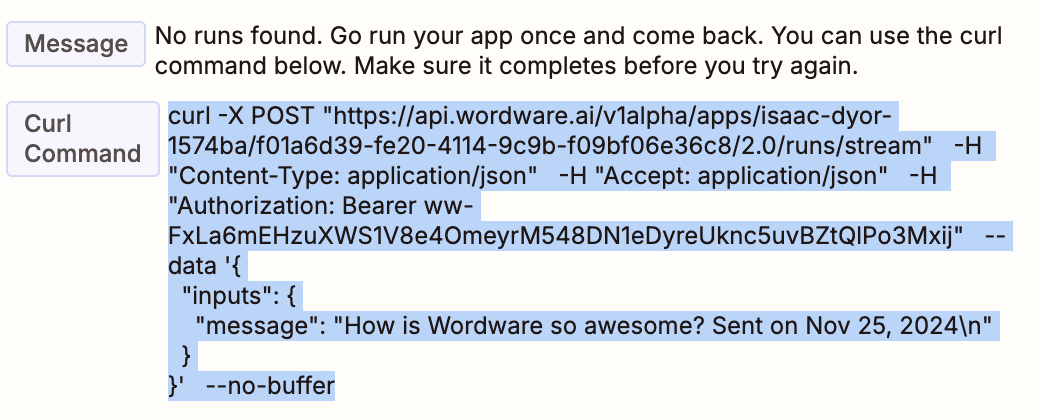
Using WordApp outputs
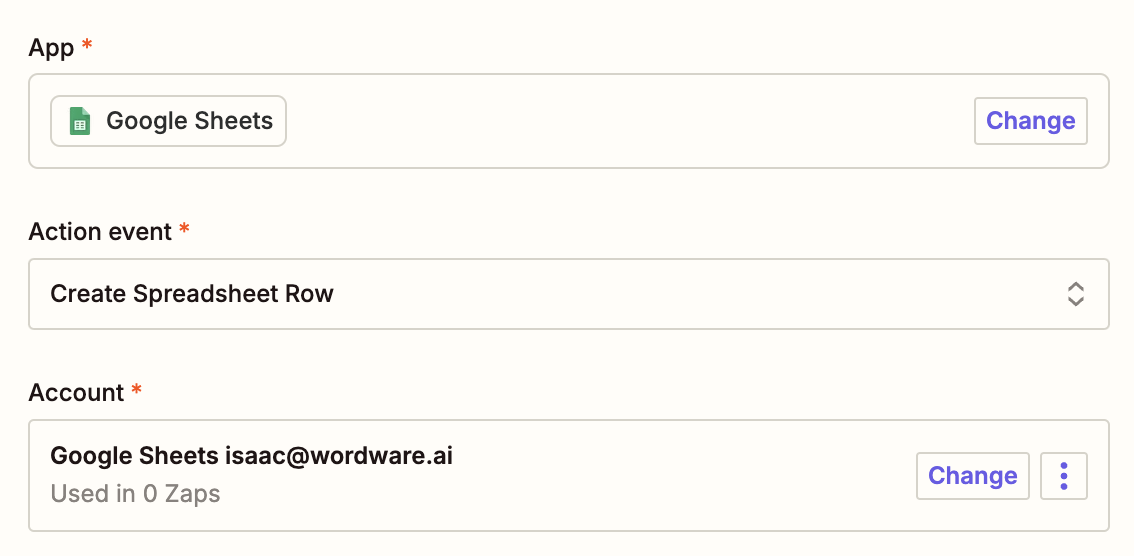
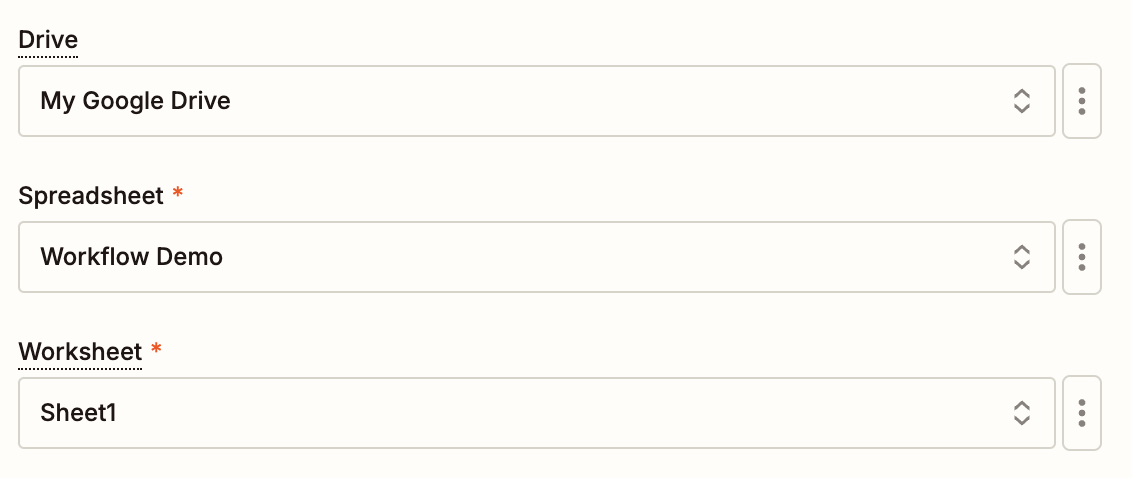
We now set up a WordApp that runs whenever the trigger fires. But what if we want to use the output of the WordApp in another Zapier action? To do this, lets add a new step to our workflow. Select the “Add step” button below the current step.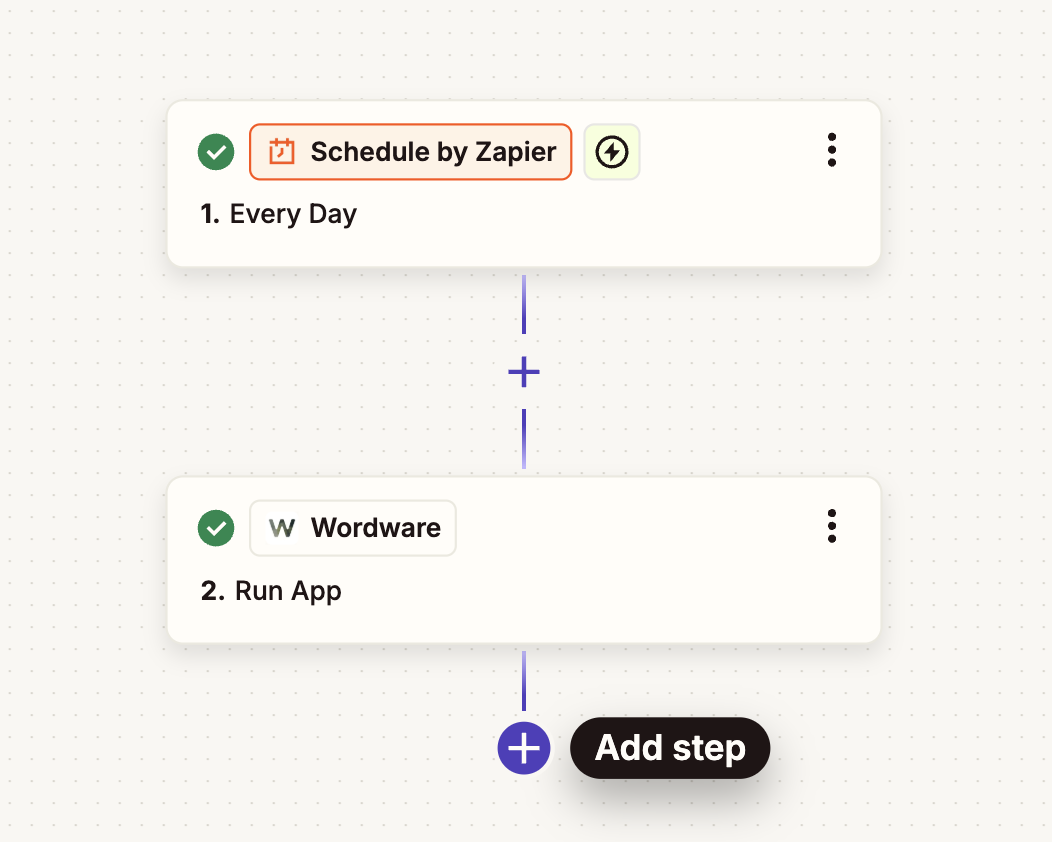
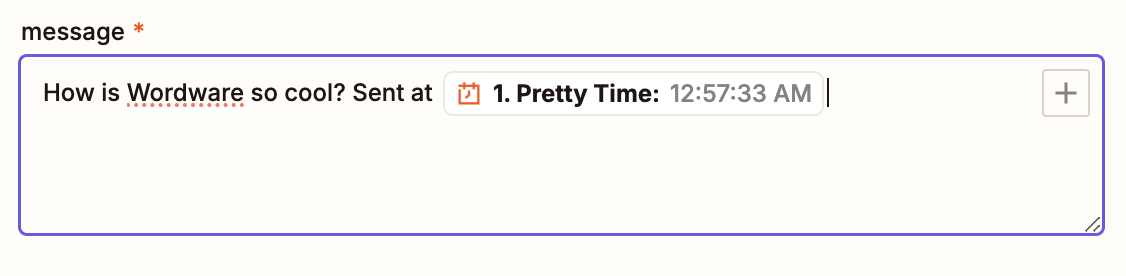
/ or press the + button next to the input field.
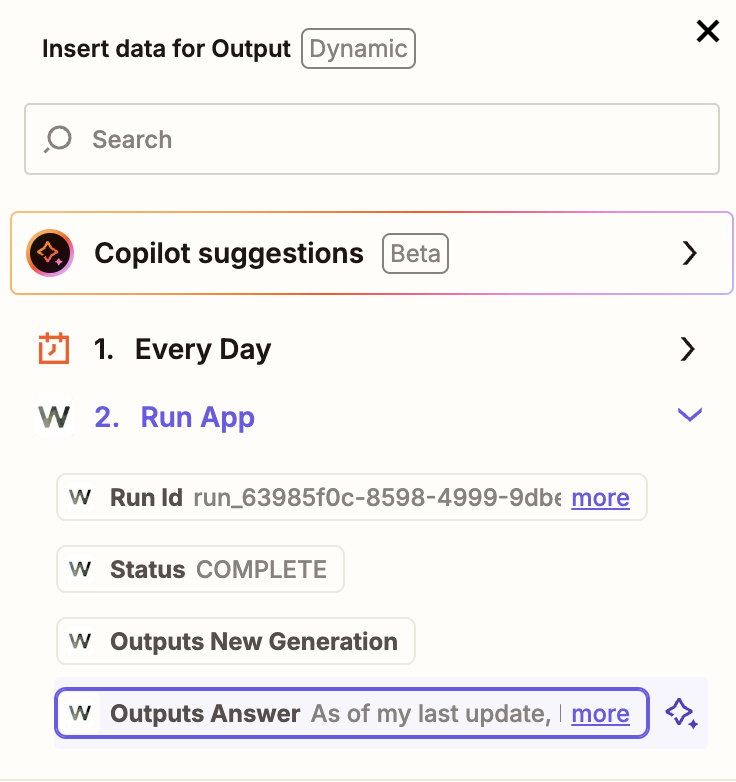
Select your WordApp from earlier and you can choose any of the outputs from the WordApp.
Publish the workflow
Once you have successfully tested the workflow, you can click the “Publish” button to live deploy the workflow.
Build a Chatbot
Walk through a simple chatbot recipe to accomplish your goals with Wordware
Run Custom Code
Add custom JavaScript or Python code to your WordApp to do anything you can imagine.
Get a Walkthrough with a Pro
Book a call with one of our experts to get a personalized walkthrough of Wordware.
Generations
See how generations enable you to accomplish most anything you can imagine.